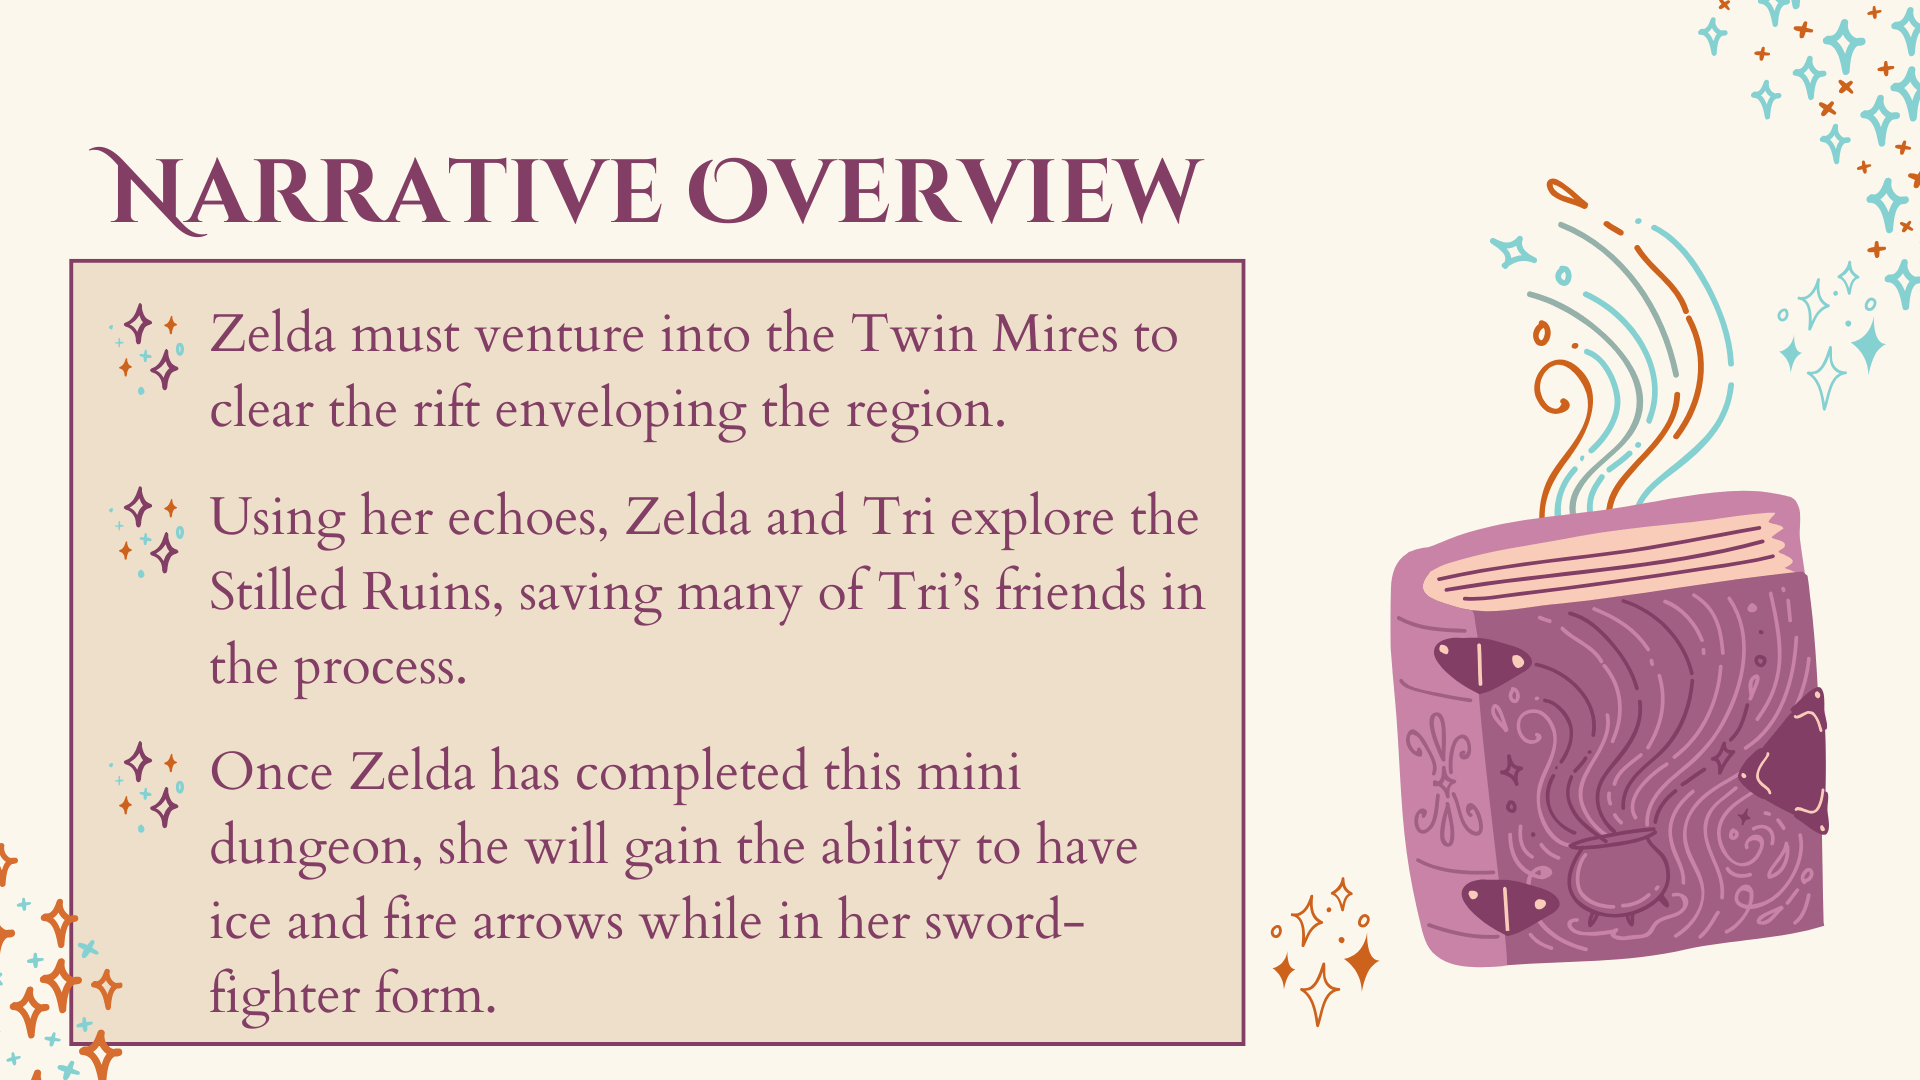
The Legend of Zelda: The Twin Mires
Existing IP Level Design
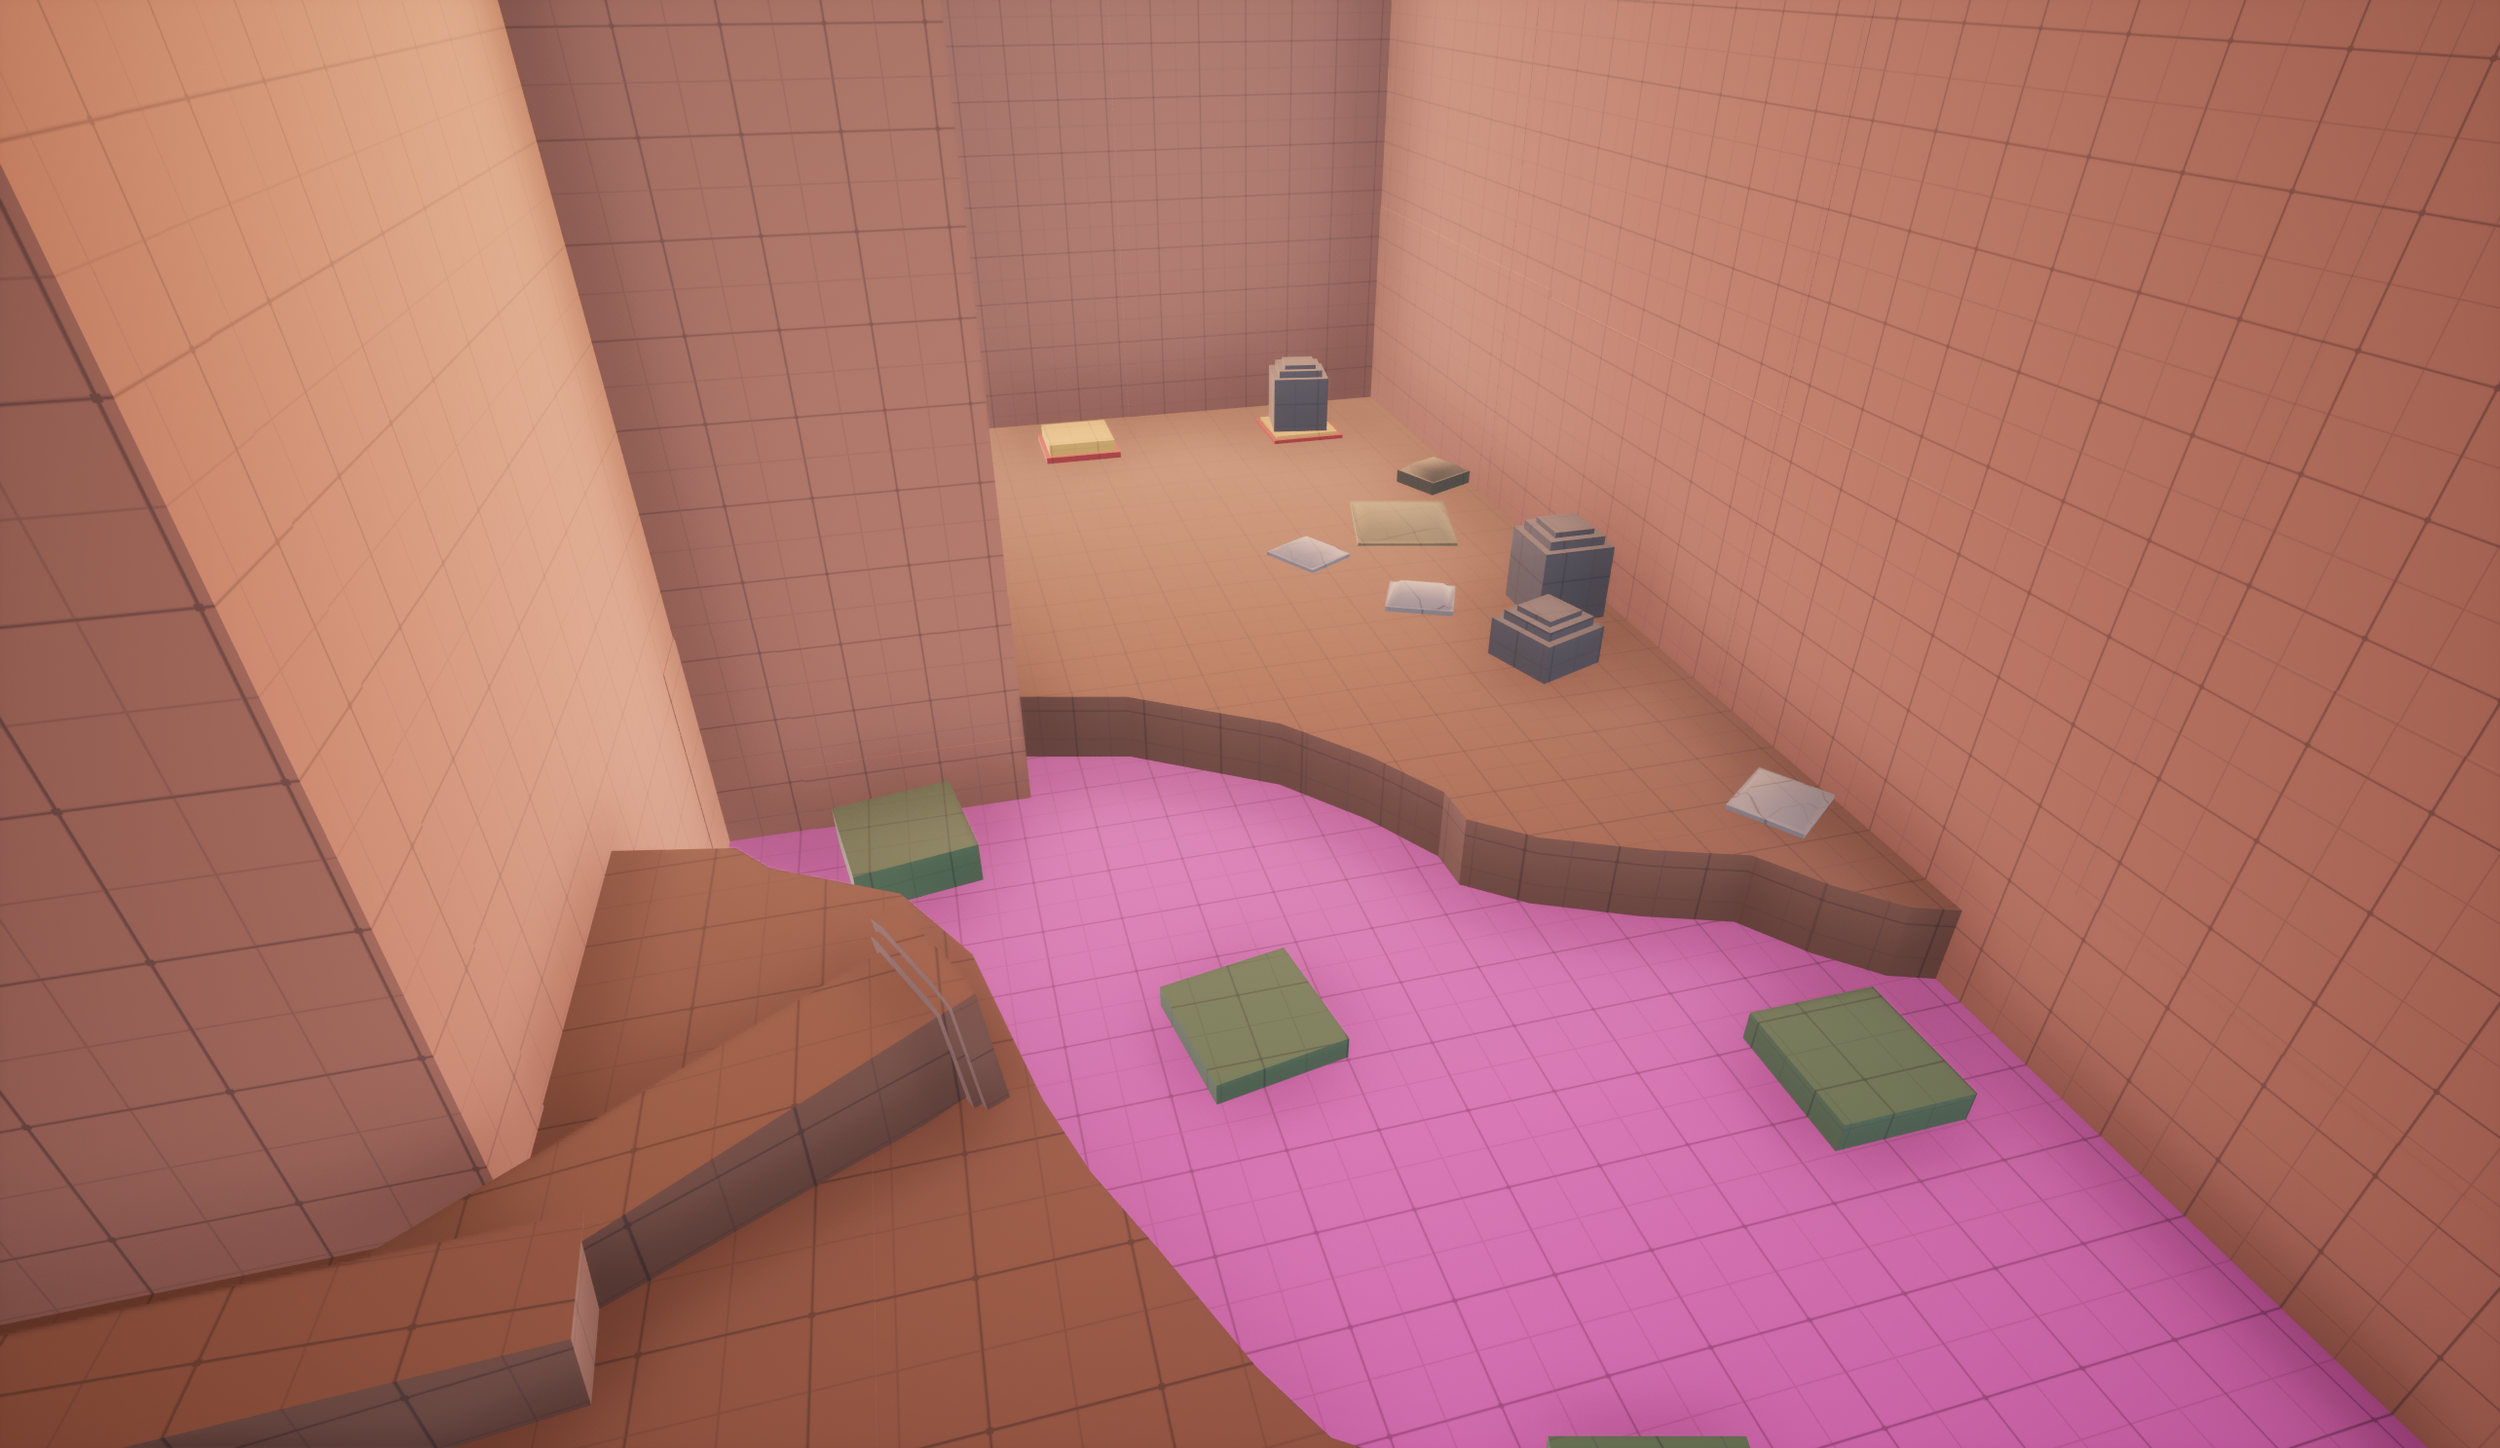
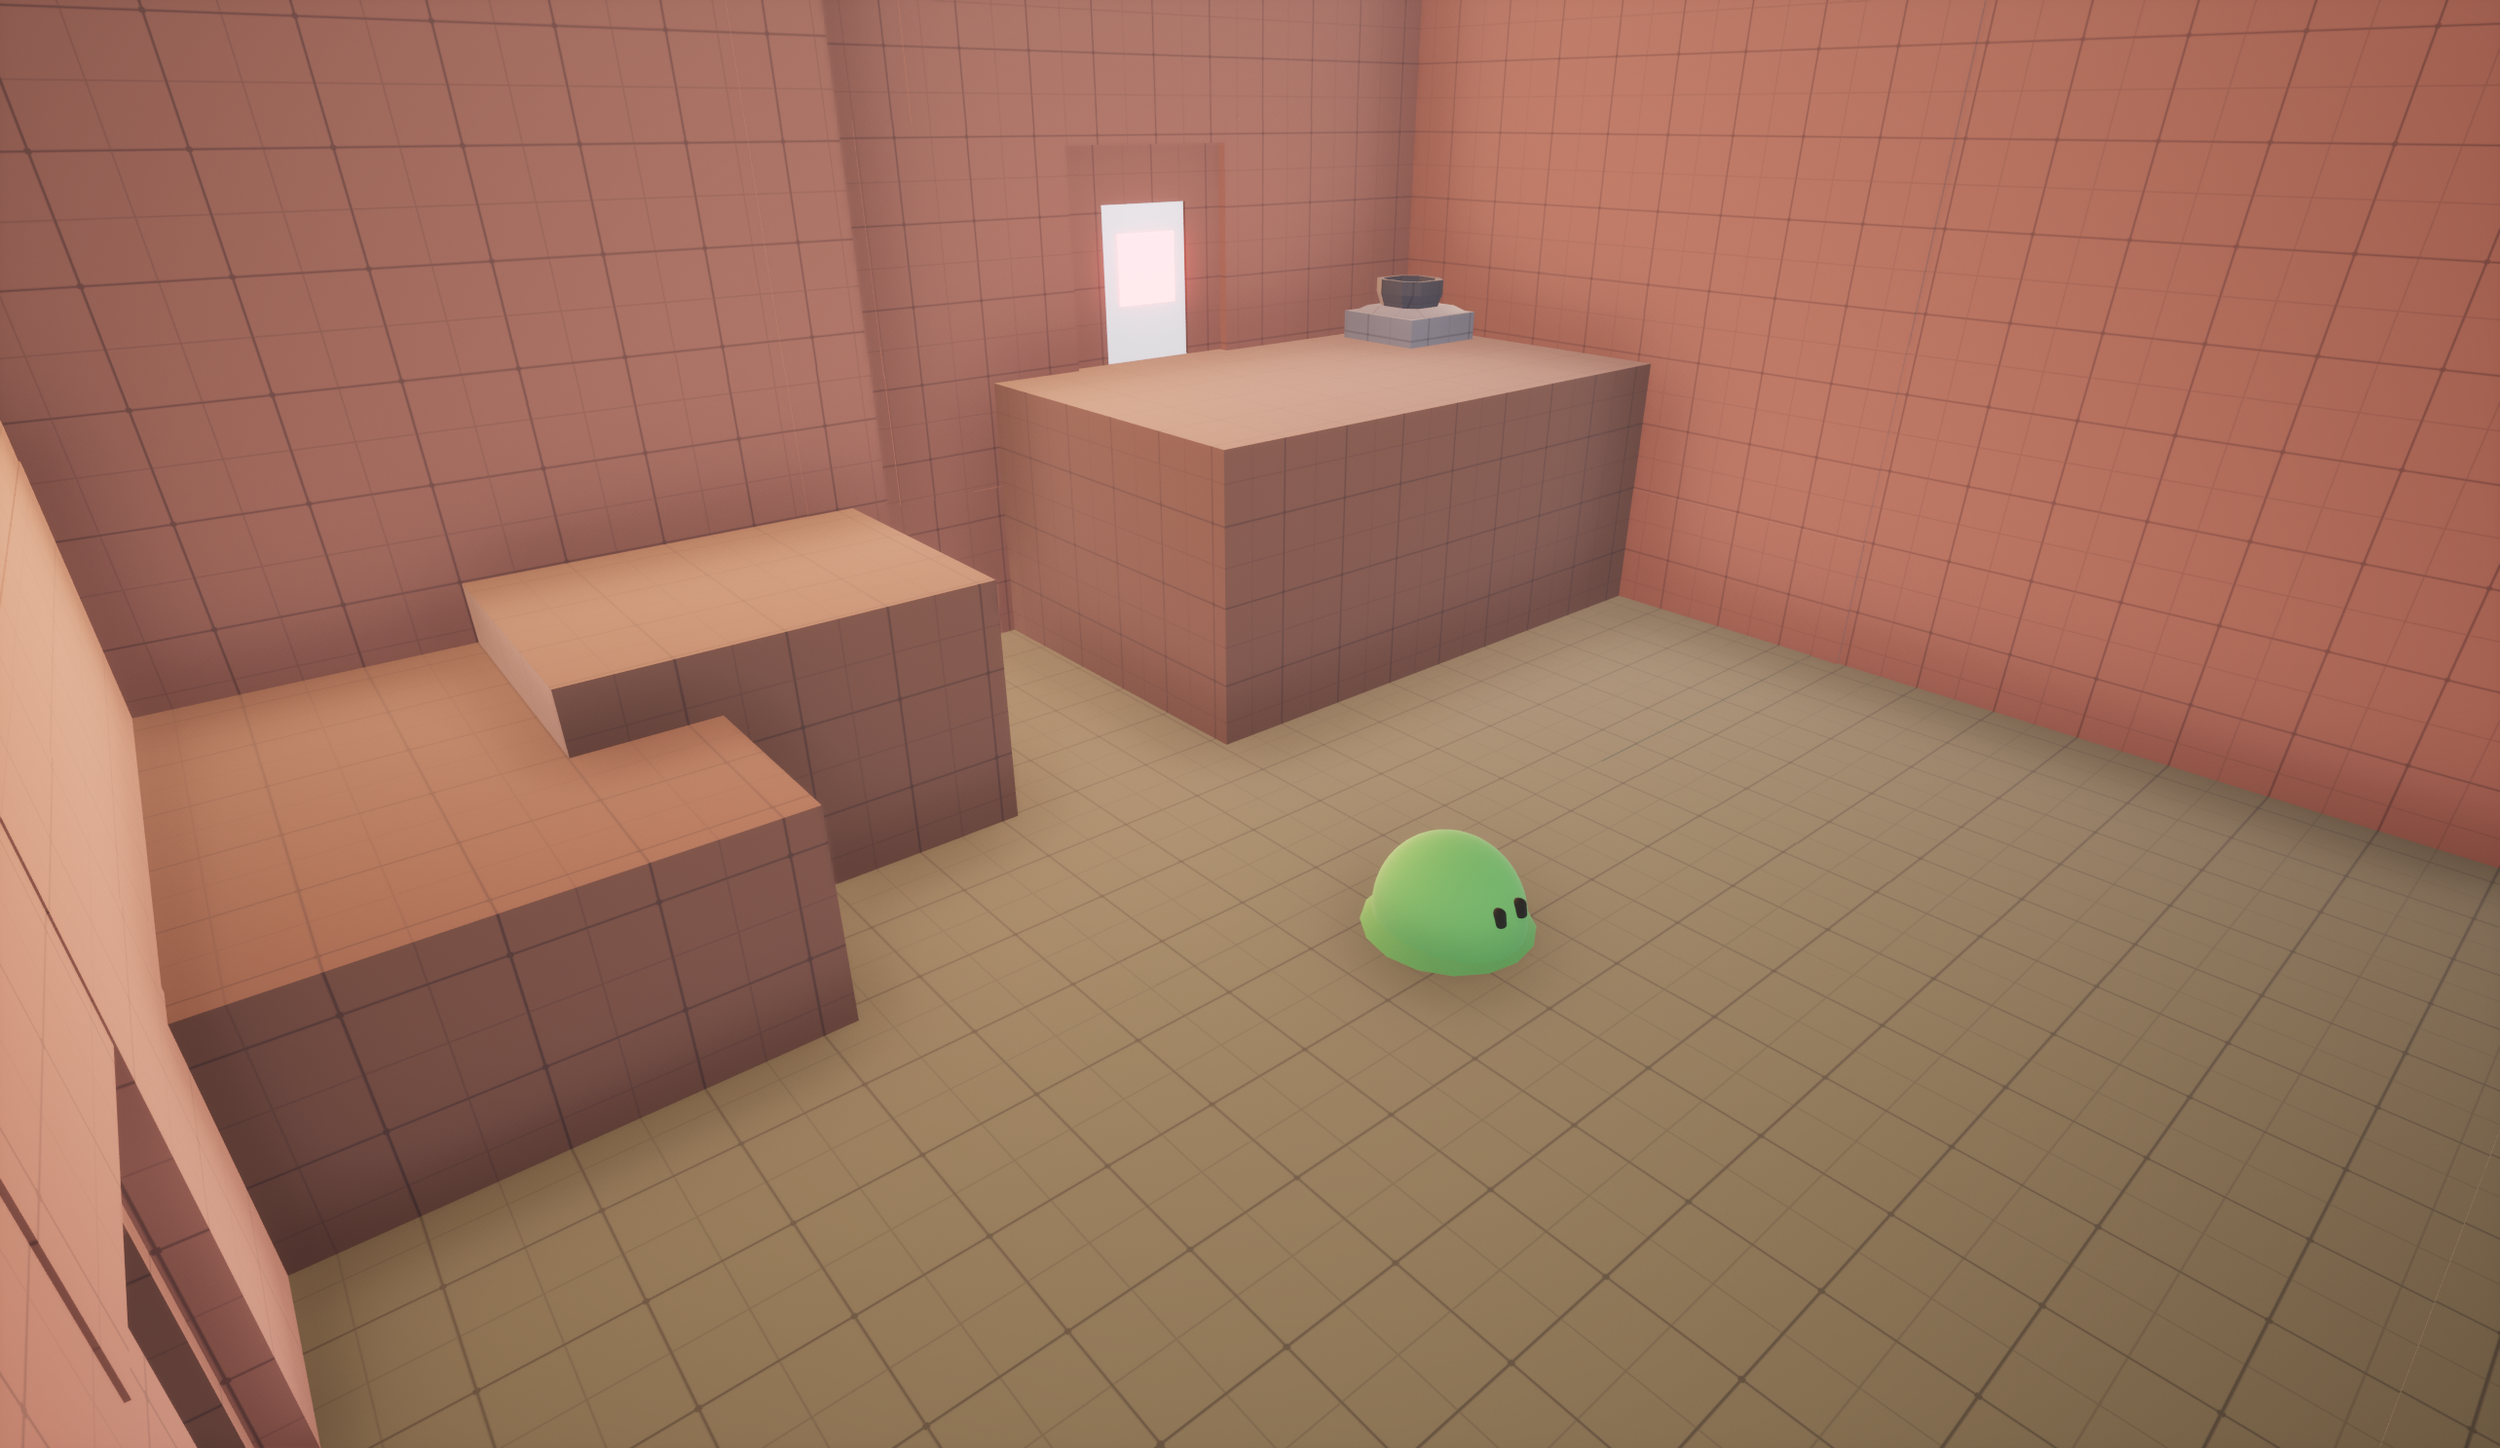
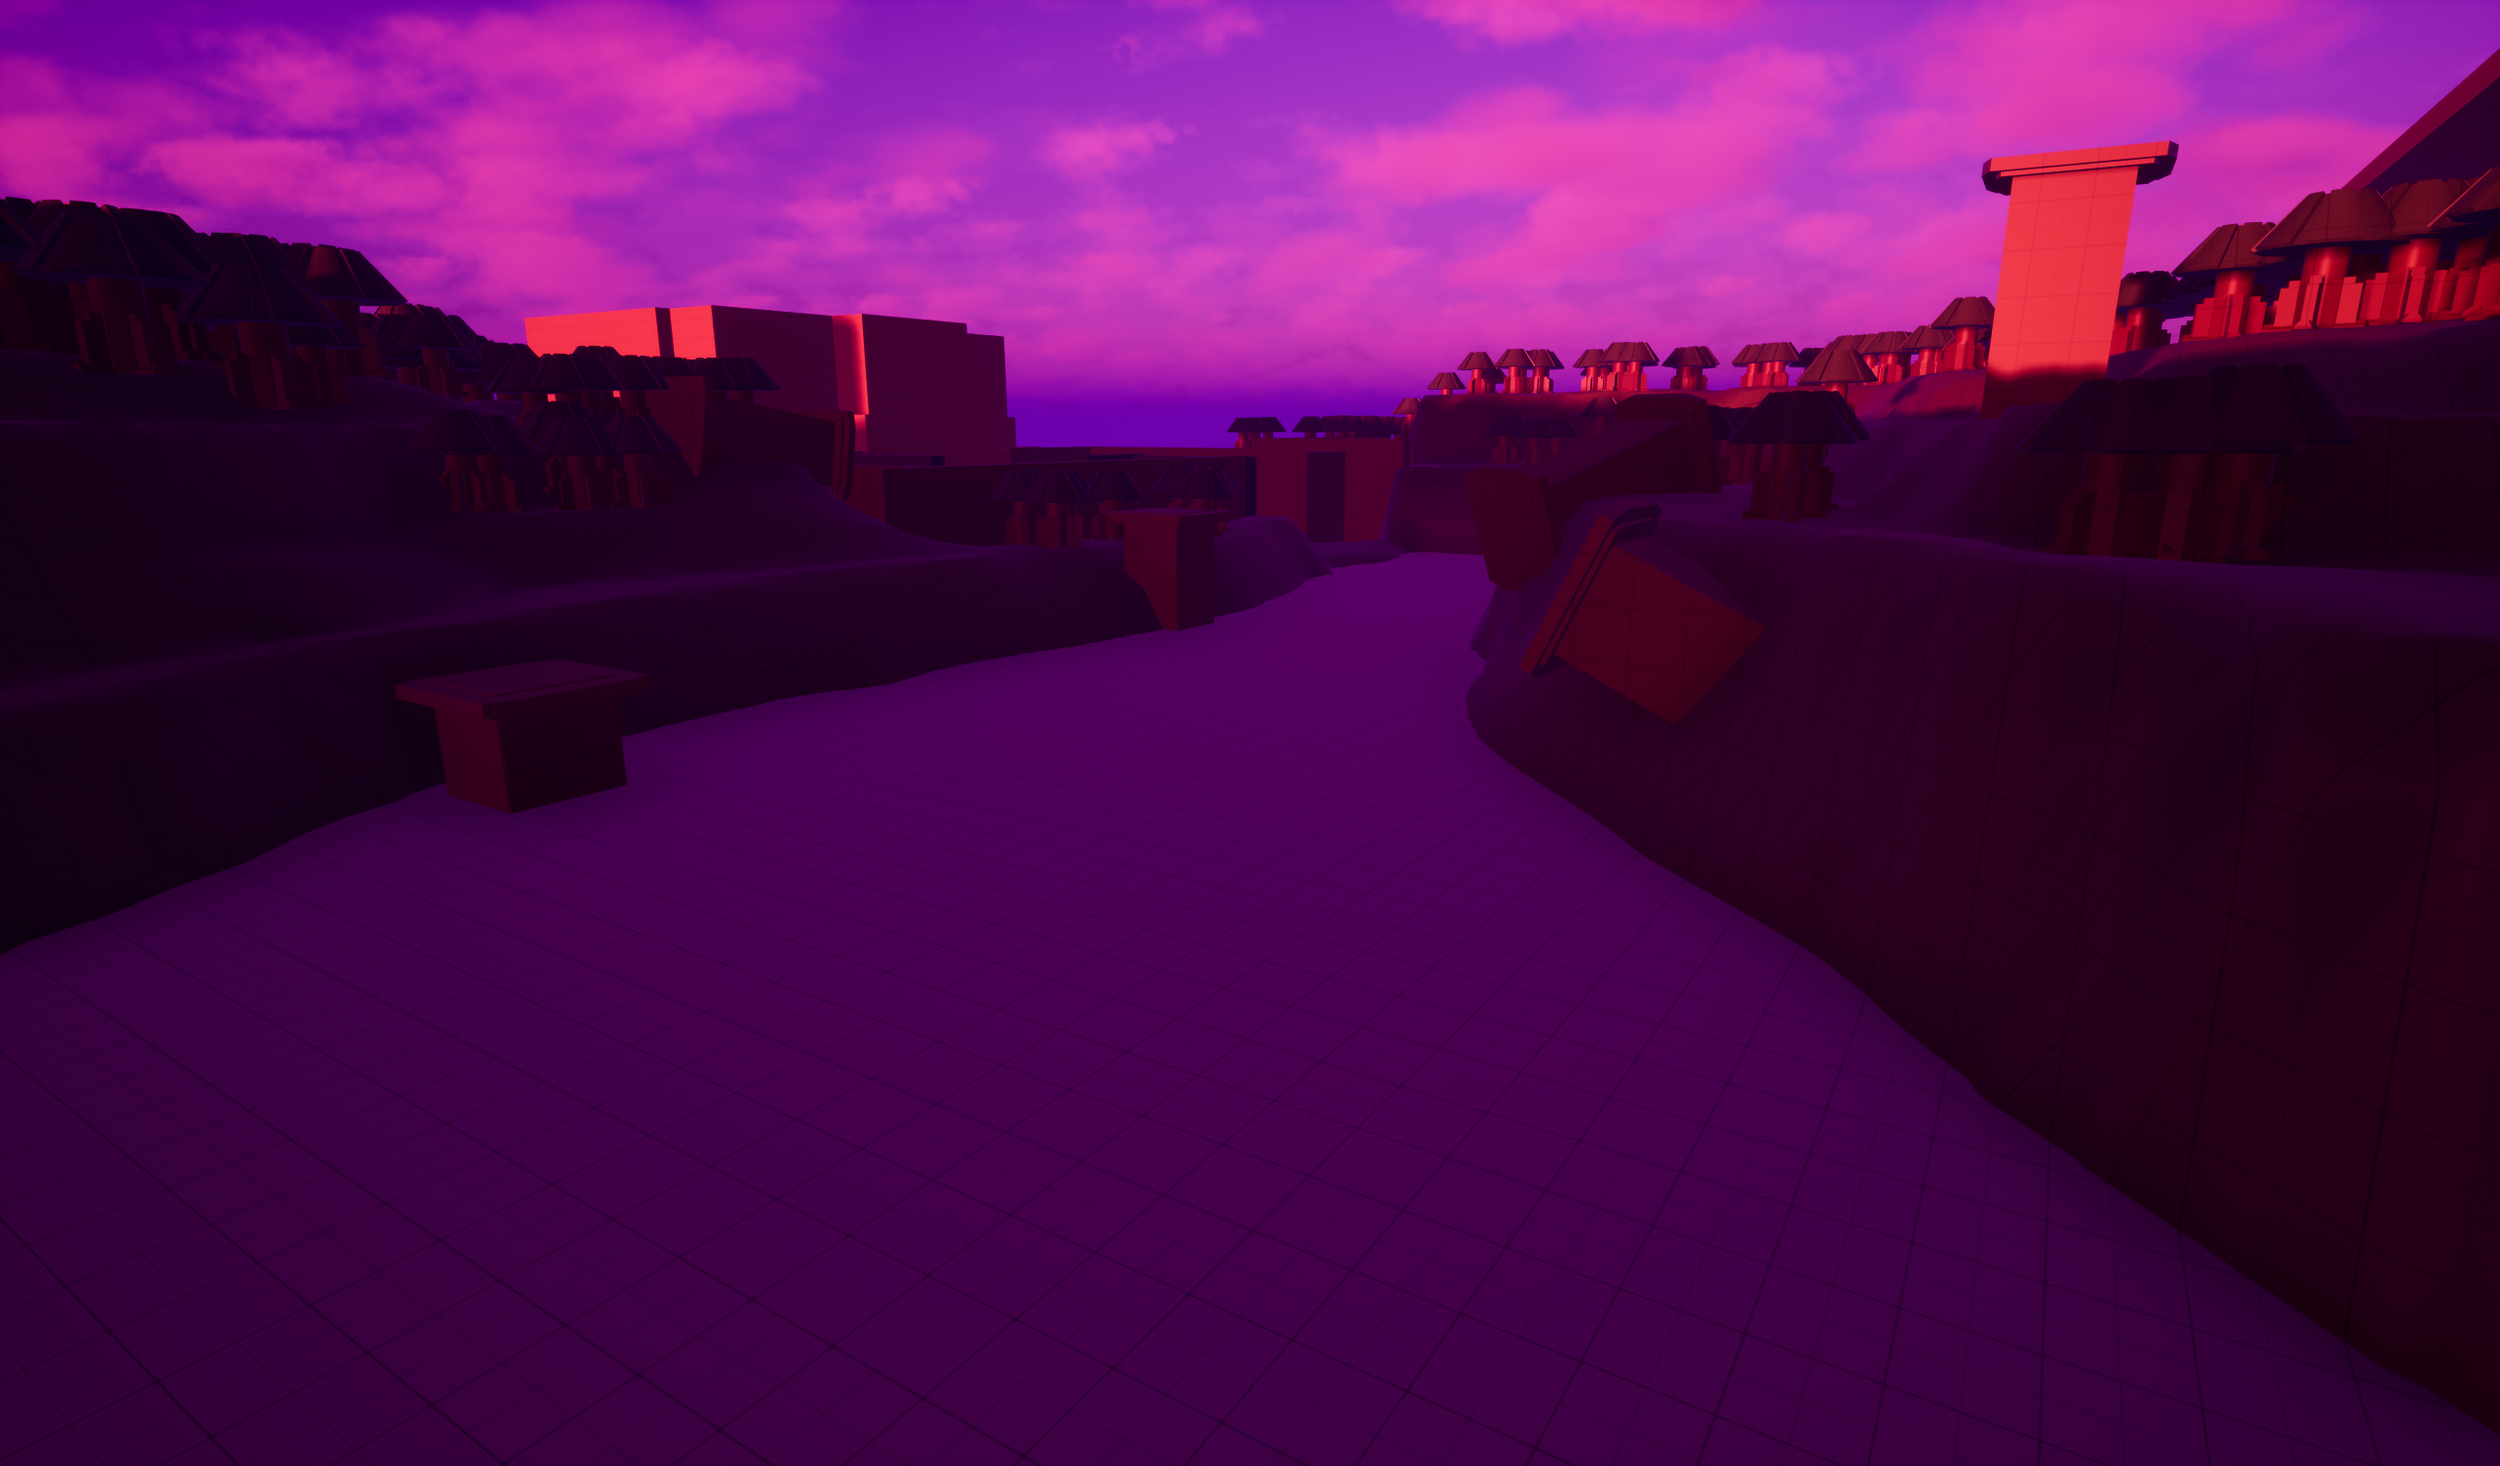
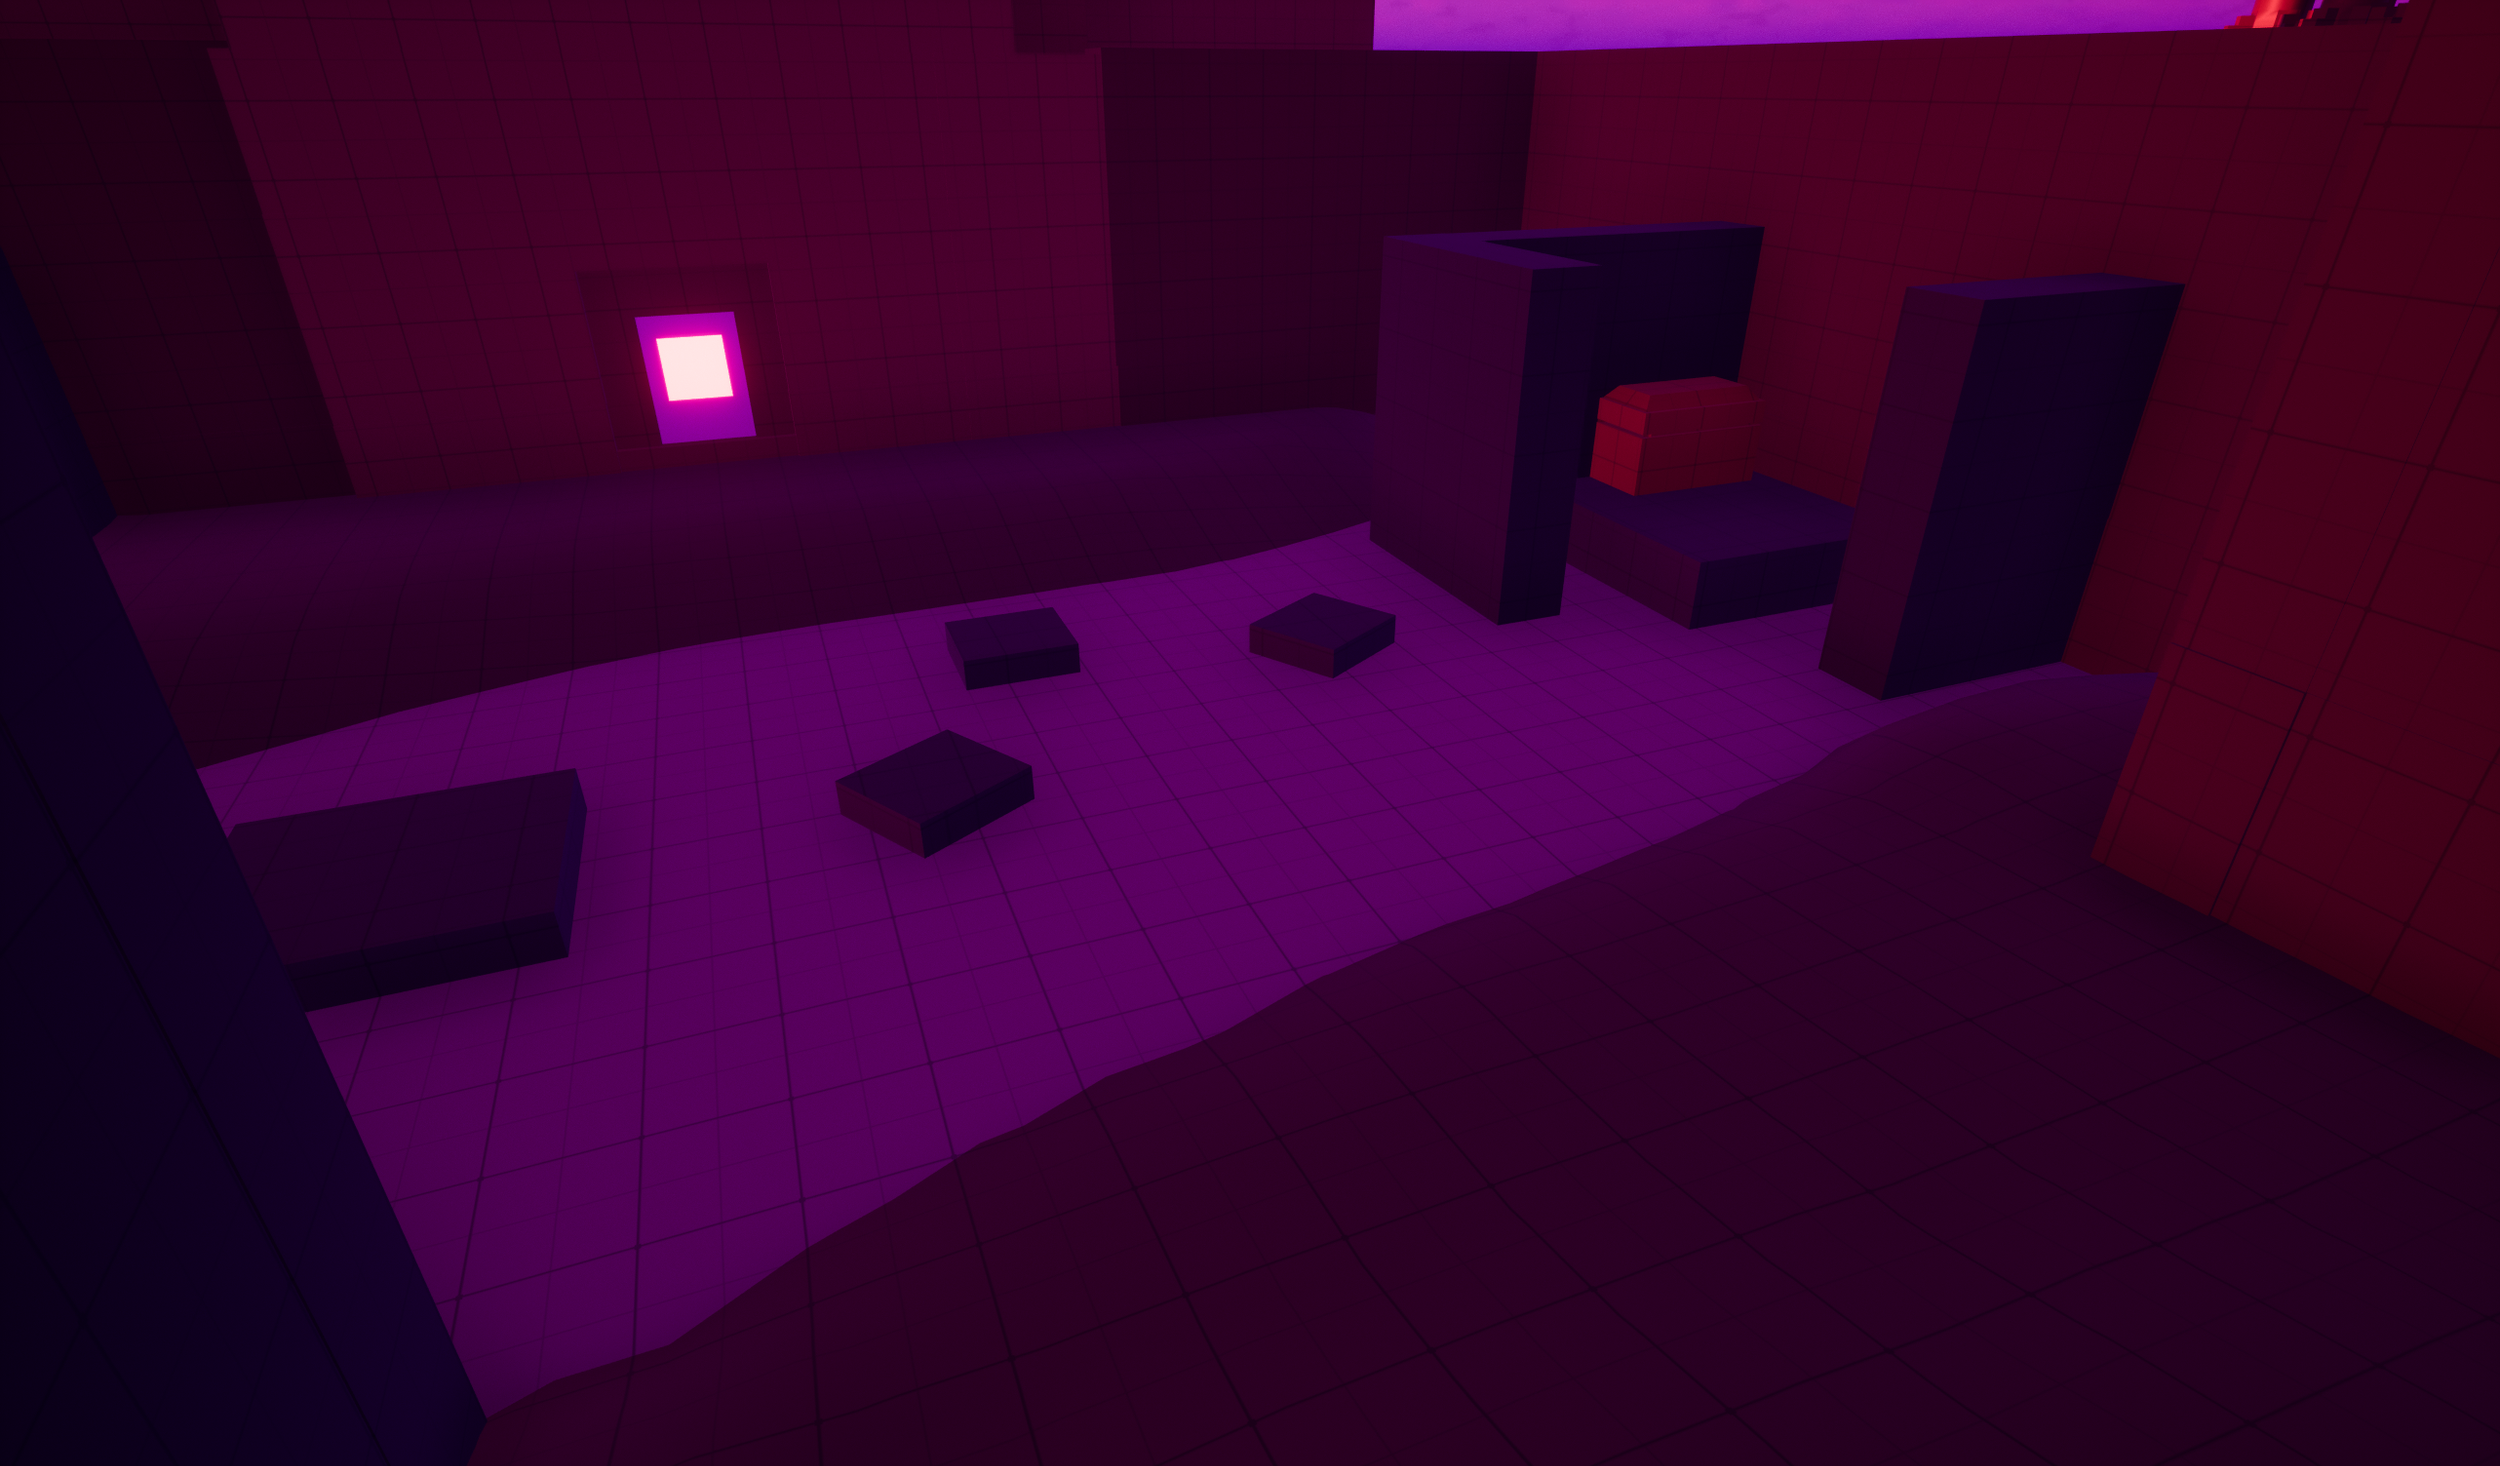
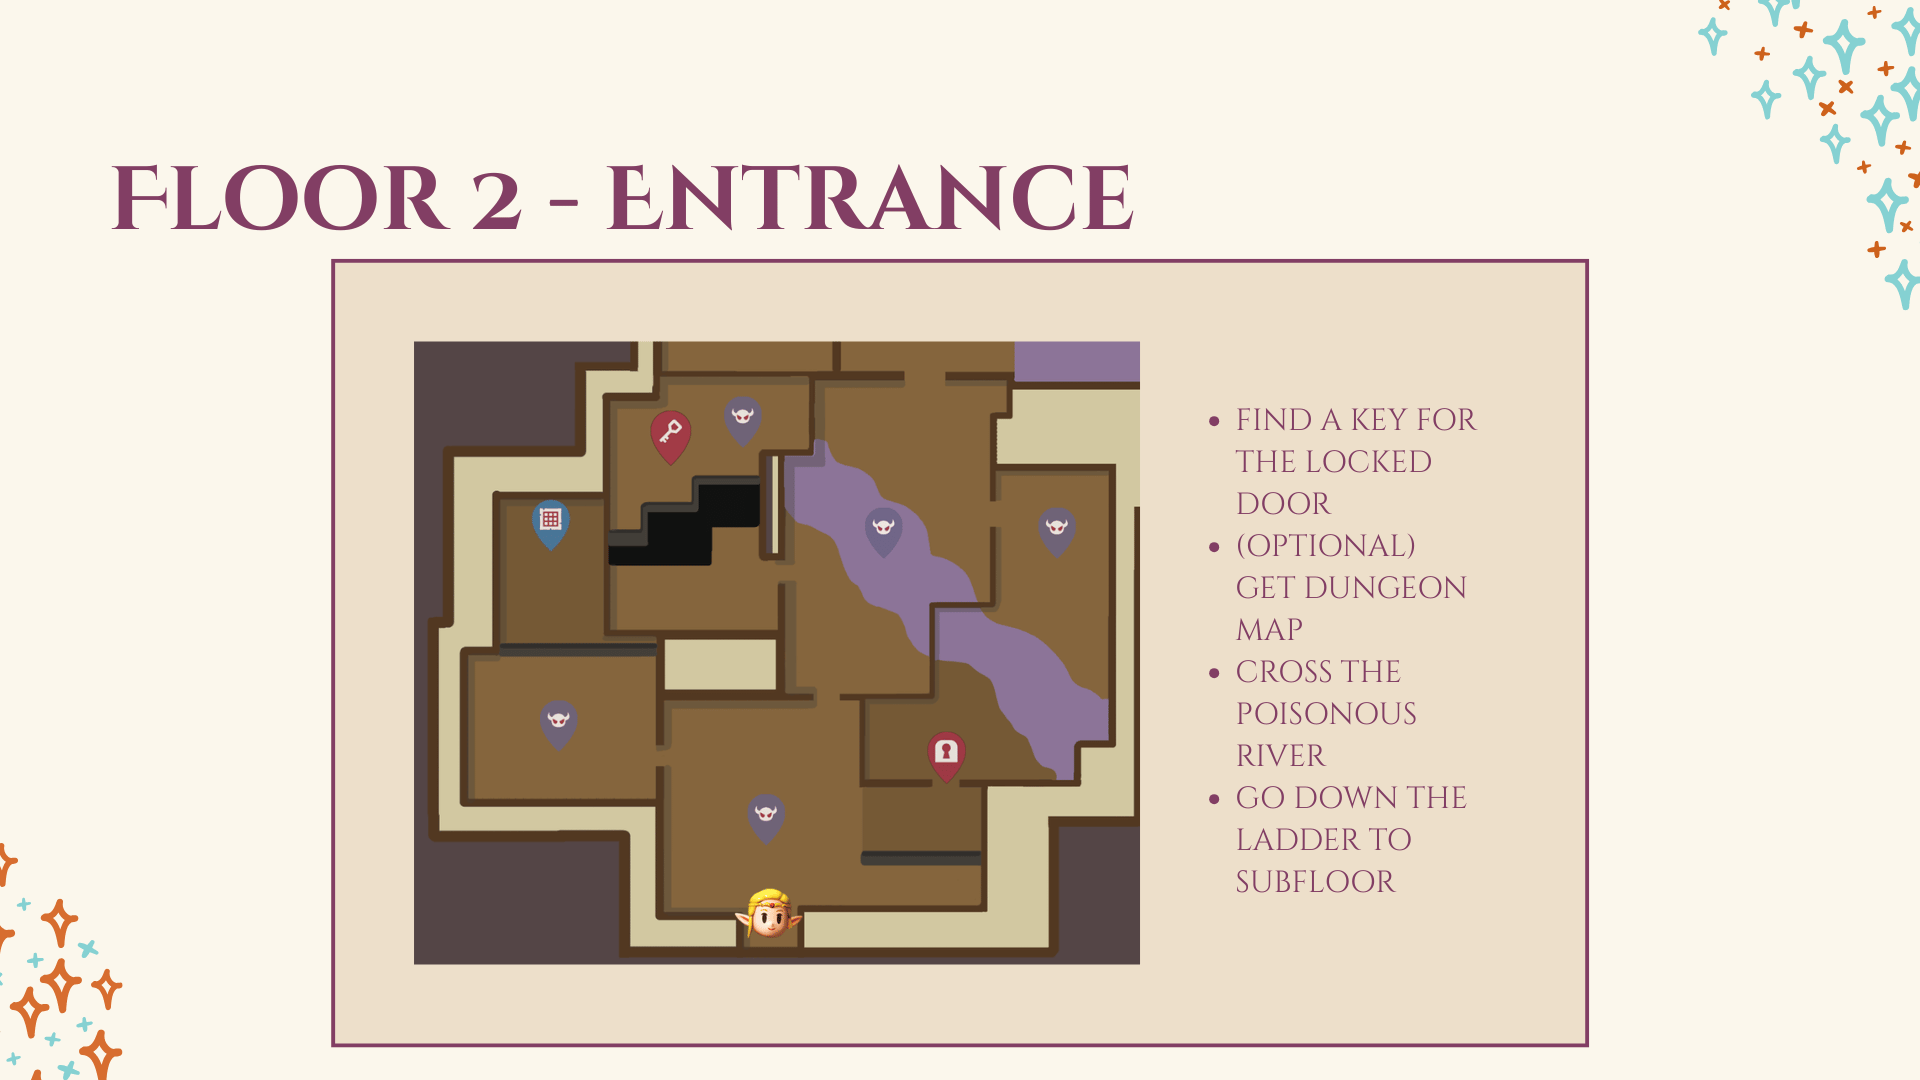
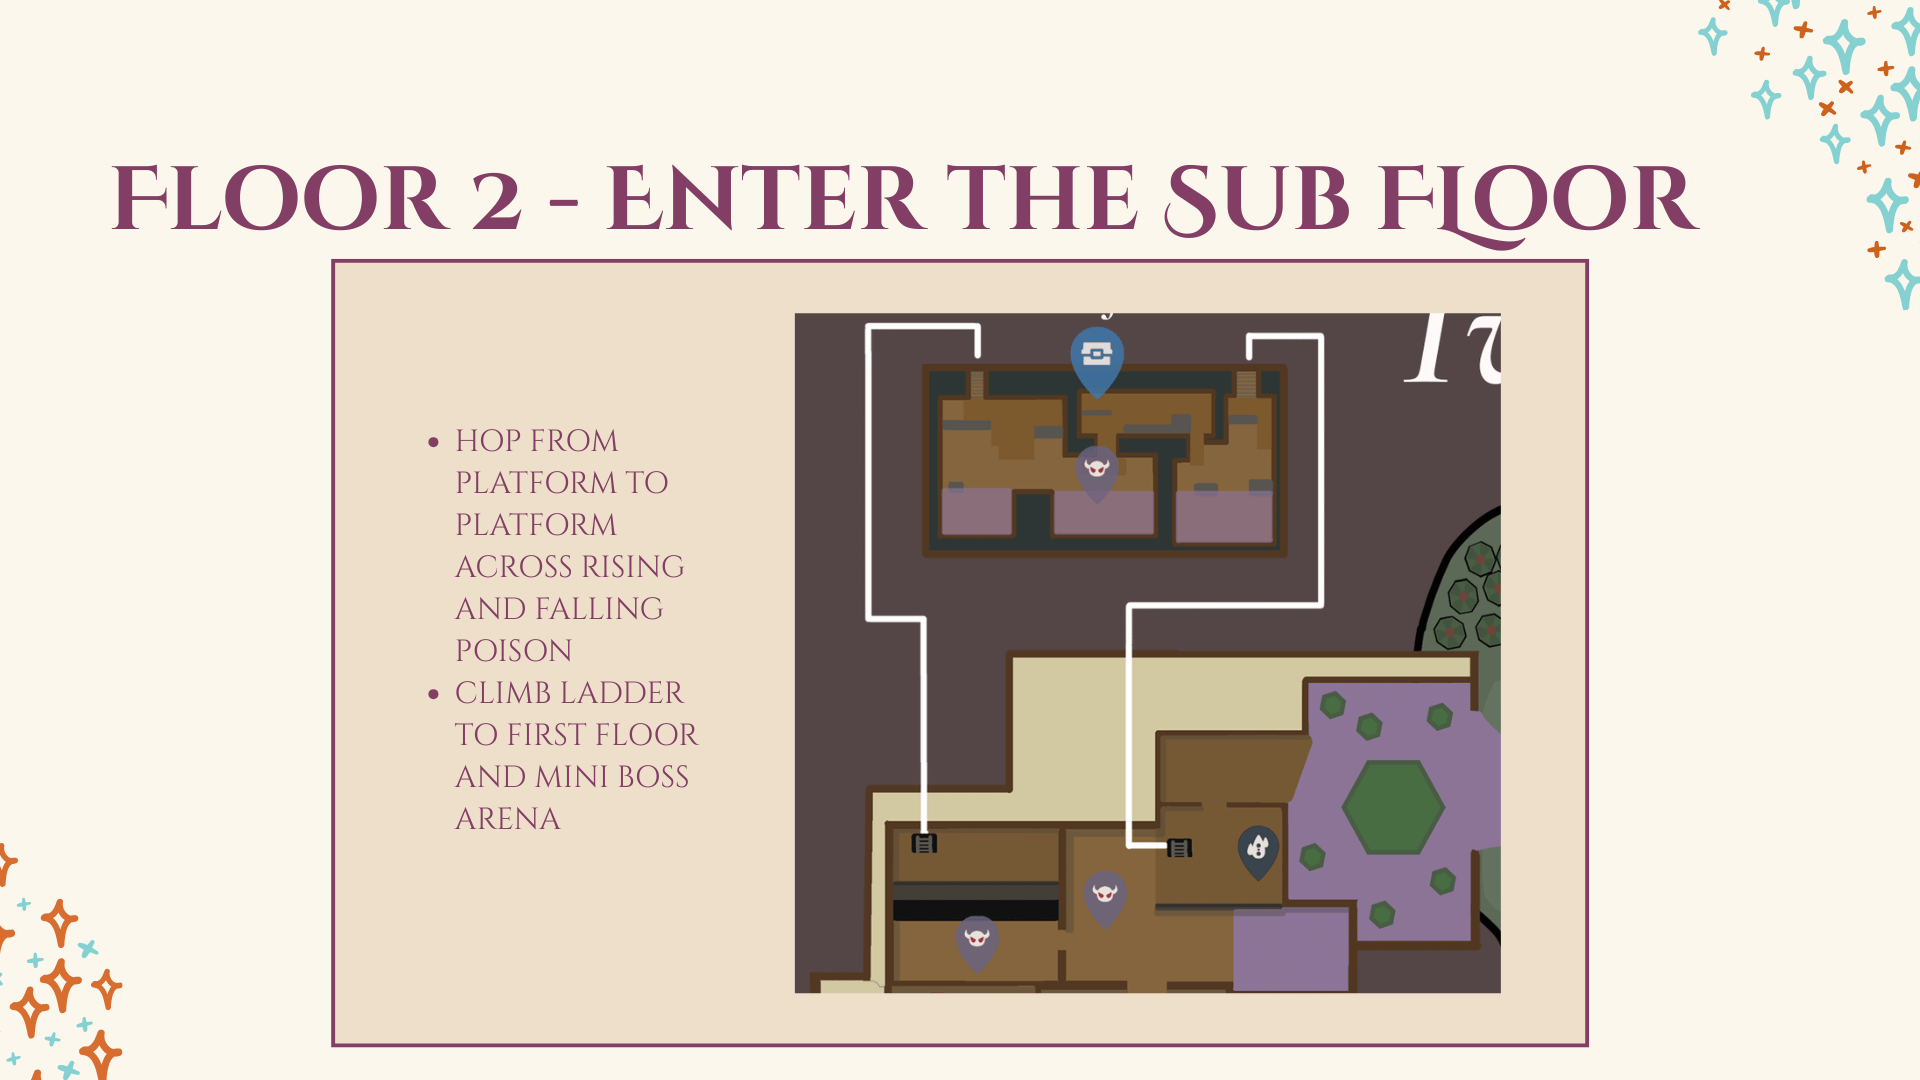
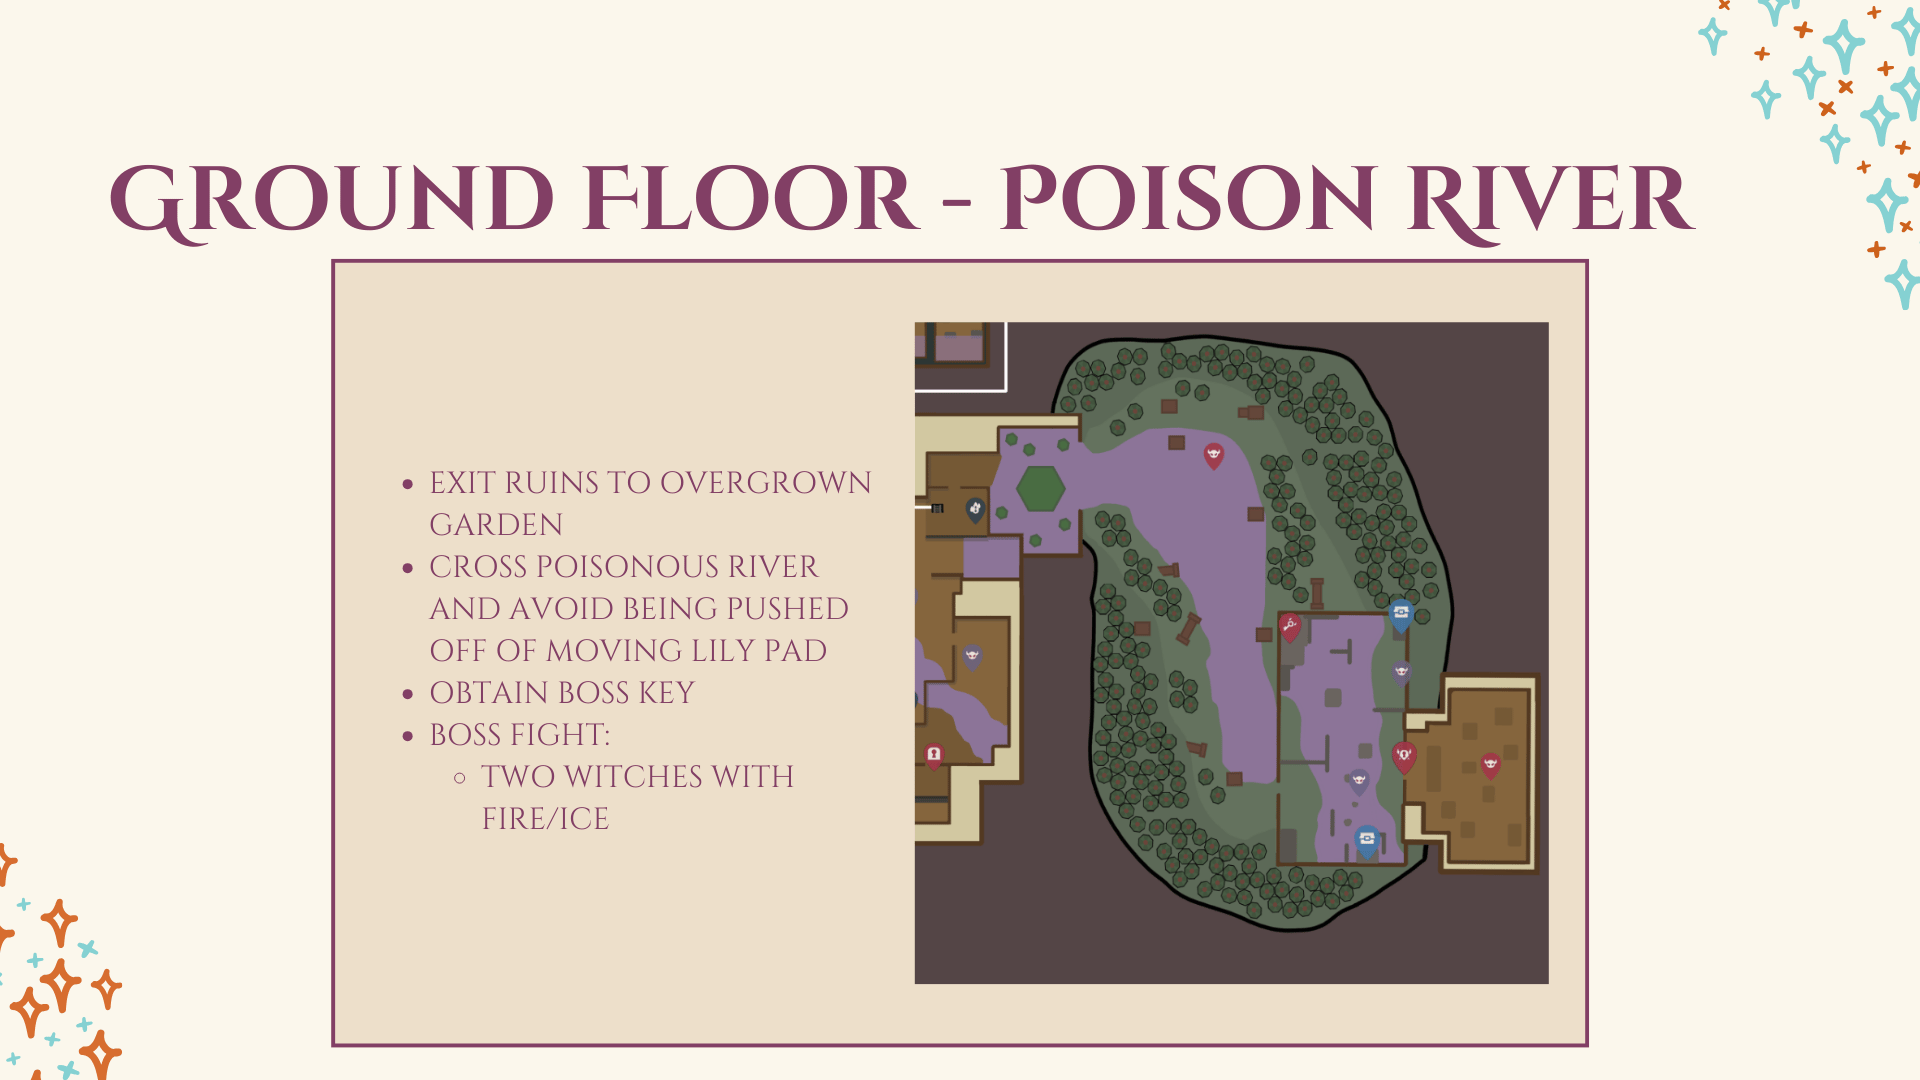
Level Walkthrough
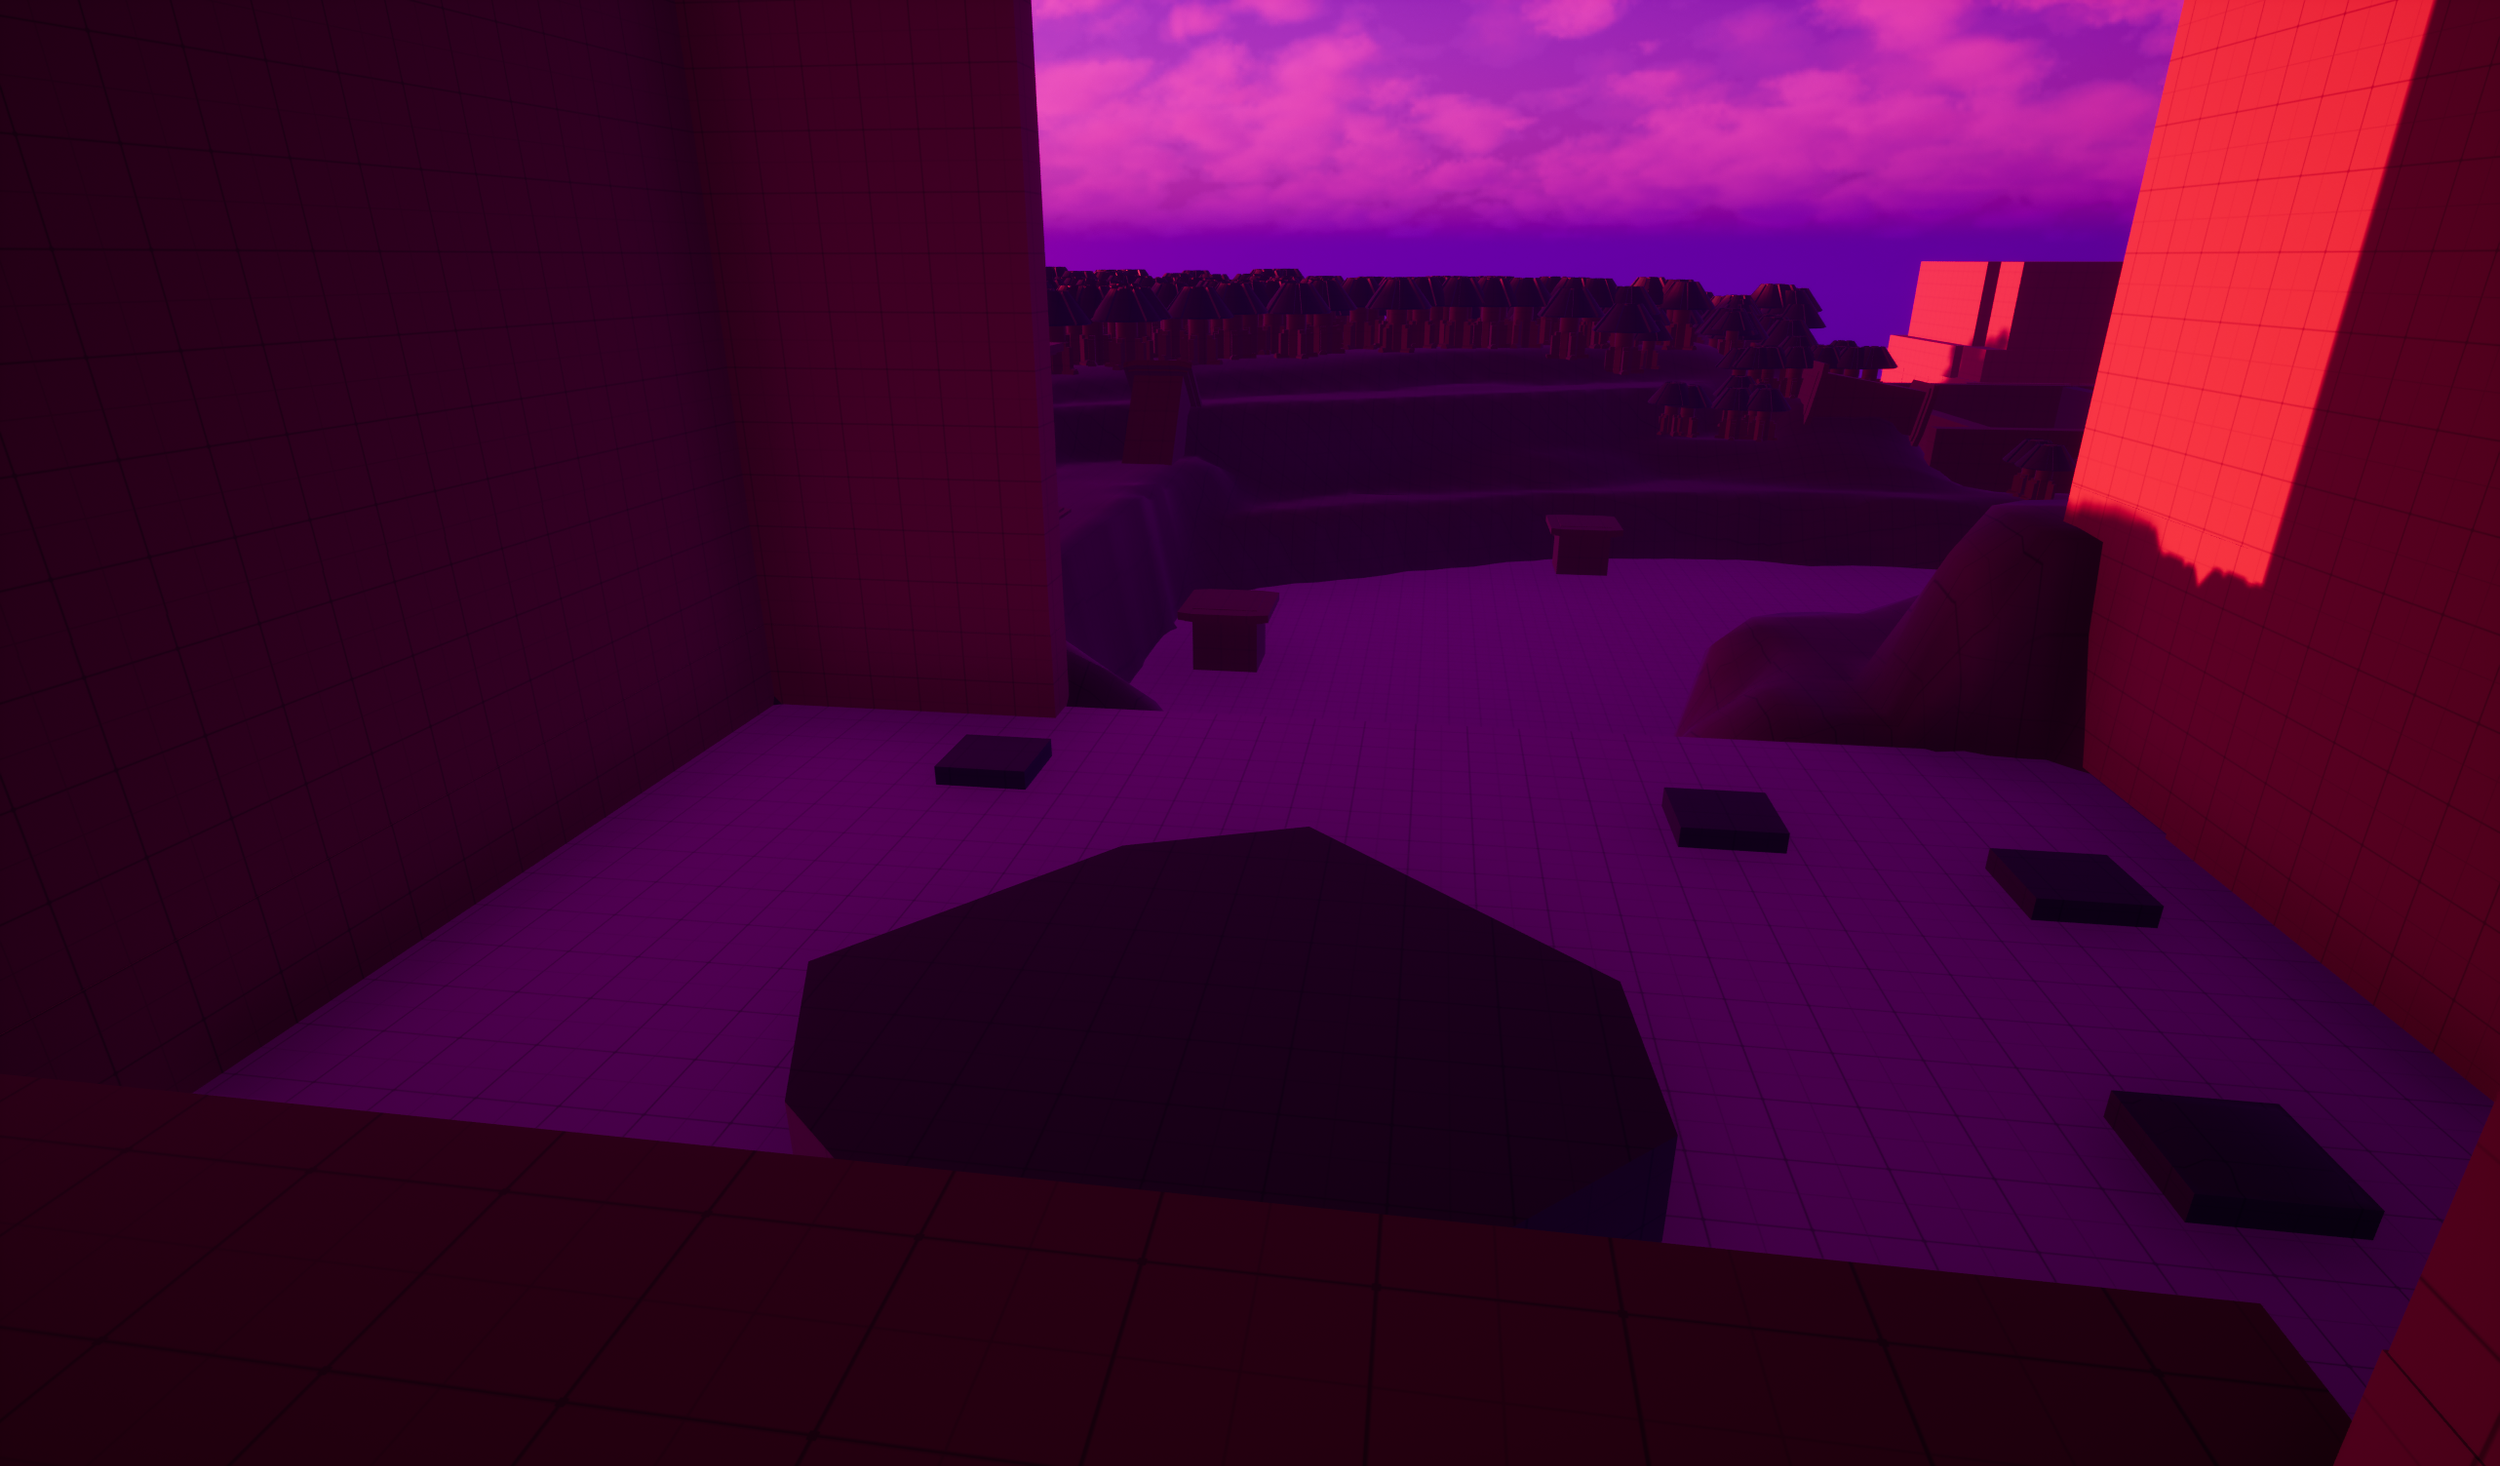
This project is an optional dungeon designed to expand on the core mechanics of Echoes of Wisdom. While most dungeons in the franchise follow a clear, linear path, in Echoes of Wisdom the challenges within its dungeons are designed for "player-led" solutions. I focused on creating an environment where players can use their collected summons and abilities in creative ways to bypass obstacles. As an optional region, the rewards found here aren't required to beat the game, but they offer alternative strategies for late-game puzzles.
Specific Responsibilities
Gameplay Blueprints: Built the core "Summoning Echoes" and "Swordfighter Form" mechanics from scratch, allowing players to toggle between different playstyles.
Camera System: Blueprinted a custom isometric camera to match the game’s signature perspective, ensuring it stayed consistent during combat and exploration.
Mechanical Logic: Developed the backend logic that allows player-summoned objects to interact correctly with the environment and puzzle elements.
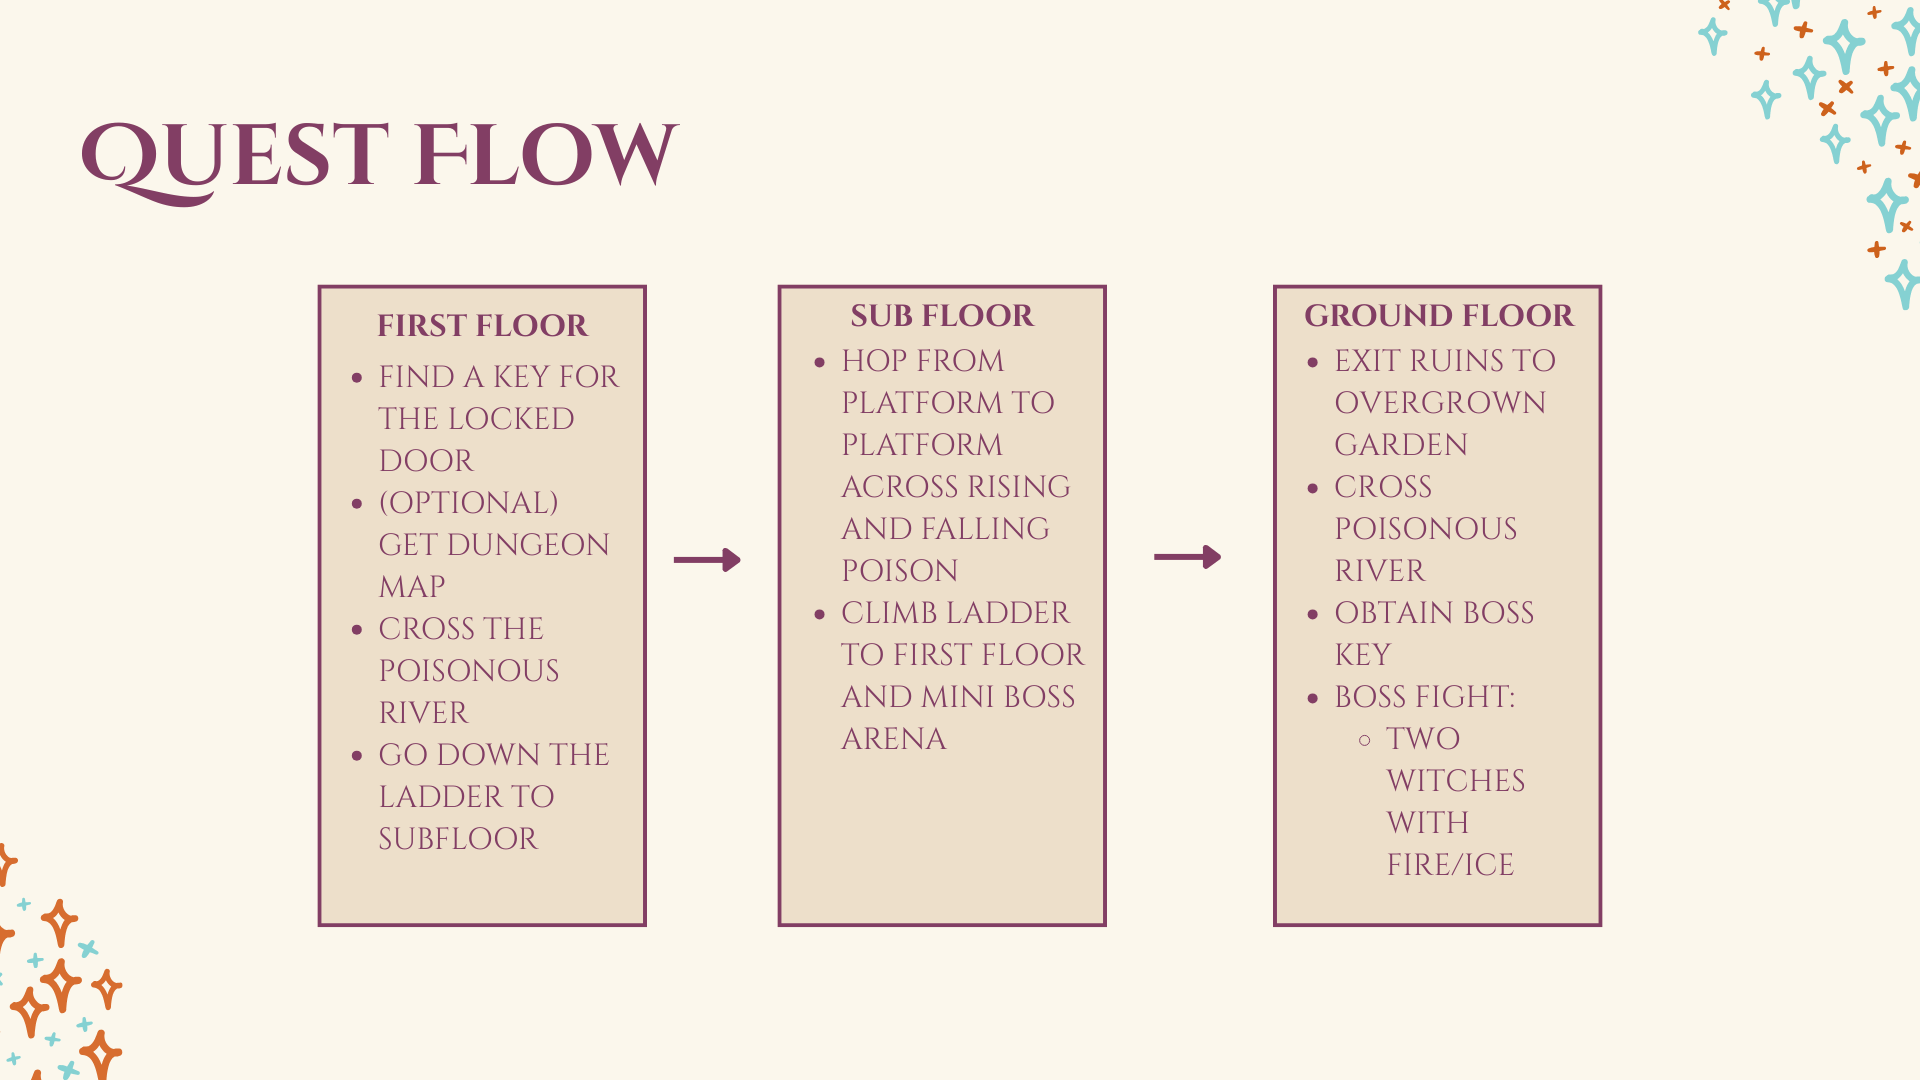
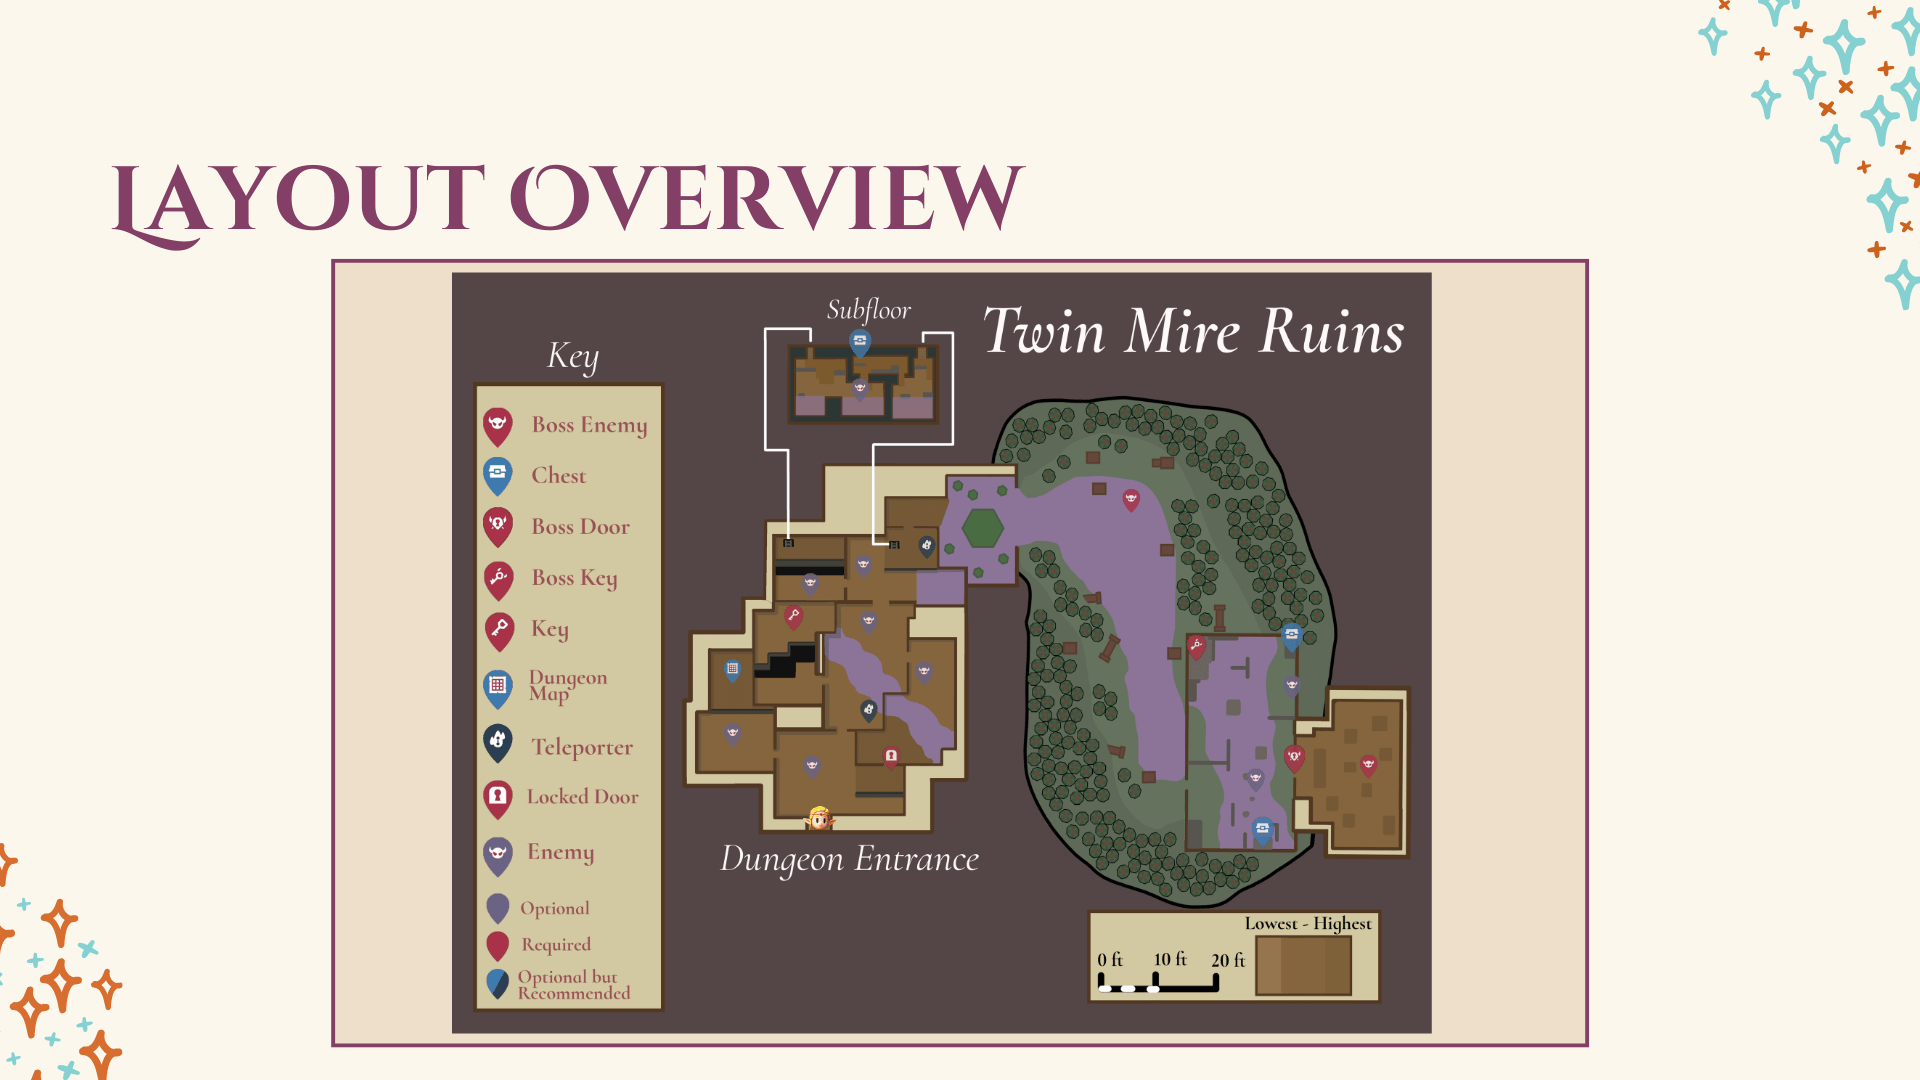
Linear Pathing: Structured the dungeon with a clear beginning, middle, and end to keep the player moving forward without getting lost.
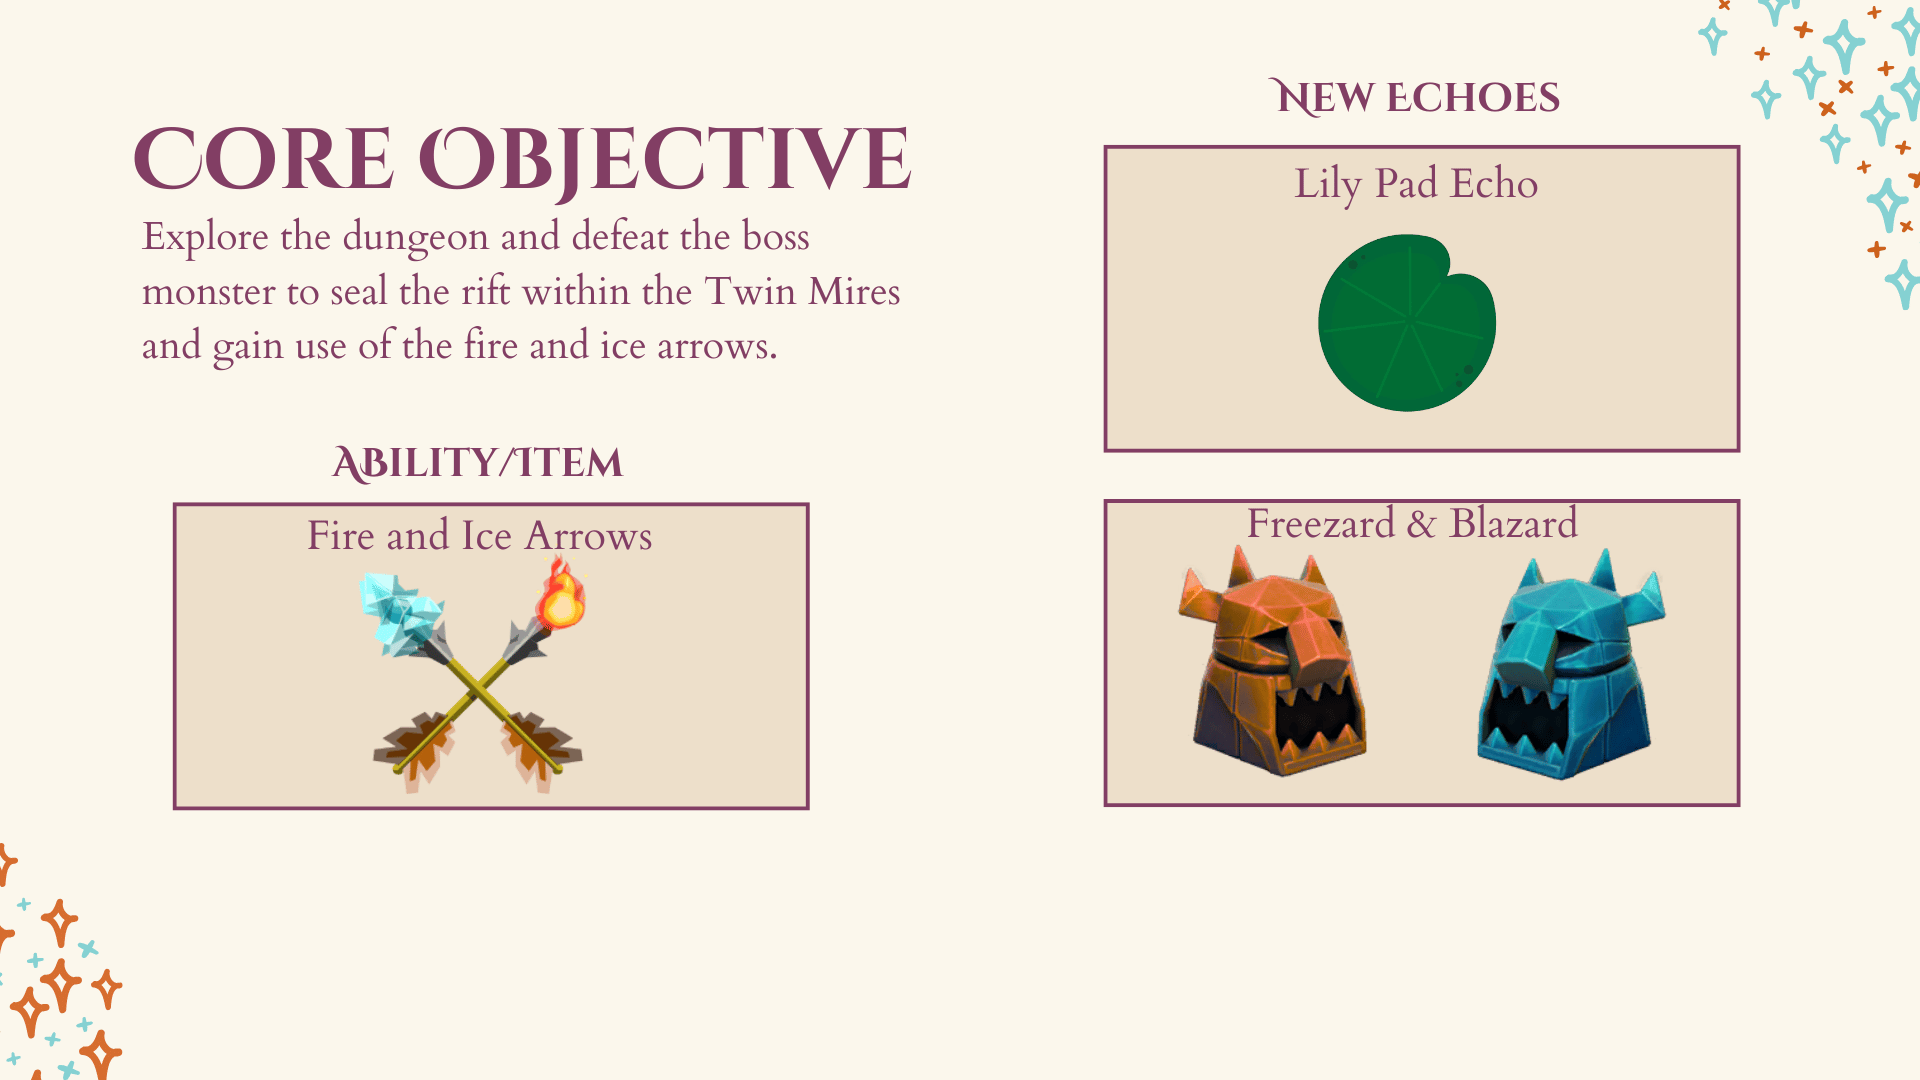
Late-Game Utility: Designed the rewards and puzzle outcomes to provide players with new methods for handling complex puzzles later in the game.
Visual Communication: Used the environment to hint at possible solutions, guiding the player to think creatively about their inventory of abilities.
Software: Unreal Engine 5.7, Photoshop, Perforce.
Level Walkthrough
Level Layout


Blueprints

Summoning Echoes
1. Organizing Your Library: The Summon List
Before we spawn anything, the game needs to know what our options are. In the provided blueprint, a variable called Spawn List is used to store your actors. This is likely an Array of Actor Classes, allowing you to hold everything from explosive barrels to AI companions in a single list.
2. Selecting Your Summon: The Cycling Logic
The bottom section of our blueprint handles the "Selection Index." This is a clever way to ensure your player never goes "out of bounds" when scrolling through their choices.
The "G" Key Cycle:
The Increment: When the G key is pressed, we take the current Selection Index and add 1 to it using the ++ (Increment) node.
The Modulo Trick (%): To make the list loop back to the start, we use a Modulo node. We divide our new index by the Length of the Spawn List.
The Loop: If you have 3 items and reach index 3, the Modulo resets the index to 0. This creates a perfect loop so the player can cycle through the list indefinitely.
3. Bringing it to Life: The Summoning Logic
Now that we’ve selected an item, the E key handles the actual physics of placing it in the world.
Calculating the Spawn Location:
To ensure the object doesn't spawn inside the player, the blueprint calculates a point in front of the character:
Forward Vector: It gets the Actor Forward Vector and multiplies it by a float (likely your desired distance).
Socket Offset: It adds this to a specific Socket Location from the character's Mesh. This ensures the object spawns relative to where the character is standing or facing.
Spawning the Actor:
The "Get" Node: The blueprint uses the Selection Index we created earlier to "Get" the specific class from the Spawn List.
SpawnActor: This class is fed into the SpawnActor from Class node, using the calculated Transform.
4. Cleanup: The Auto-Destroy Timer
Summoning infinite objects can tank your game's performance. The final step in this blueprint is a built-in "garbage collection" system:
The Delay: Immediately after spawning, the logic hits a Delay node (set to 10.0 seconds in this example).
Destroy Actor: Once the timer runs out, it triggers the Destroy Actor node, targeting the object that was just spawned.
This creates a "temporary summon" effect—perfect for echoes, temporary shields, or projectiles that shouldn't stay in the level forever.

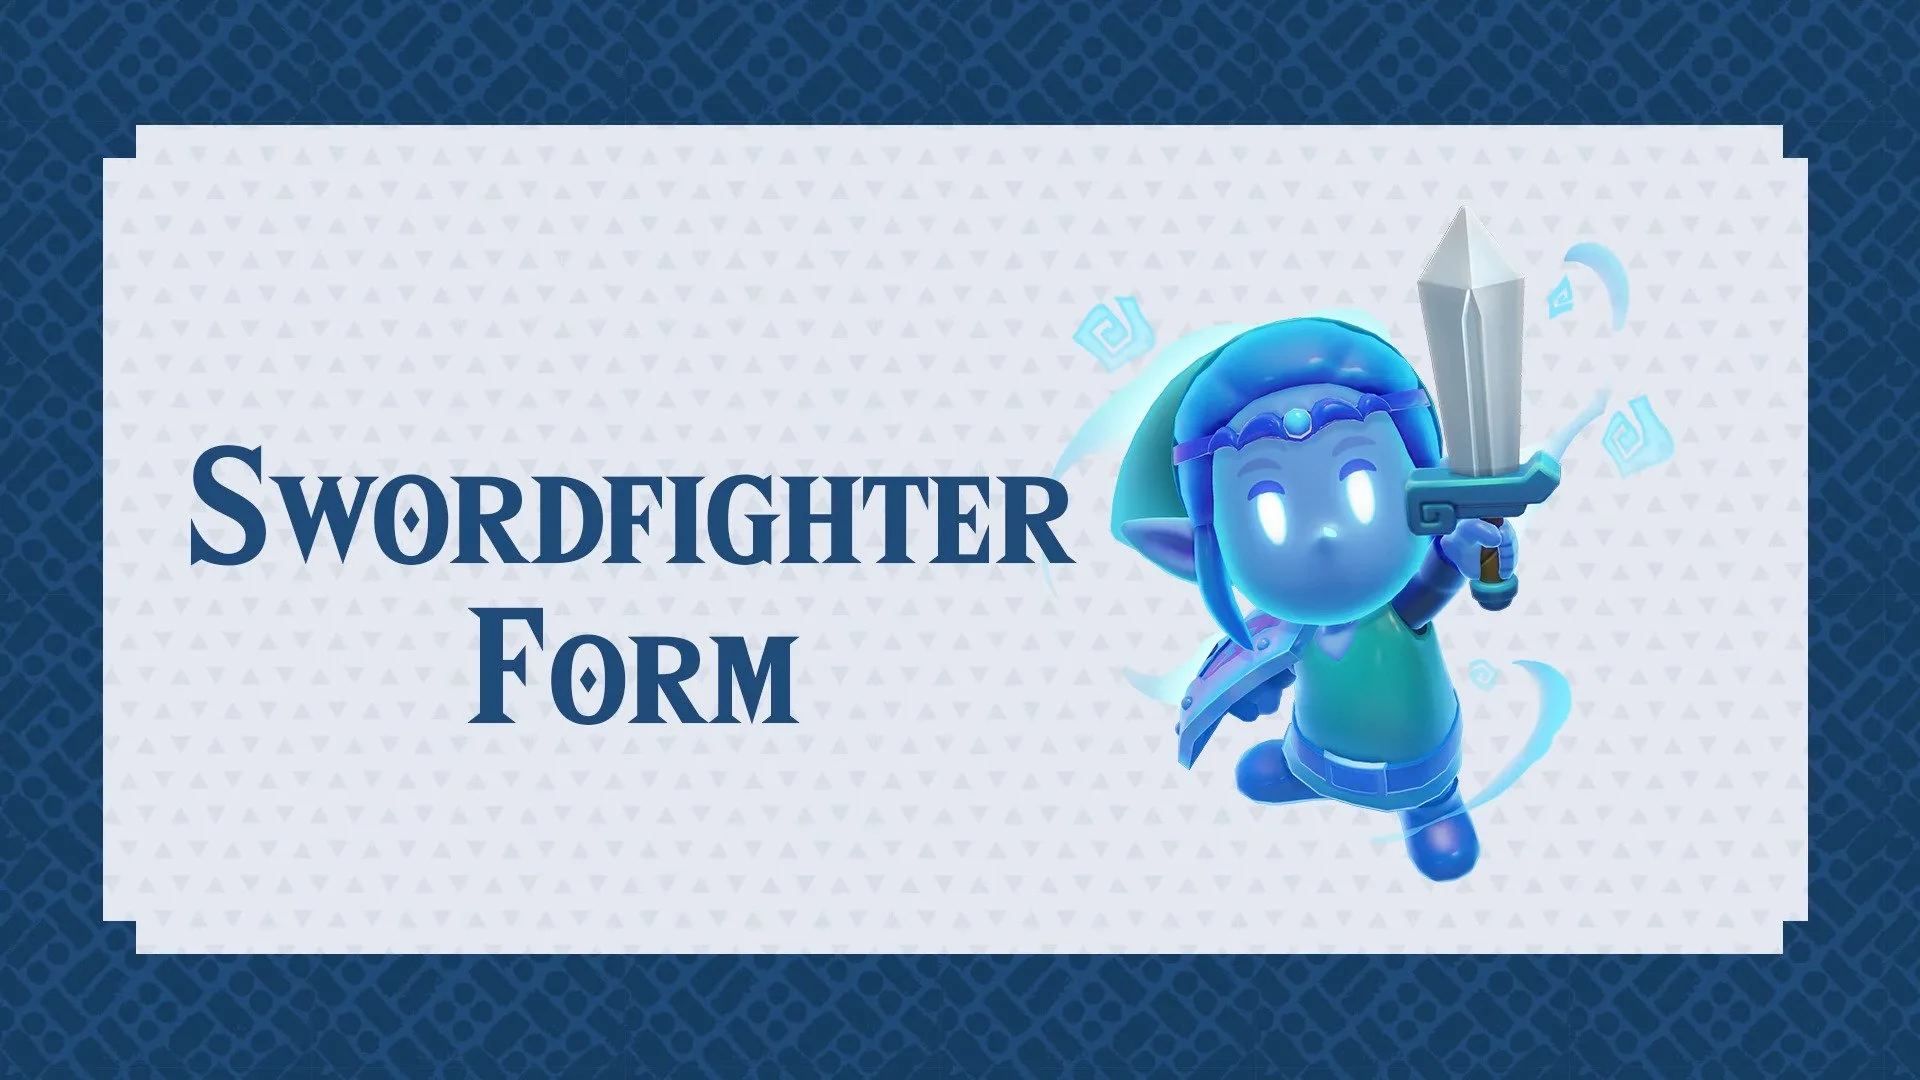
Sword Fighter Zelda Form
1. The Setup: Defining Your States
Before we write any logic, we need to track two things: Are we currently in the middle of changing? and Are we already transformed?
In your Blueprint’s variable panel, create two Booleans:
formChange: This prevents the player from spamming the transformation key while the animation is playing.
isTransformed: This tracks which "form" the player is currently in.
2. The Logic: Creating the Transformation Function
Instead of cluttering your Event Graph, we’re going to wrap the transformation logic inside a Function. This keeps your code modular and easy to read.
Inside the "Transformation" Function:
Lock the State: Set formChange to True immediately. This acts as a "Do Not Disturb" sign for your code.
The Flair: Add your "Lead-in" effects here—play your montages, trigger Niagara particle systems, or swap your character mesh.
Flip the Switch: Once the effects finish, set isTransformed to True.
Unlock the State: Finally, set formChange back to False. Now the game knows the process is complete.
3. The Trigger: Wiring the Event Graph
Now, navigate back to your Event Graph. We need to tell the game when to actually run that function.
When your input key (e.g., the "F" key) is pressed, follow this logic flow:
Check 1 (formChange): Use a Branch. If formChange is True, do nothing. We don't want to start a second transformation while one is already happening.
Check 2 (isTransformed): If we aren't currently changing, check if we are already transformed. If False, call your Transformation Function.
4. Implementation: Form-Specific Abilities
Once you’ve confirmed the transformation works, you can gate your abilities. If you want a "Big Attack" that only works while transformed:
Call your Input Event (e.g., "X" key).
Add a Branch that checks isTransformed.
Connect your attack logic only to the True pin.
1. The Setup: Gauges and Timers
To manage how long a player can stay transformed, we need to track their "energy." Create two new Float variables:
maxFormTimer: Set this to your starting maximum (e.g., 100.0).
formTimer: This will be our active countdown.
Initializing the Gauge
Don't forget to fill the tank! In your Event Begin Play, use a Set node to make formTimer equal to maxFormTimer. This ensures your player starts the game with a full meter.
2. The Gatekeeper: Preventing "Empty" Transforms
We need to make sure the player actually has energy before they change.
Go back into your Transformation Function.
At the very start, add a Branch.
Check if formTimer > 0.
True: Proceed with the transformation.
False: Do nothing. No fuel, no fire!
3. The Countdown: Event Tick Logic
To make the timer actually count down, we head to the Event Tick
Check State: Start with a Branch checking isTransformed.
The Drain: If True, pull your formTimer, subtract 1 (or use World Delta Seconds for a smoother drain), and Set the variable with the new result.
The Auto-Revert: Check if the new value is less than or equal to 0. If it hits zero, it’s time to force the player back to their normal form.
4. The Cleanup
Set formChange to True (lock the player's inputs during the transition).
Play your "Reverting" animations or particles.
Set isTransformed to False.
Set formChange back to False.
5. Connecting the Input
Finally, go back to your Input Node (the key you use to transform).
Recall our logic from earlier: we checked if the player was already transformed. Now, on the True path (meaning they are currently transformed), simply call your new Revert function.
Now your player has a choice: stay in the form until the meter hits zero, or bank half their remaining energy by switching back early!