The Twin Mires
An optional dungeon built around player-led problem solving
This project expands on the core mechanics of Echoes of Wisdom. Most dungeons in the franchise follow a strict linear path, but Echoes of Wisdom is built for player-led solutions — so the focus here was an environment where collected summons and abilities can be combined in unexpected ways to clear each obstacle. As an optional region, nothing inside is required to finish the game; it exists to give players an alternate toolkit for late-game puzzles.
Built the "Summoning Echoes" and "Swordfighter Form" systems from the ground up, letting players swap playstyles on the fly.
Blueprinted a custom isometric camera matched to the franchise's signature perspective, kept stable through combat and traversal.
Wrote the backend rules that let summoned objects interact correctly with the environment and its puzzles.
Structured the dungeon with a clear beginning, middle, and end so players always know where to go next.
Designed rewards and puzzle outcomes that hand players new approaches to complex, late-game puzzles.
Used the environment itself to hint at solutions, nudging players to think creatively about their ability set.
Software — Unreal Engine 5.7 · Photoshop · Perforce
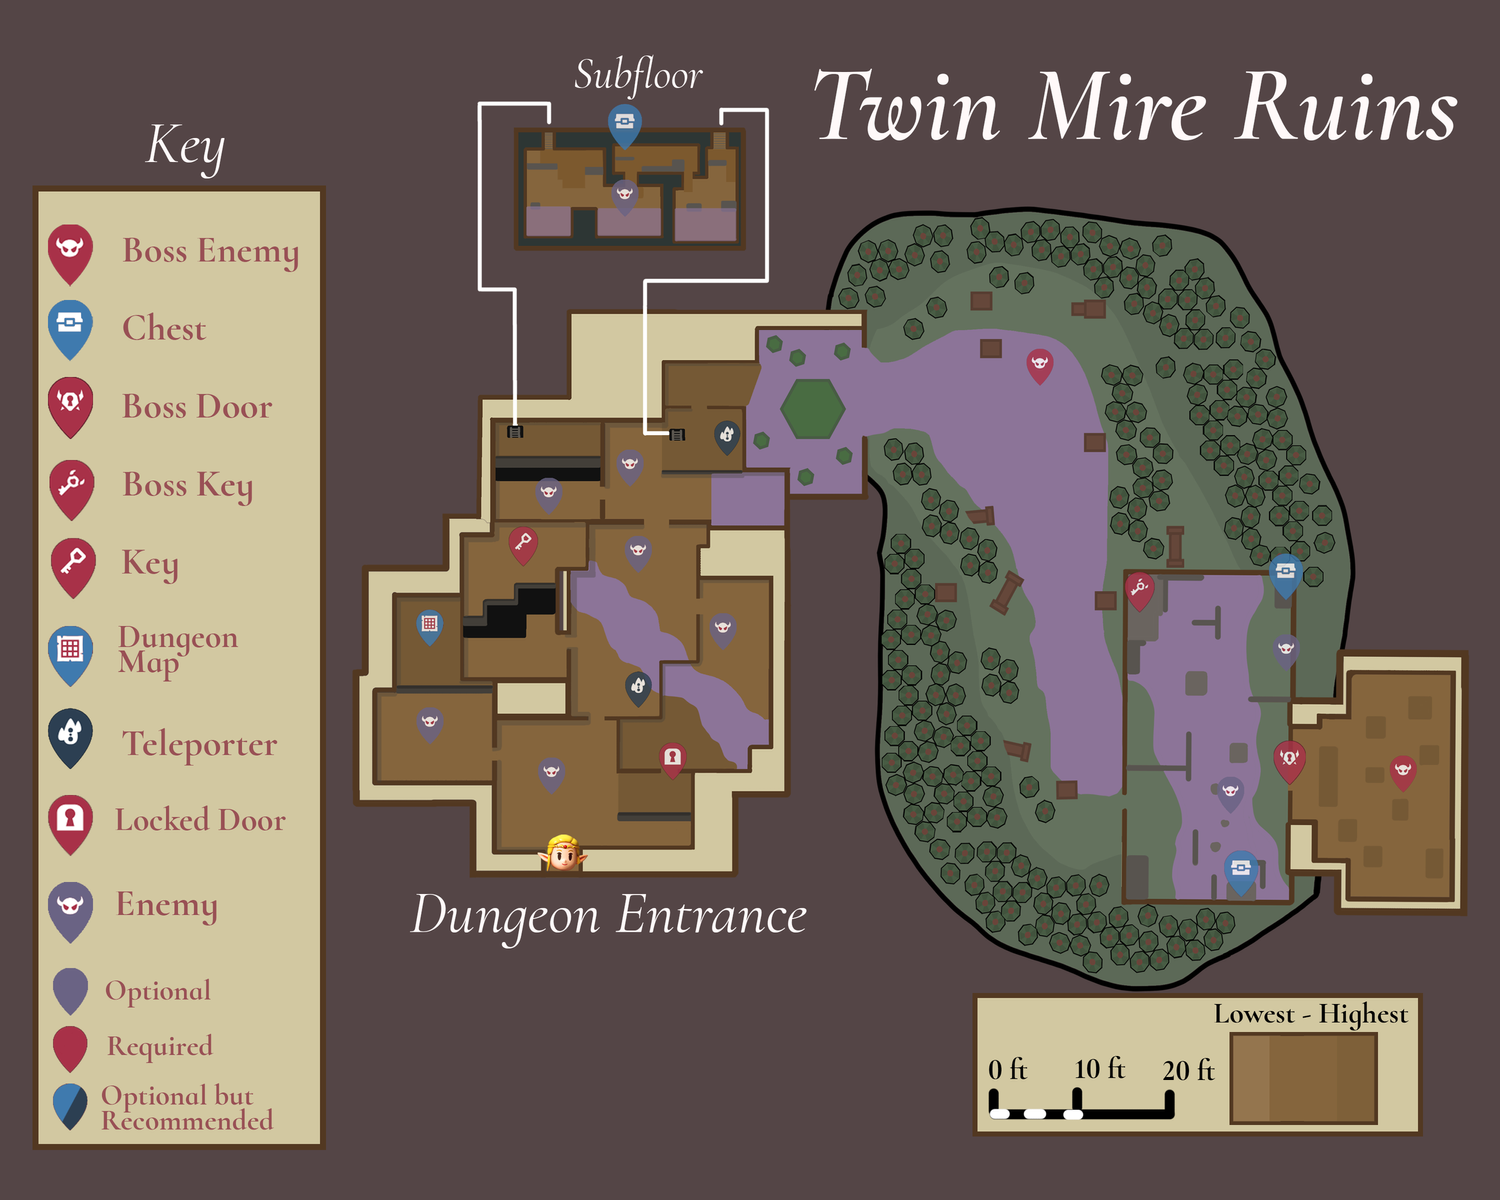
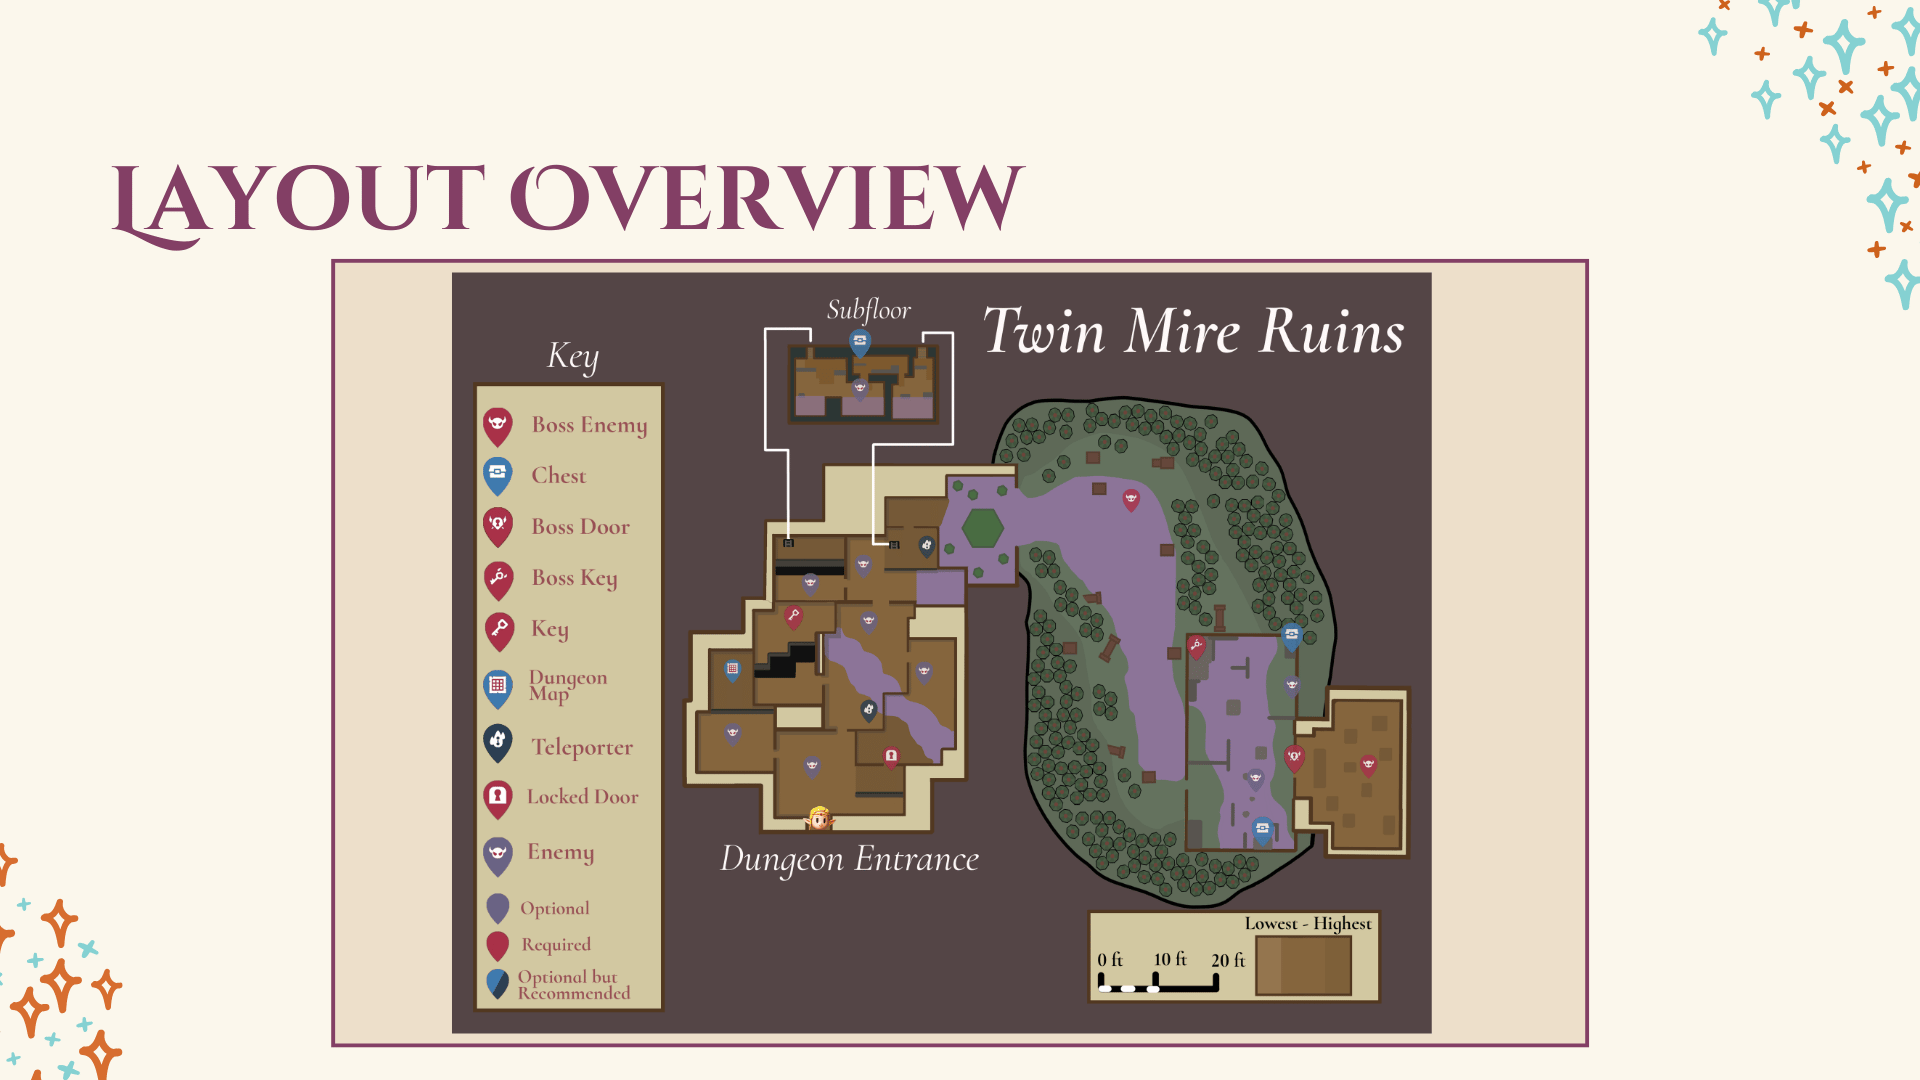
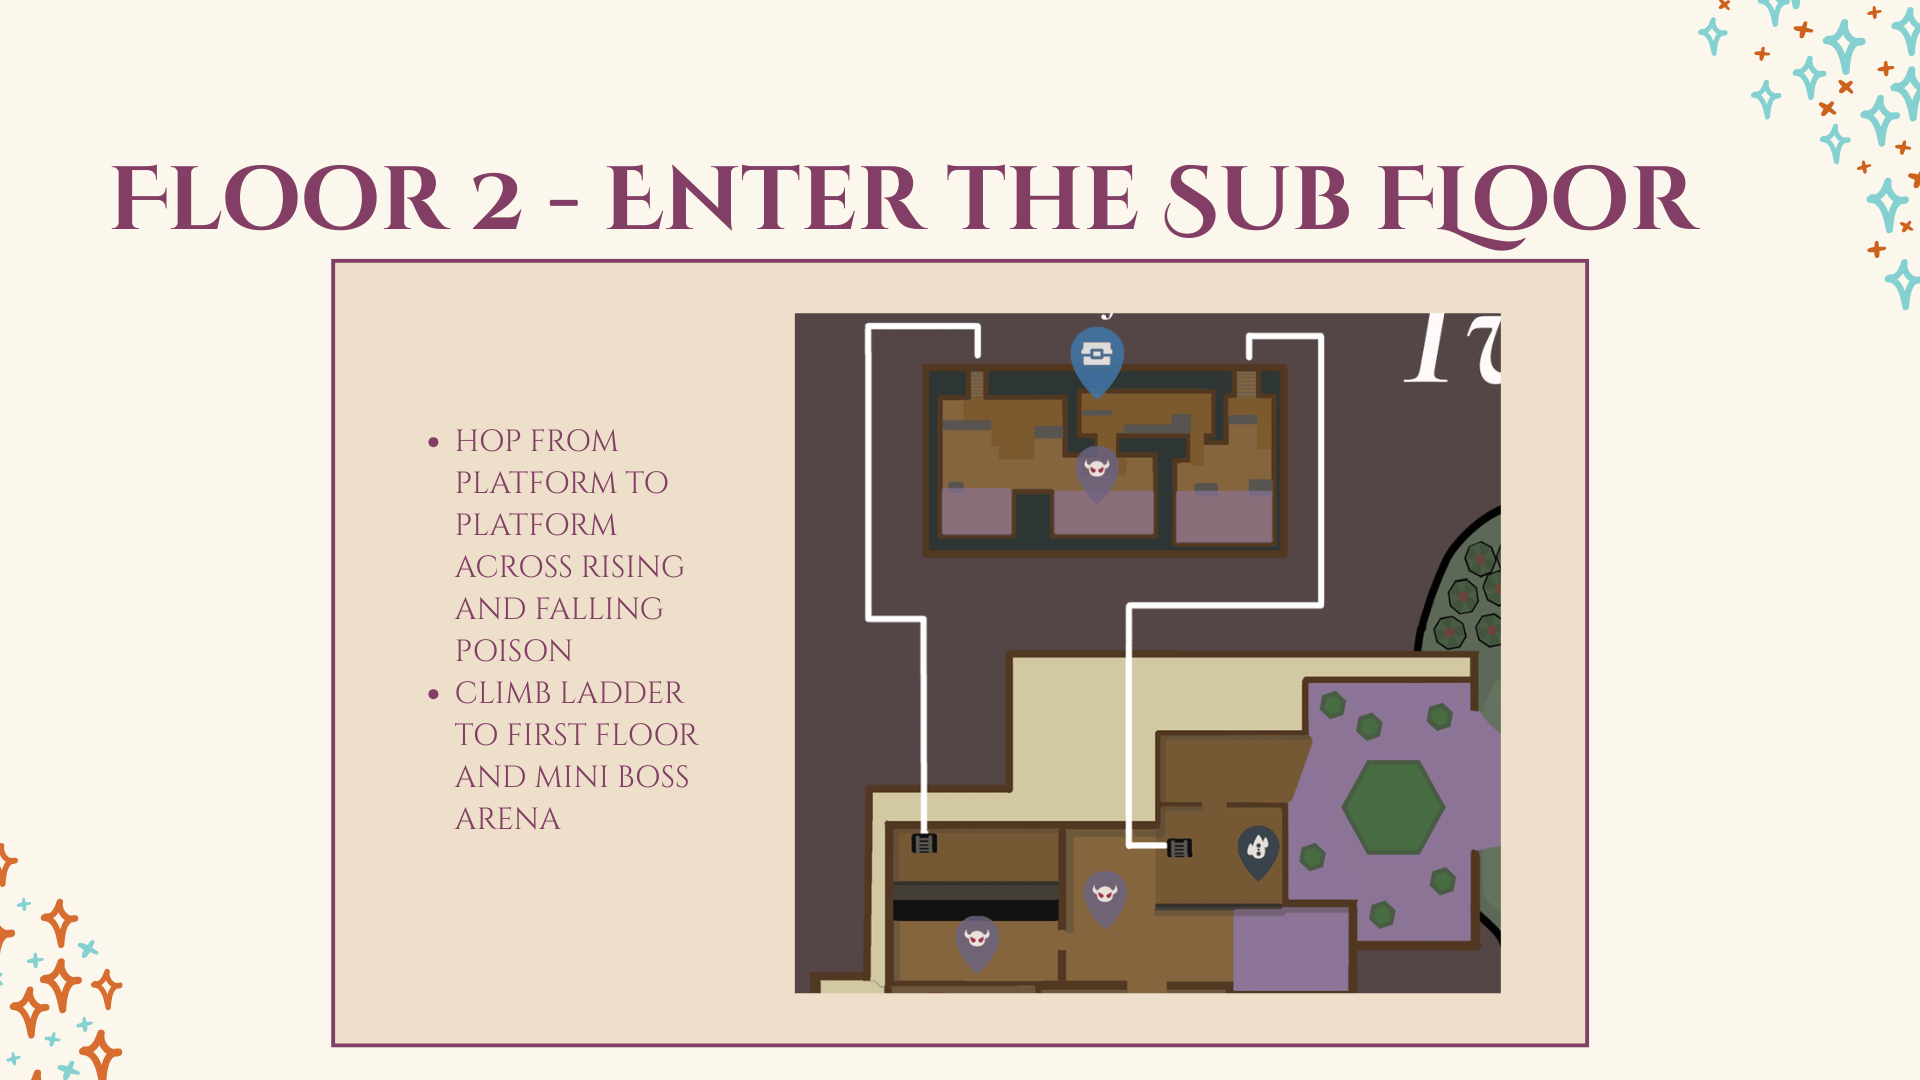
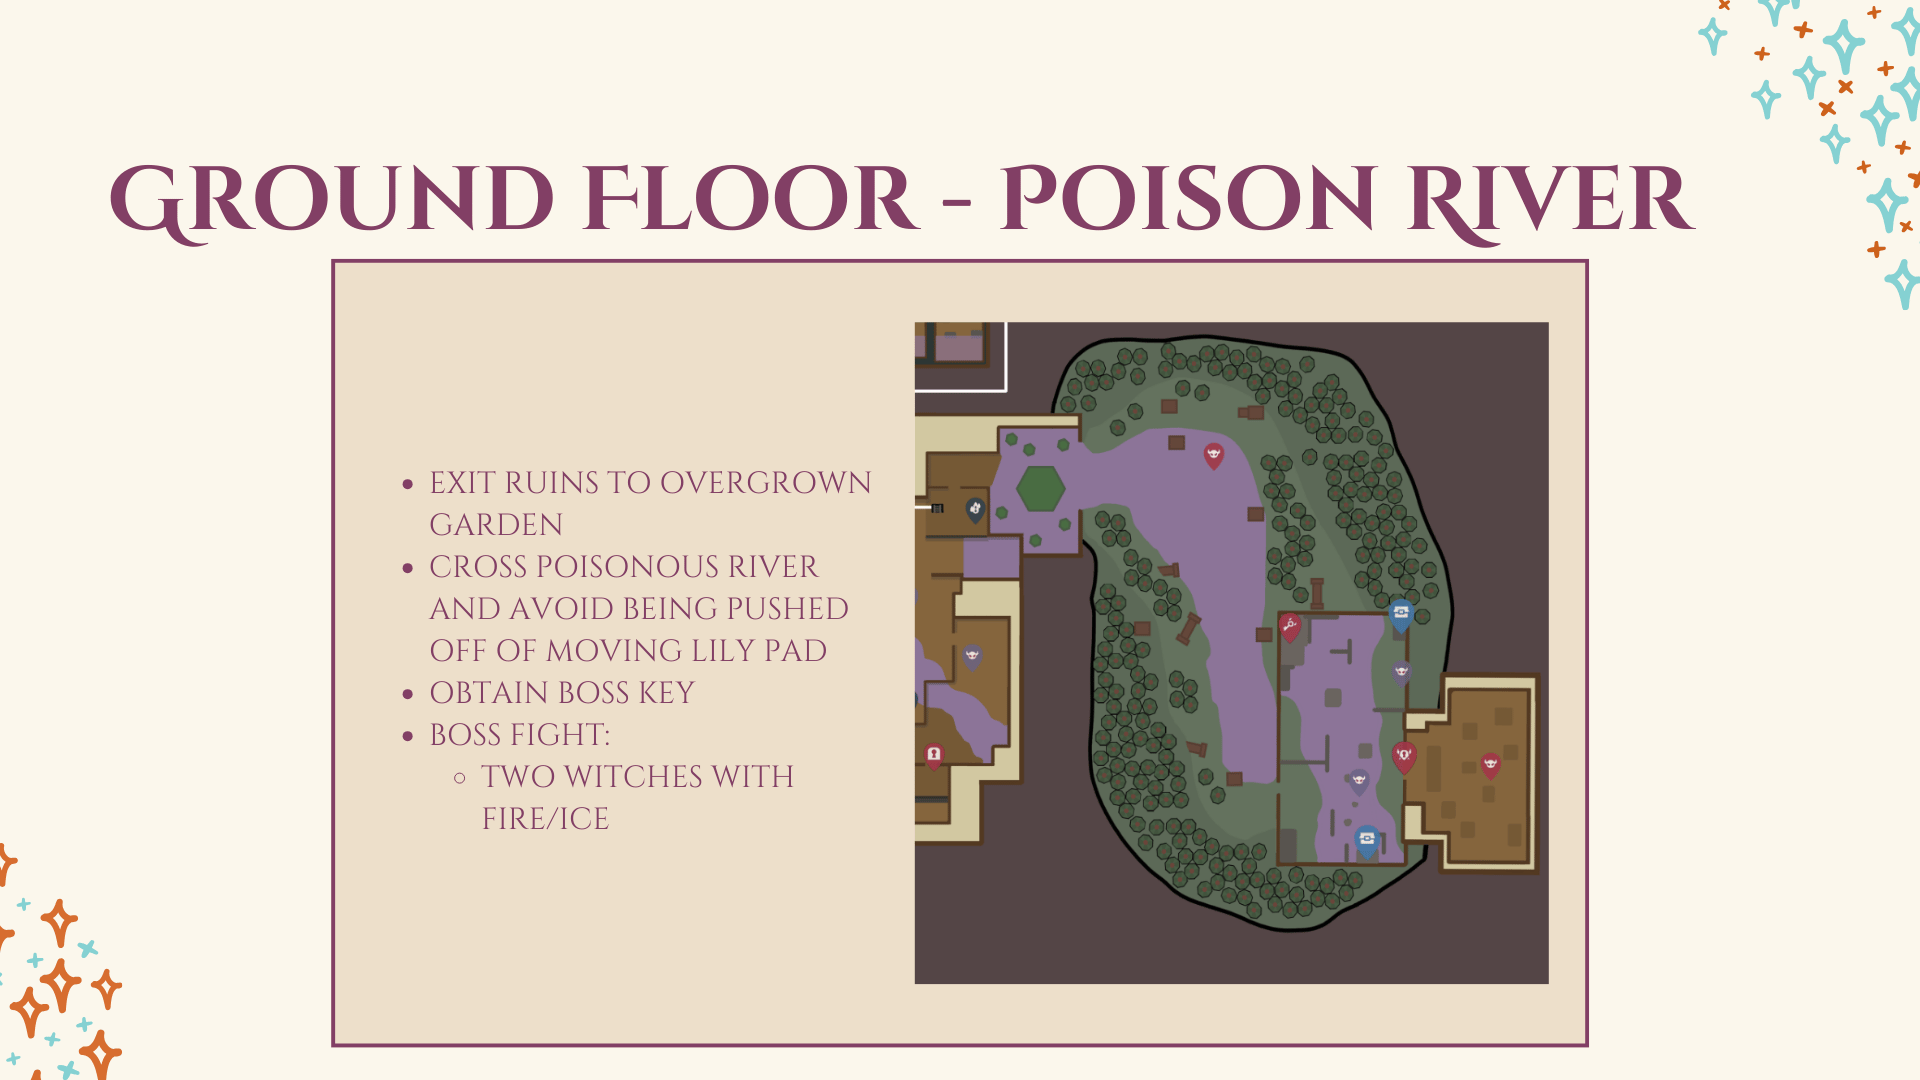
Twin Mire Ruins, floor by floor
Narrative, objective, and the new tools it unlocks
- IncitingZelda must venture into the Twin Mires to clear the rift enveloping the region.
- ExplorationUsing her echoes, Zelda and Tri explore the Stilled Ruins, saving many of Tri's friends along the way.
- RewardCompleting the mini dungeon grants ice and fire arrows while in swordfighter form.
Core Objective
Explore the dungeon and defeat the boss to seal the rift and unlock the fire and ice arrows.
Fire & Ice Arrows — the reward ability
New Echoes Introduced
Quest flow — three floors, one path down and back up
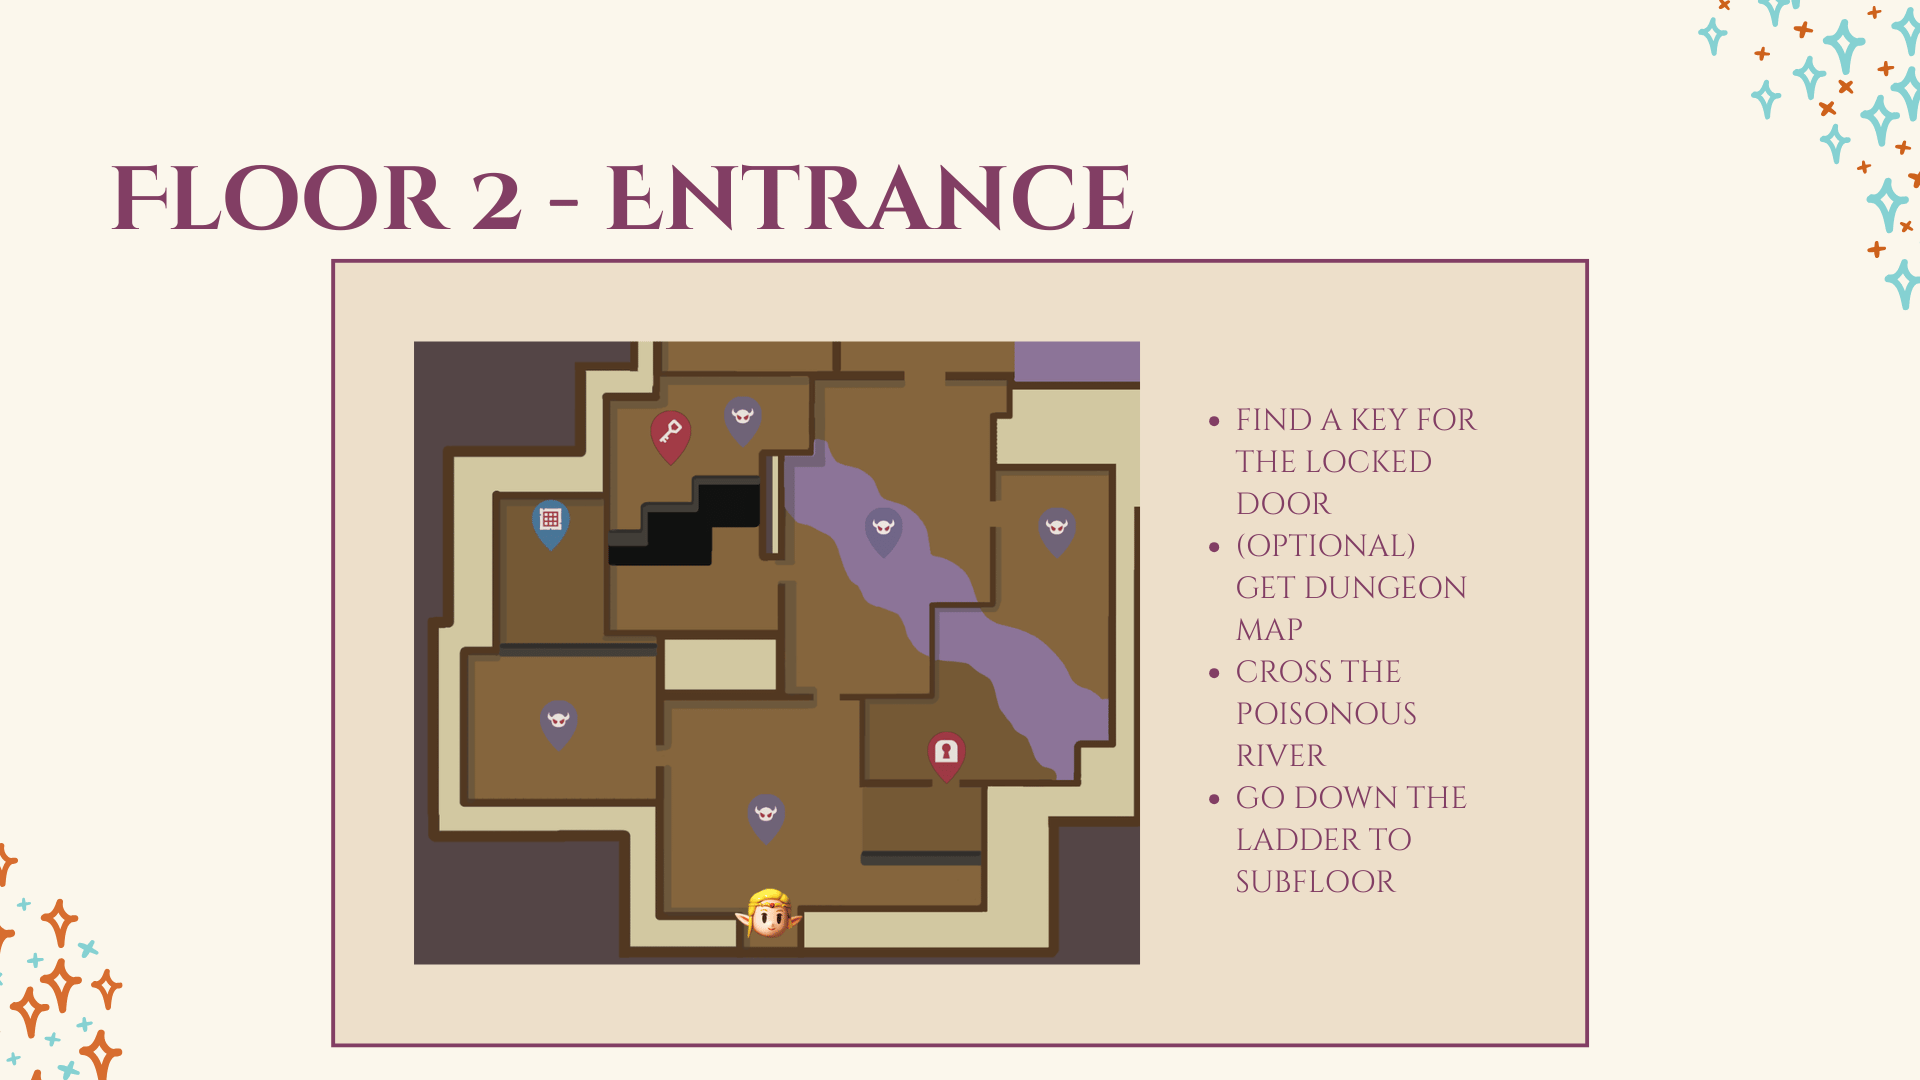
First Floor
- Find a key for the locked door (optional)
- Get dungeon map (optional)
- Cross the poisonous river
- Descend the ladder to the sub floor
Sub Floor
- Hop platform to platform across rising and falling poison
- Climb the ladder to the first floor and mini-boss arena
Ground Floor
- Exit ruins to the overgrown garden
- Cross the poisonous river again
- Obtain the boss key
- Boss fight: two witches with fire and ice
Player mechanics & bestiary
Tri is at least level three by the time this area unlocks, giving Zelda four echo slots to draw from — lily pads, climbable objects like tables and crates, and basic enemies such as Keese or Spear Moblin — on top of the base swordfighter form, Bind, and Reverse Bond.
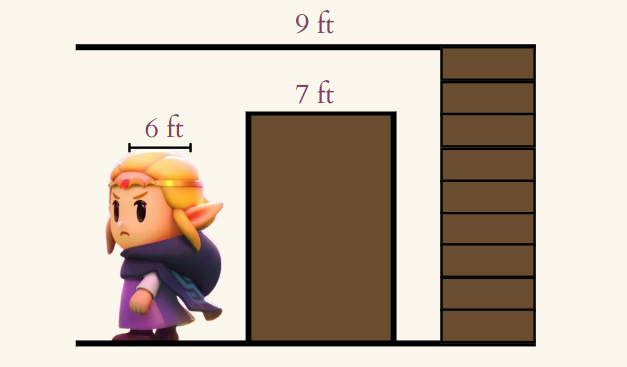
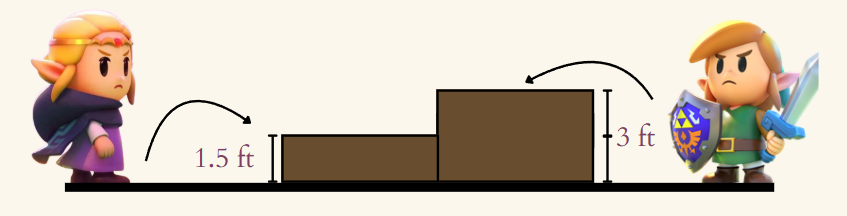
Setting, palette, and scale
Deep purples and browns carry the tone of earthy decay; muted greens show the overgrowth reclaiming the ruins; webs and winding vines cut through the stone to reinforce nature taking over a man-made structure.
Zelda stands taller than the average young girl — just under normal door height — and jumps half the distance Link can clear.
Screenshots from Unreal Engine 5.7
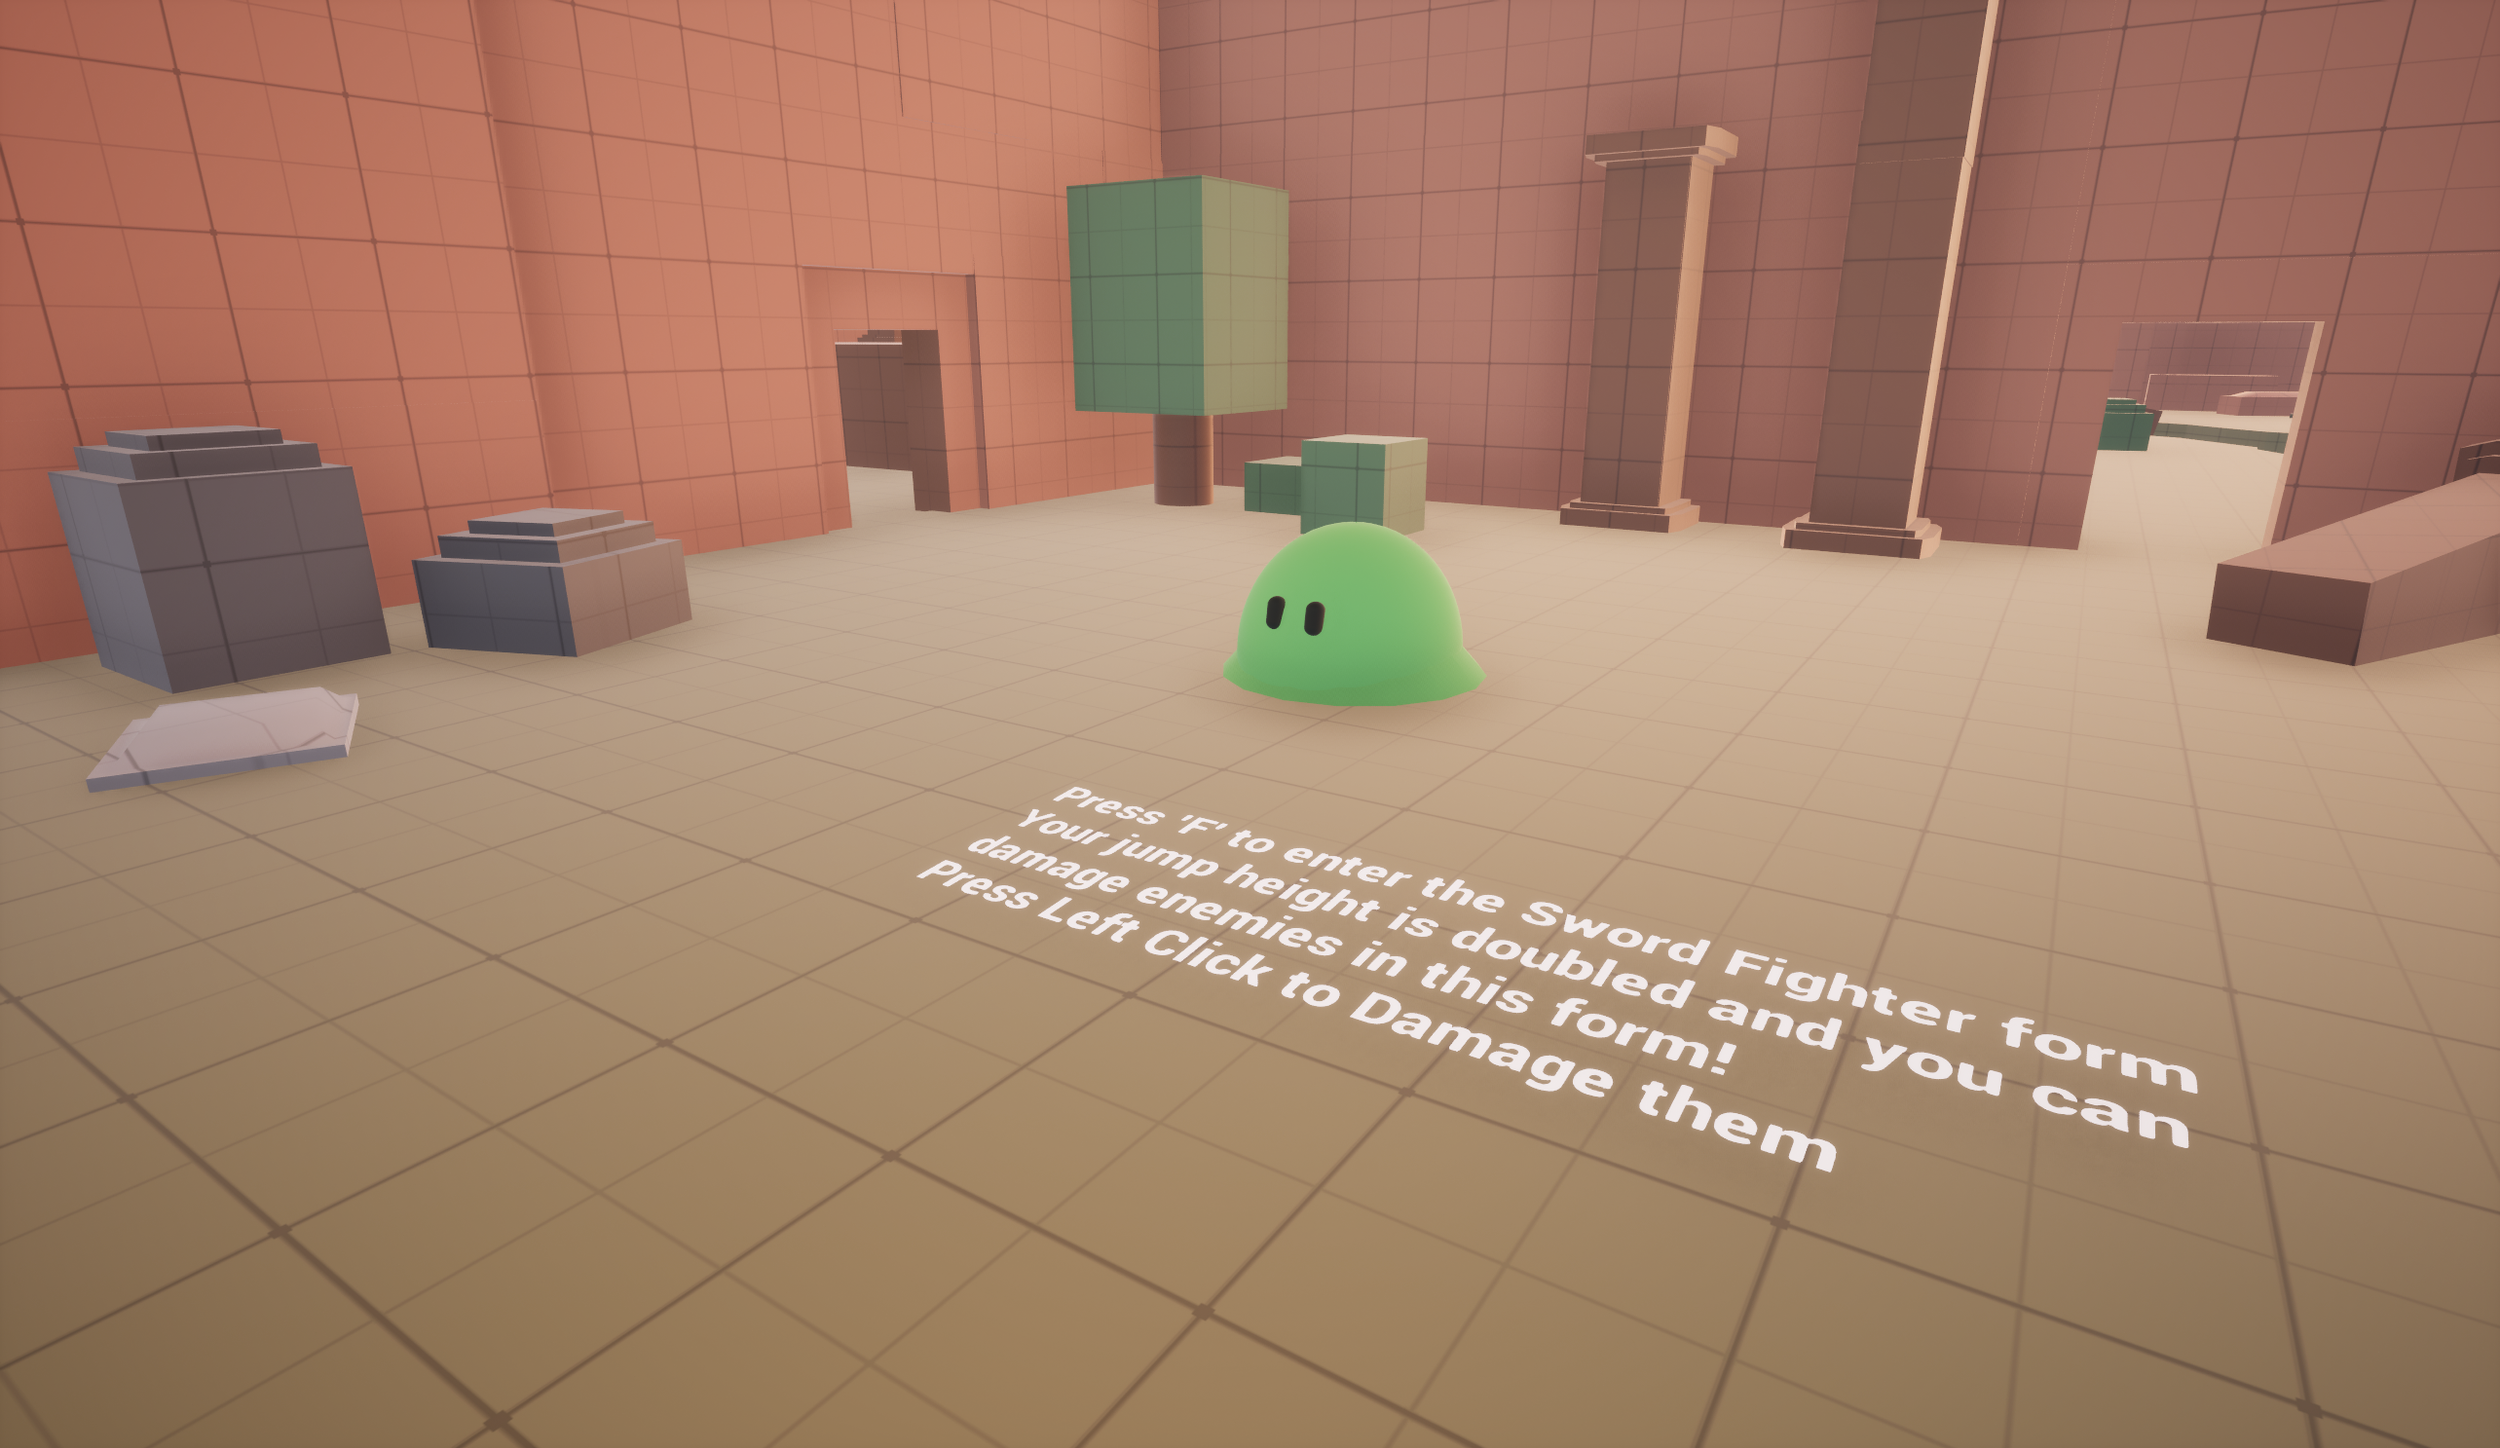
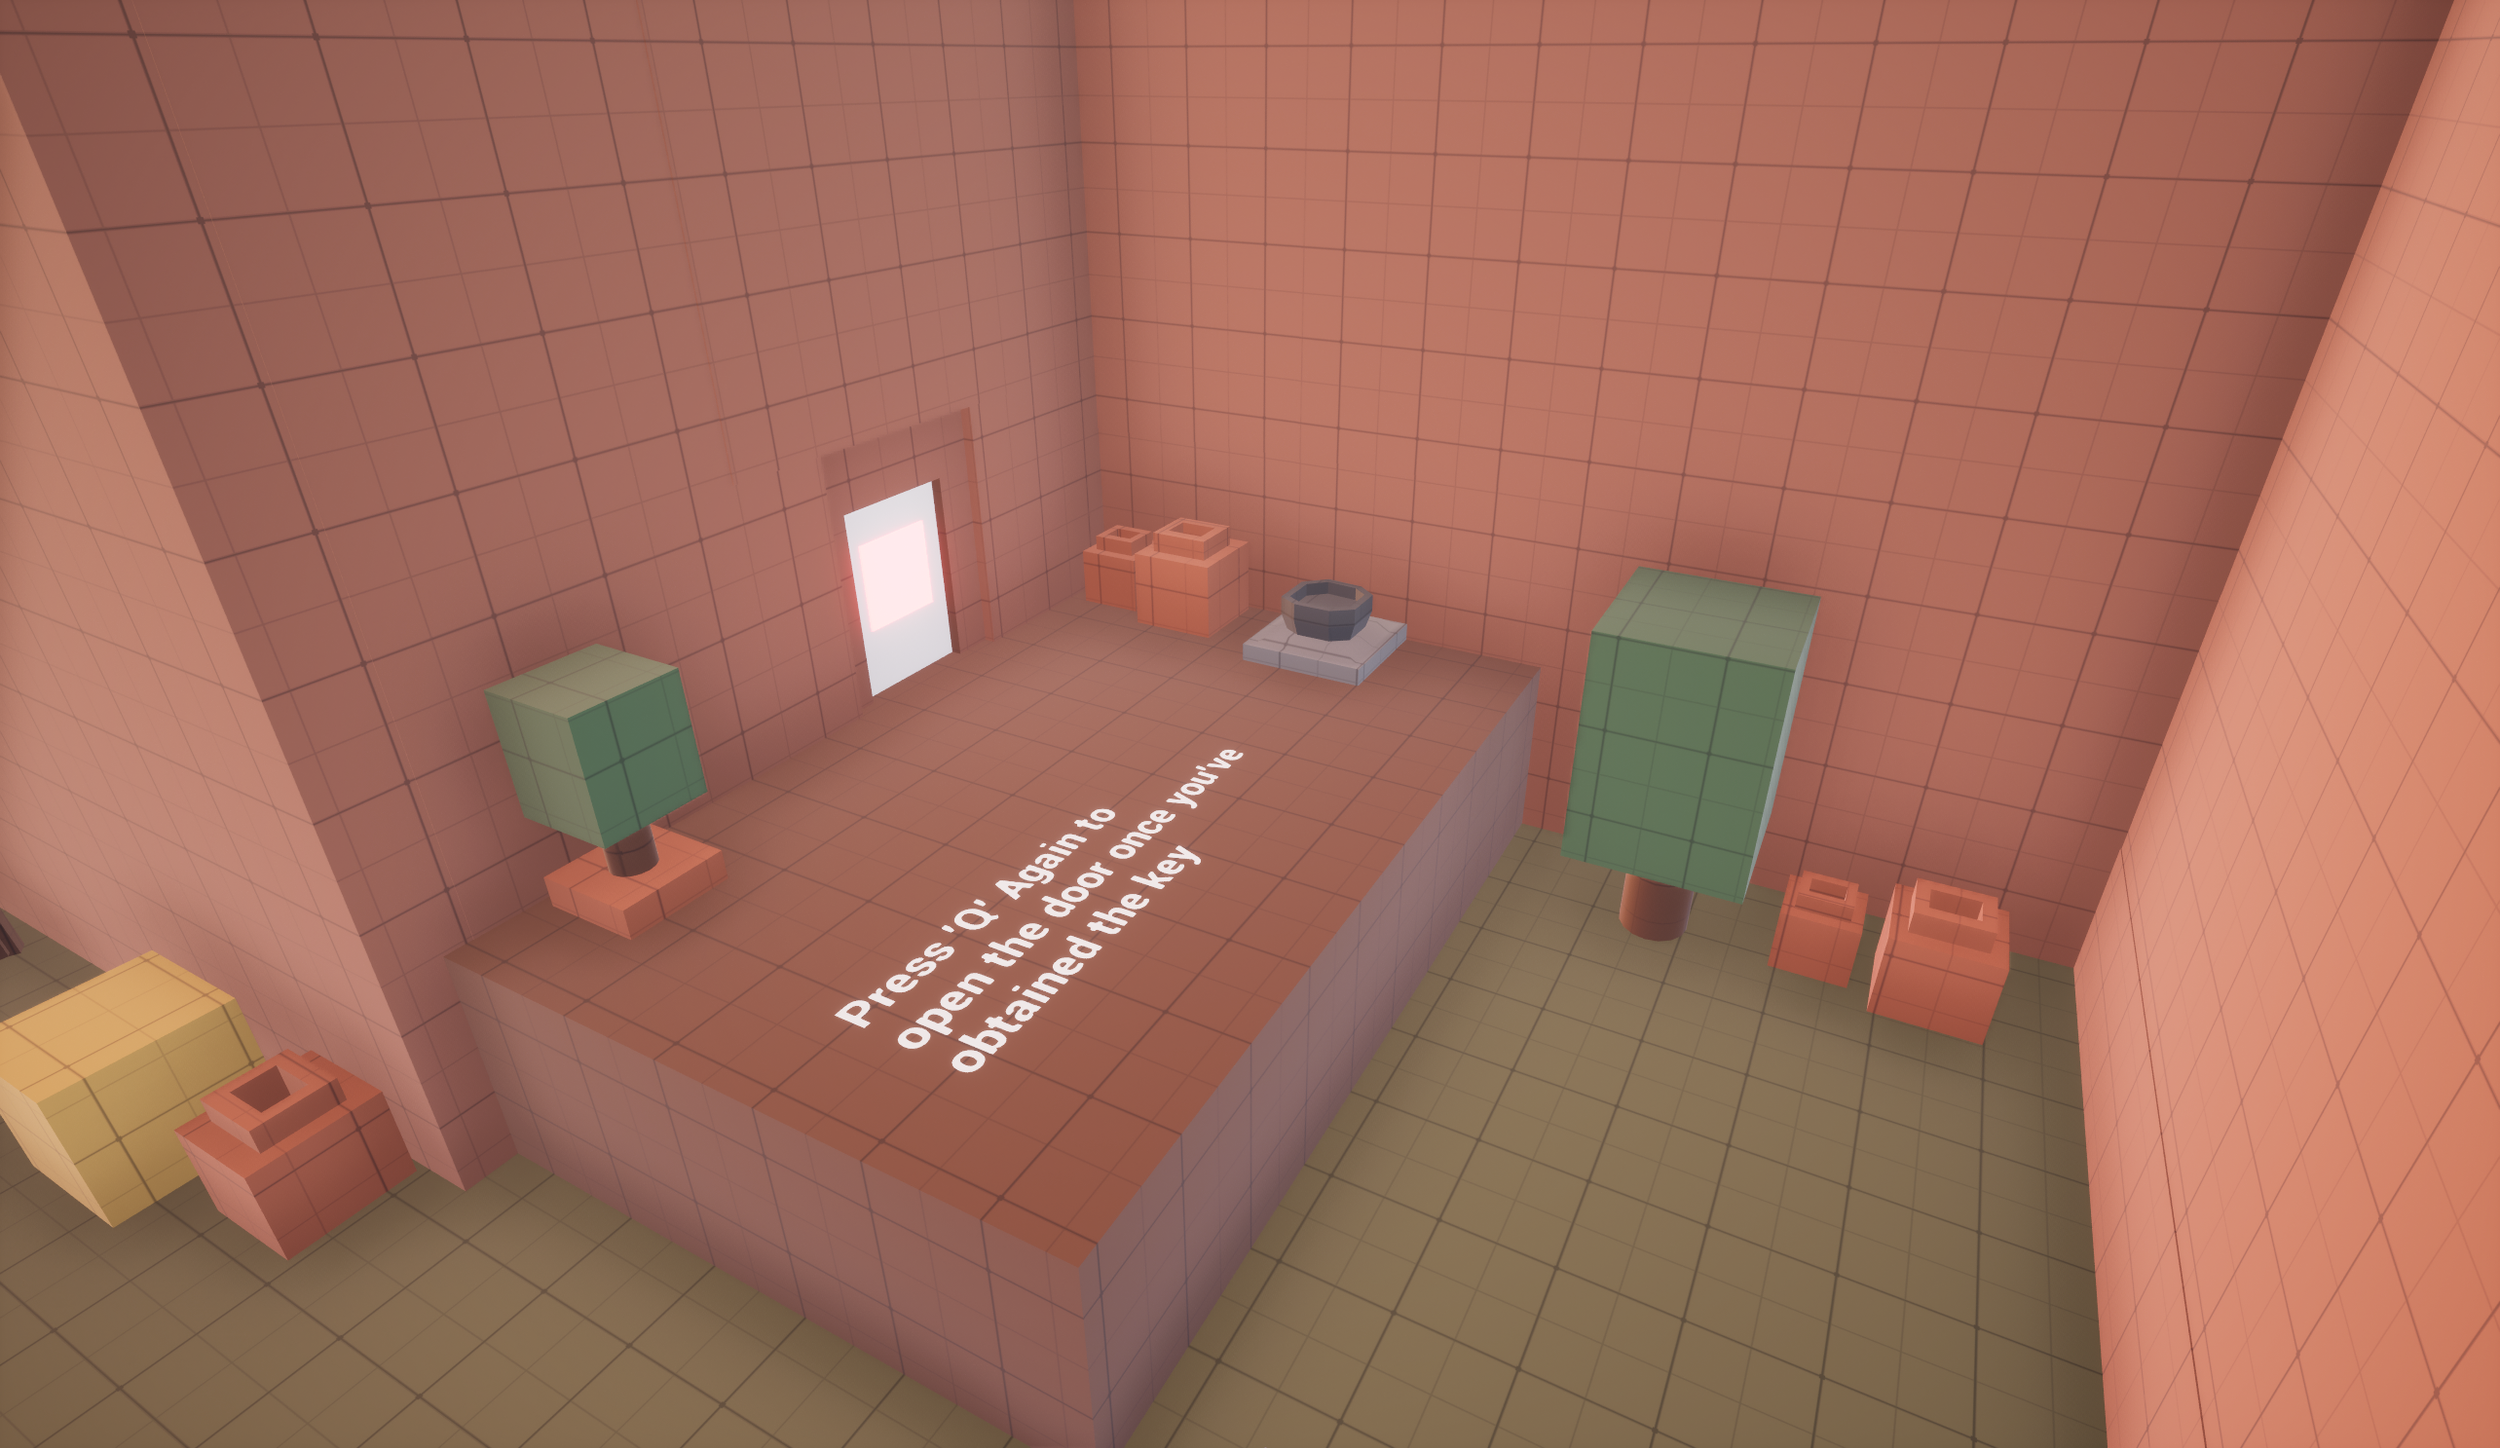
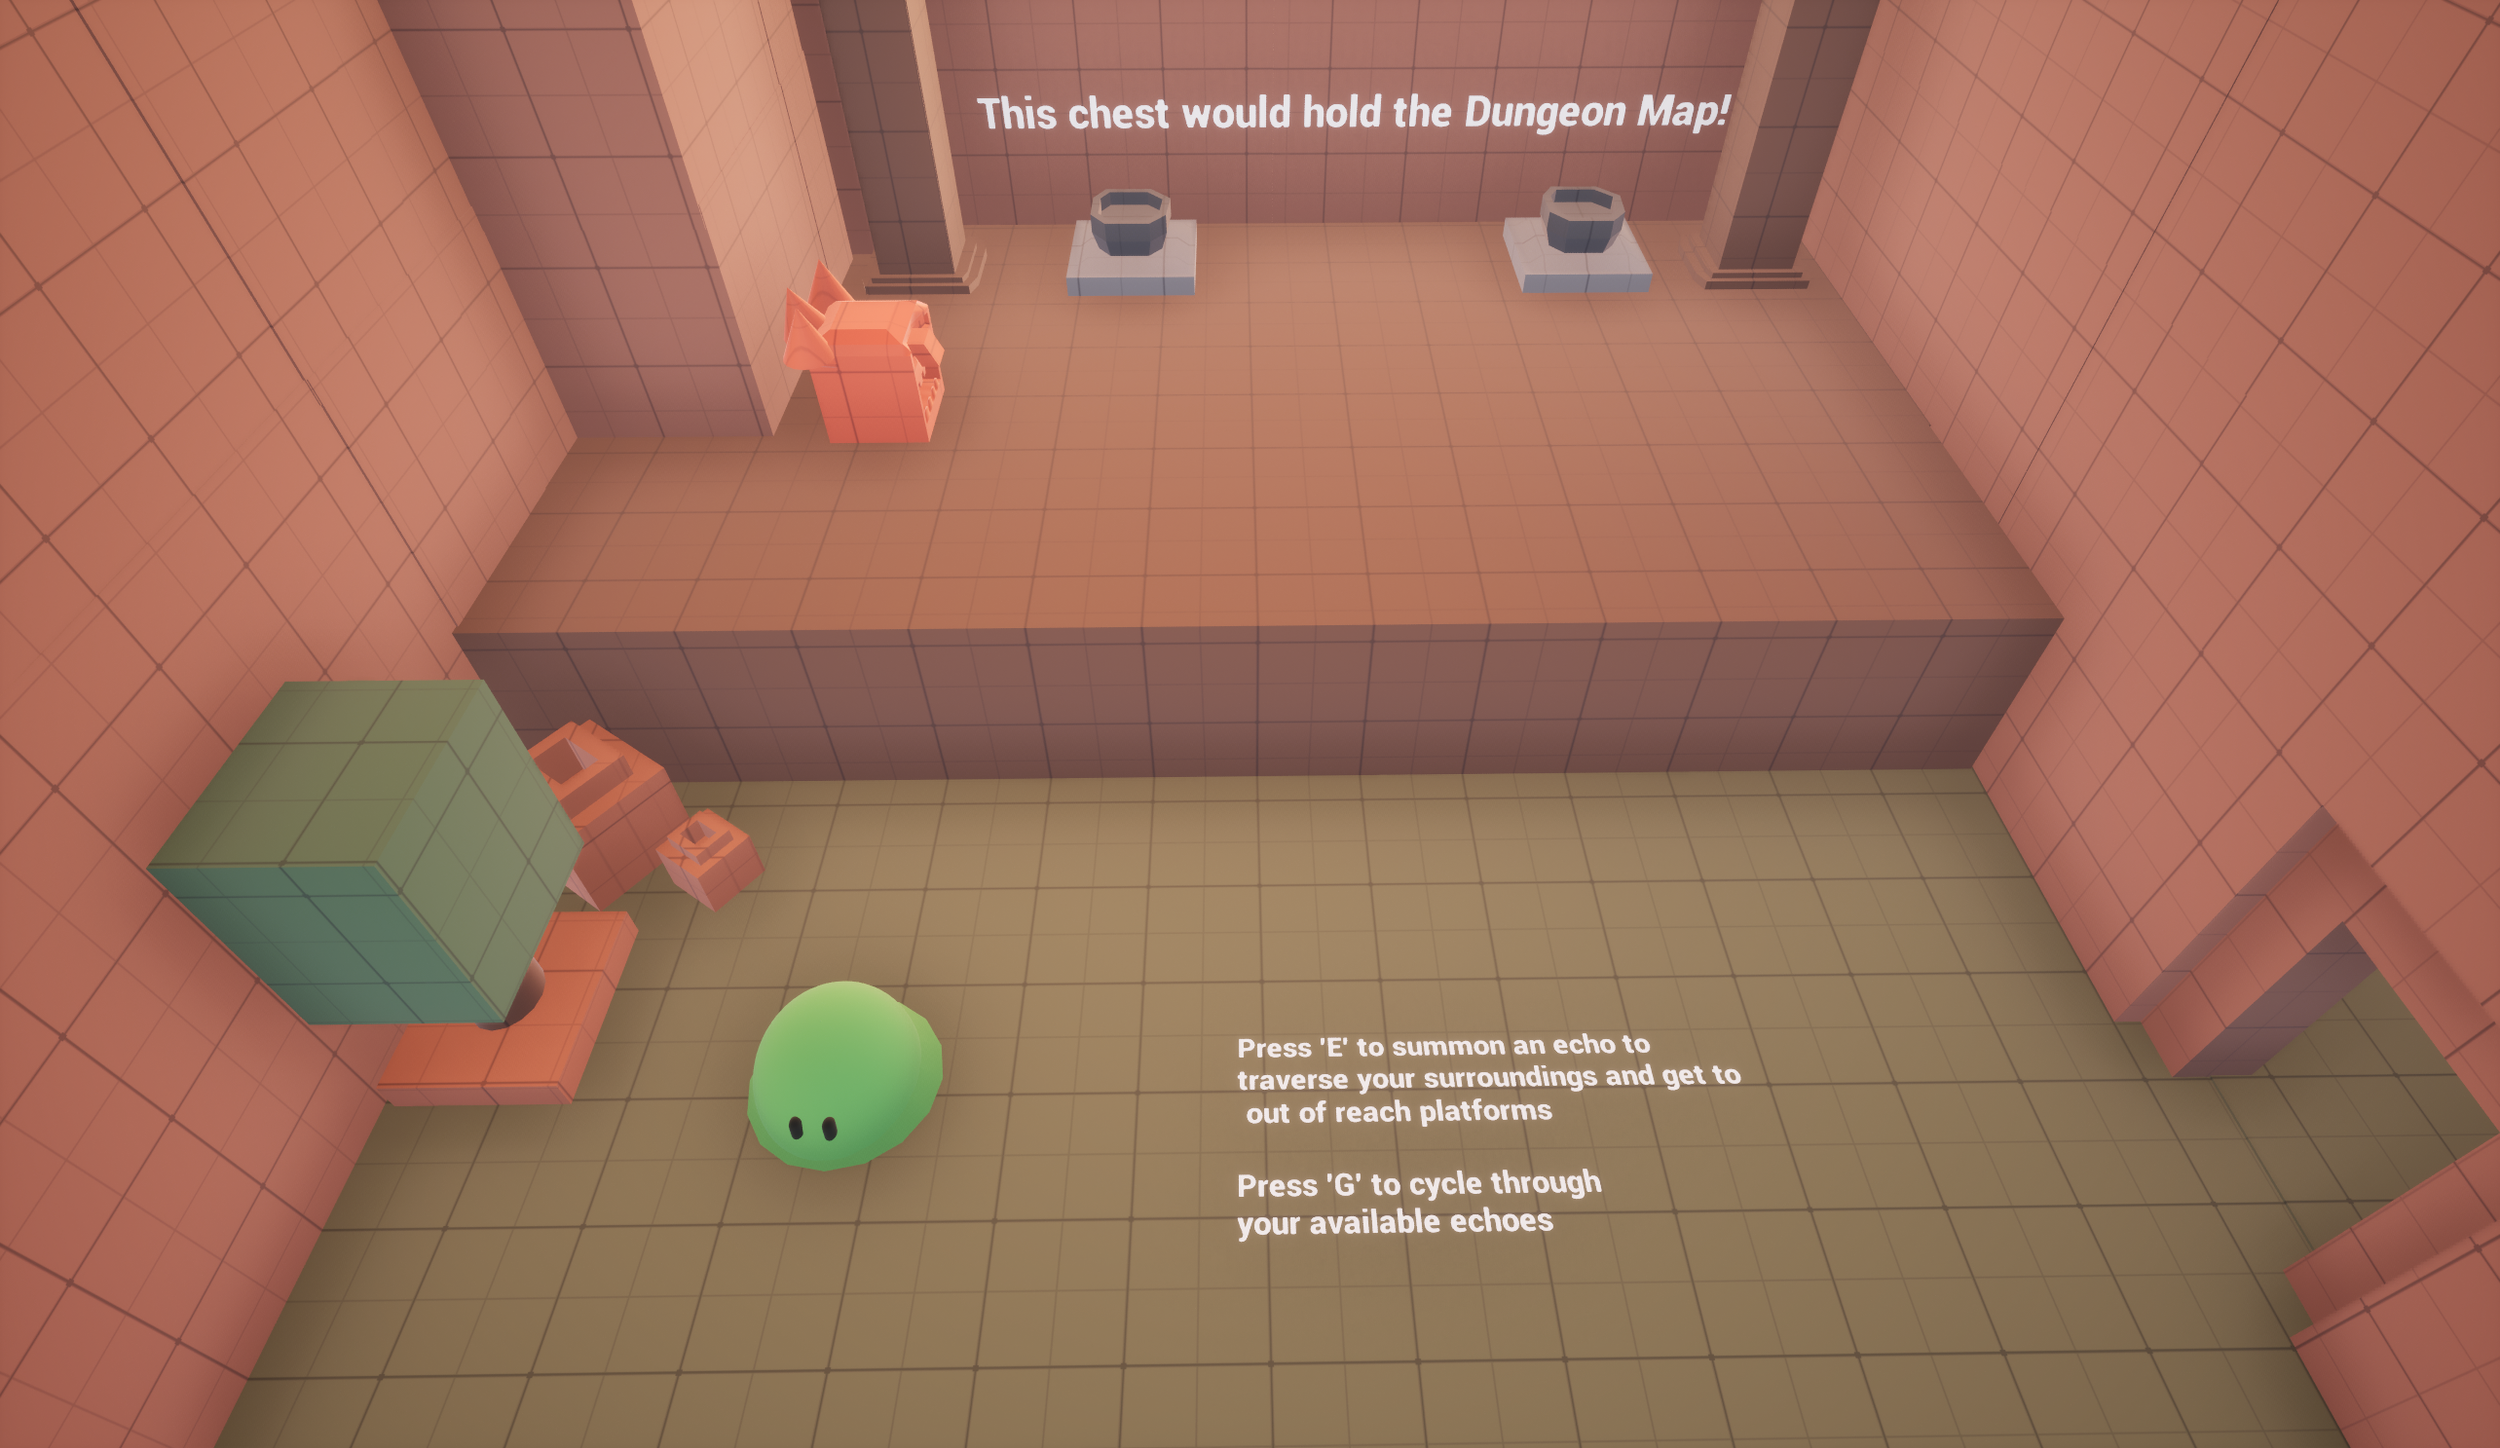
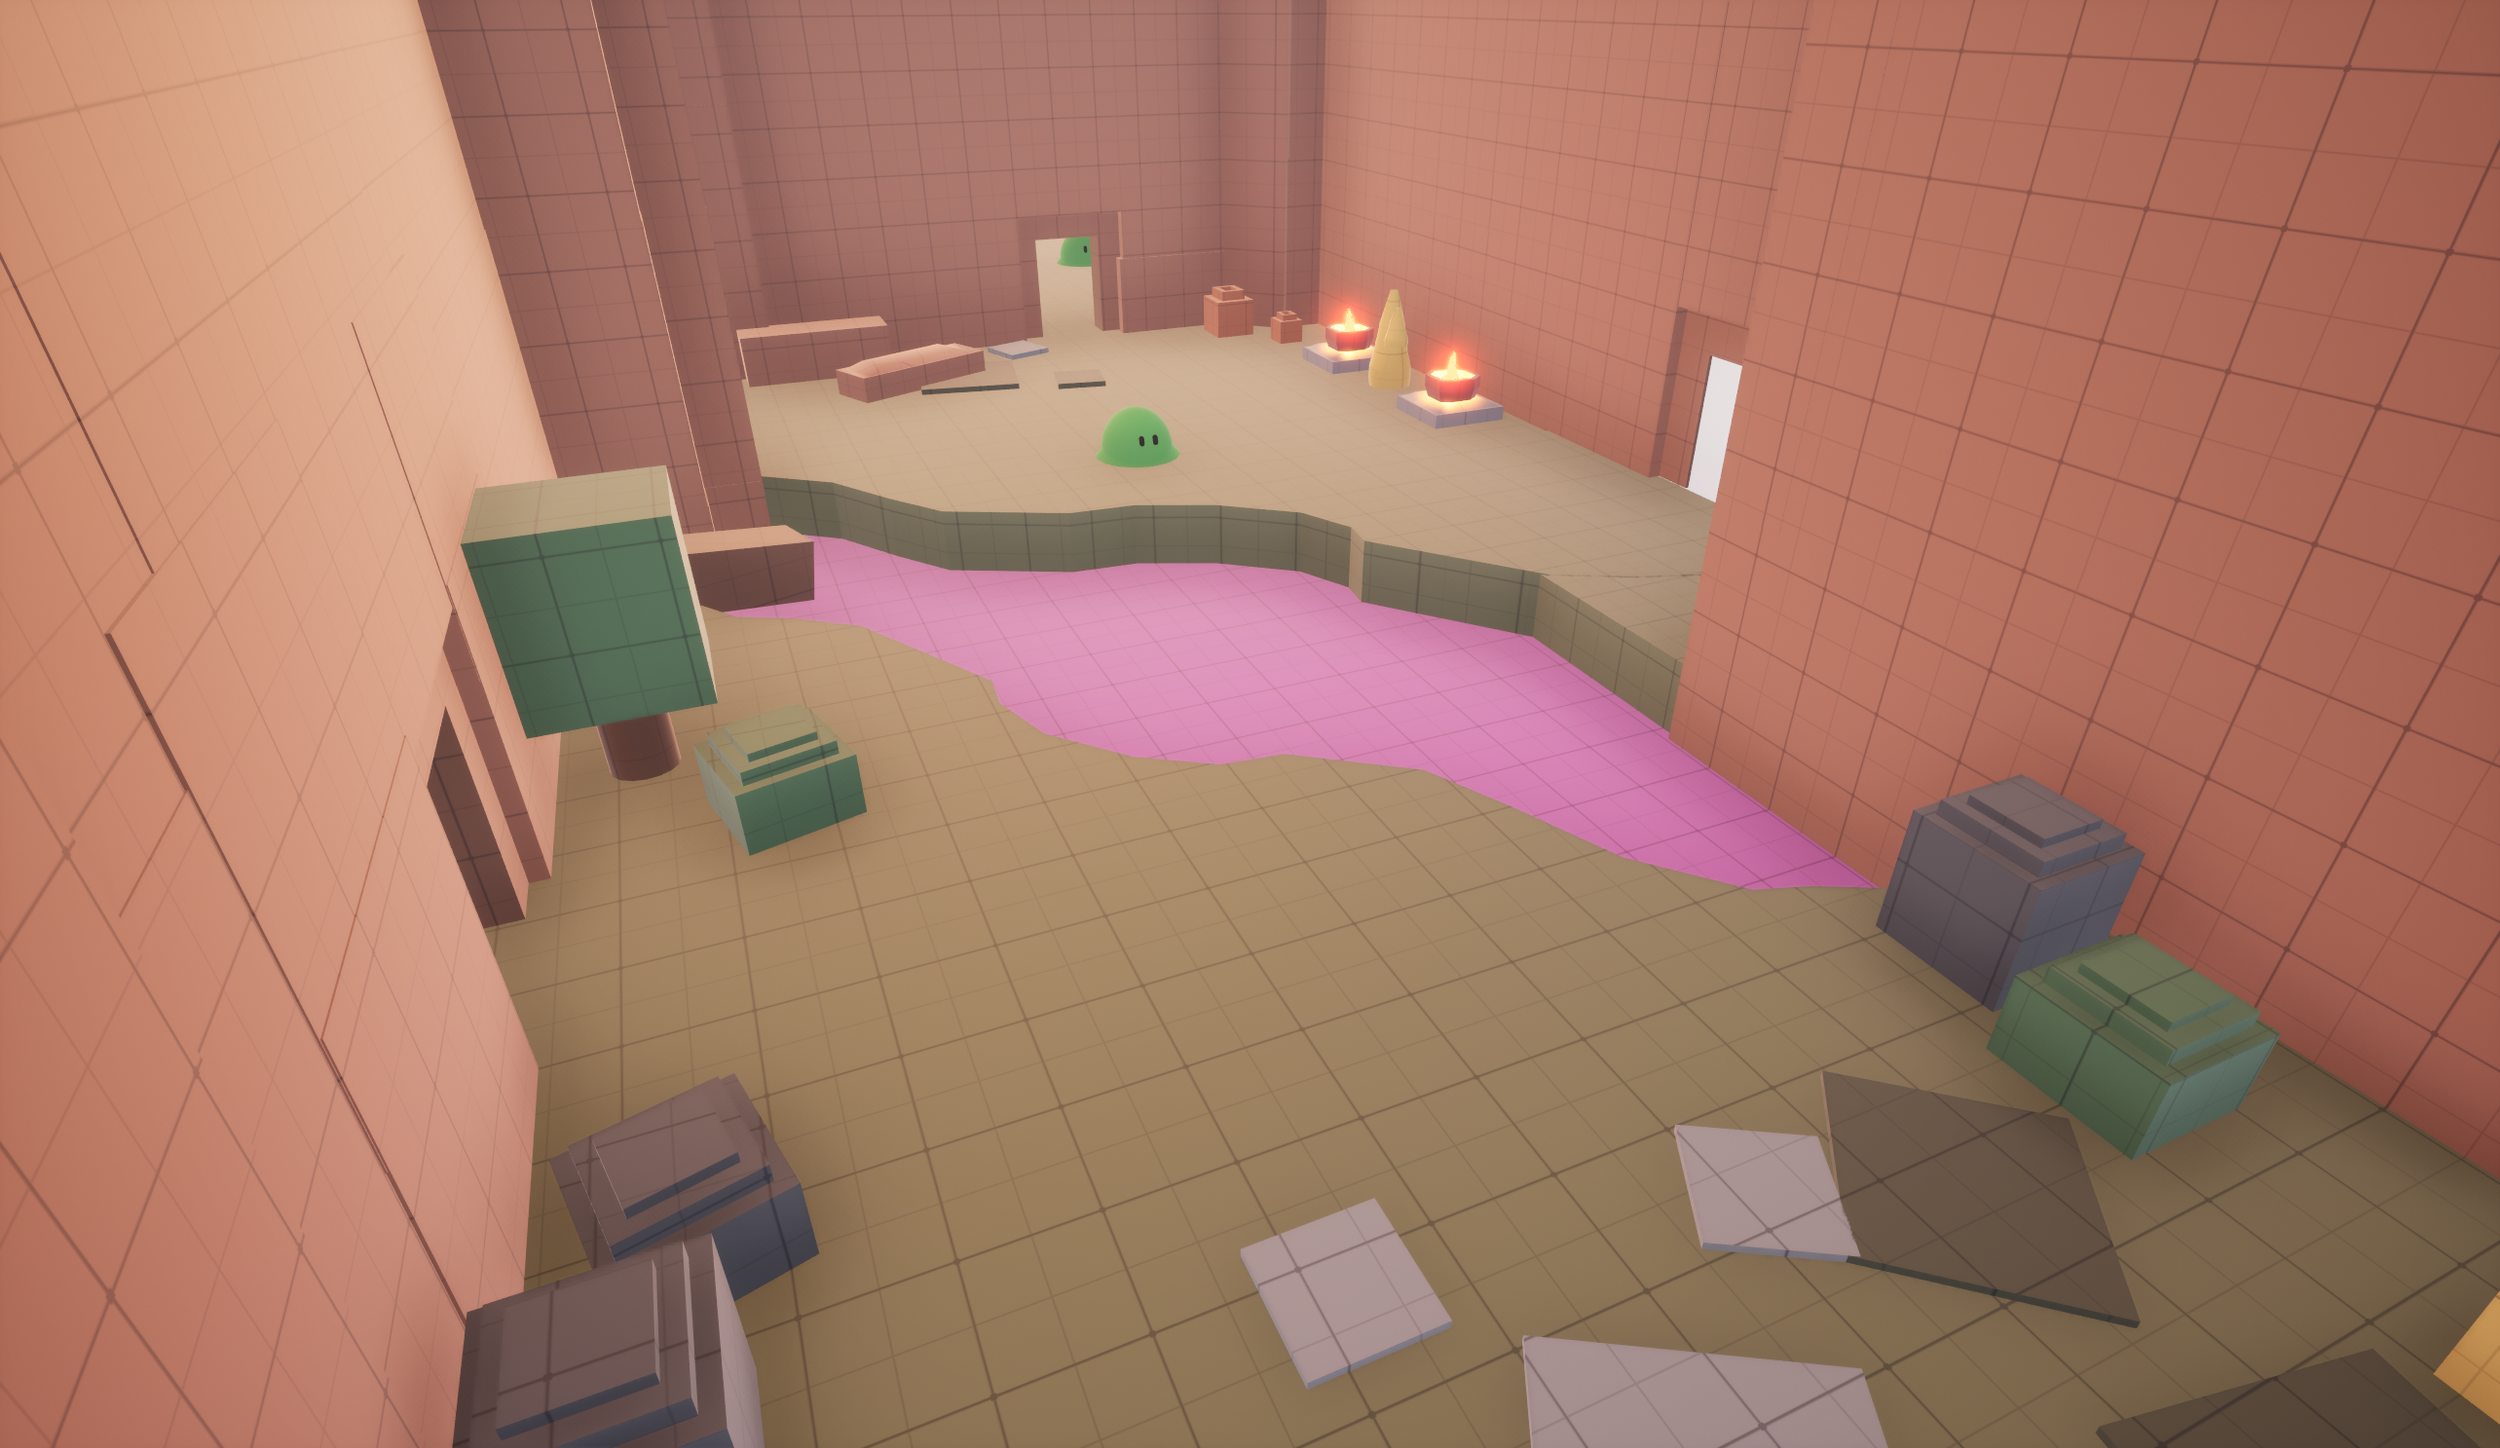
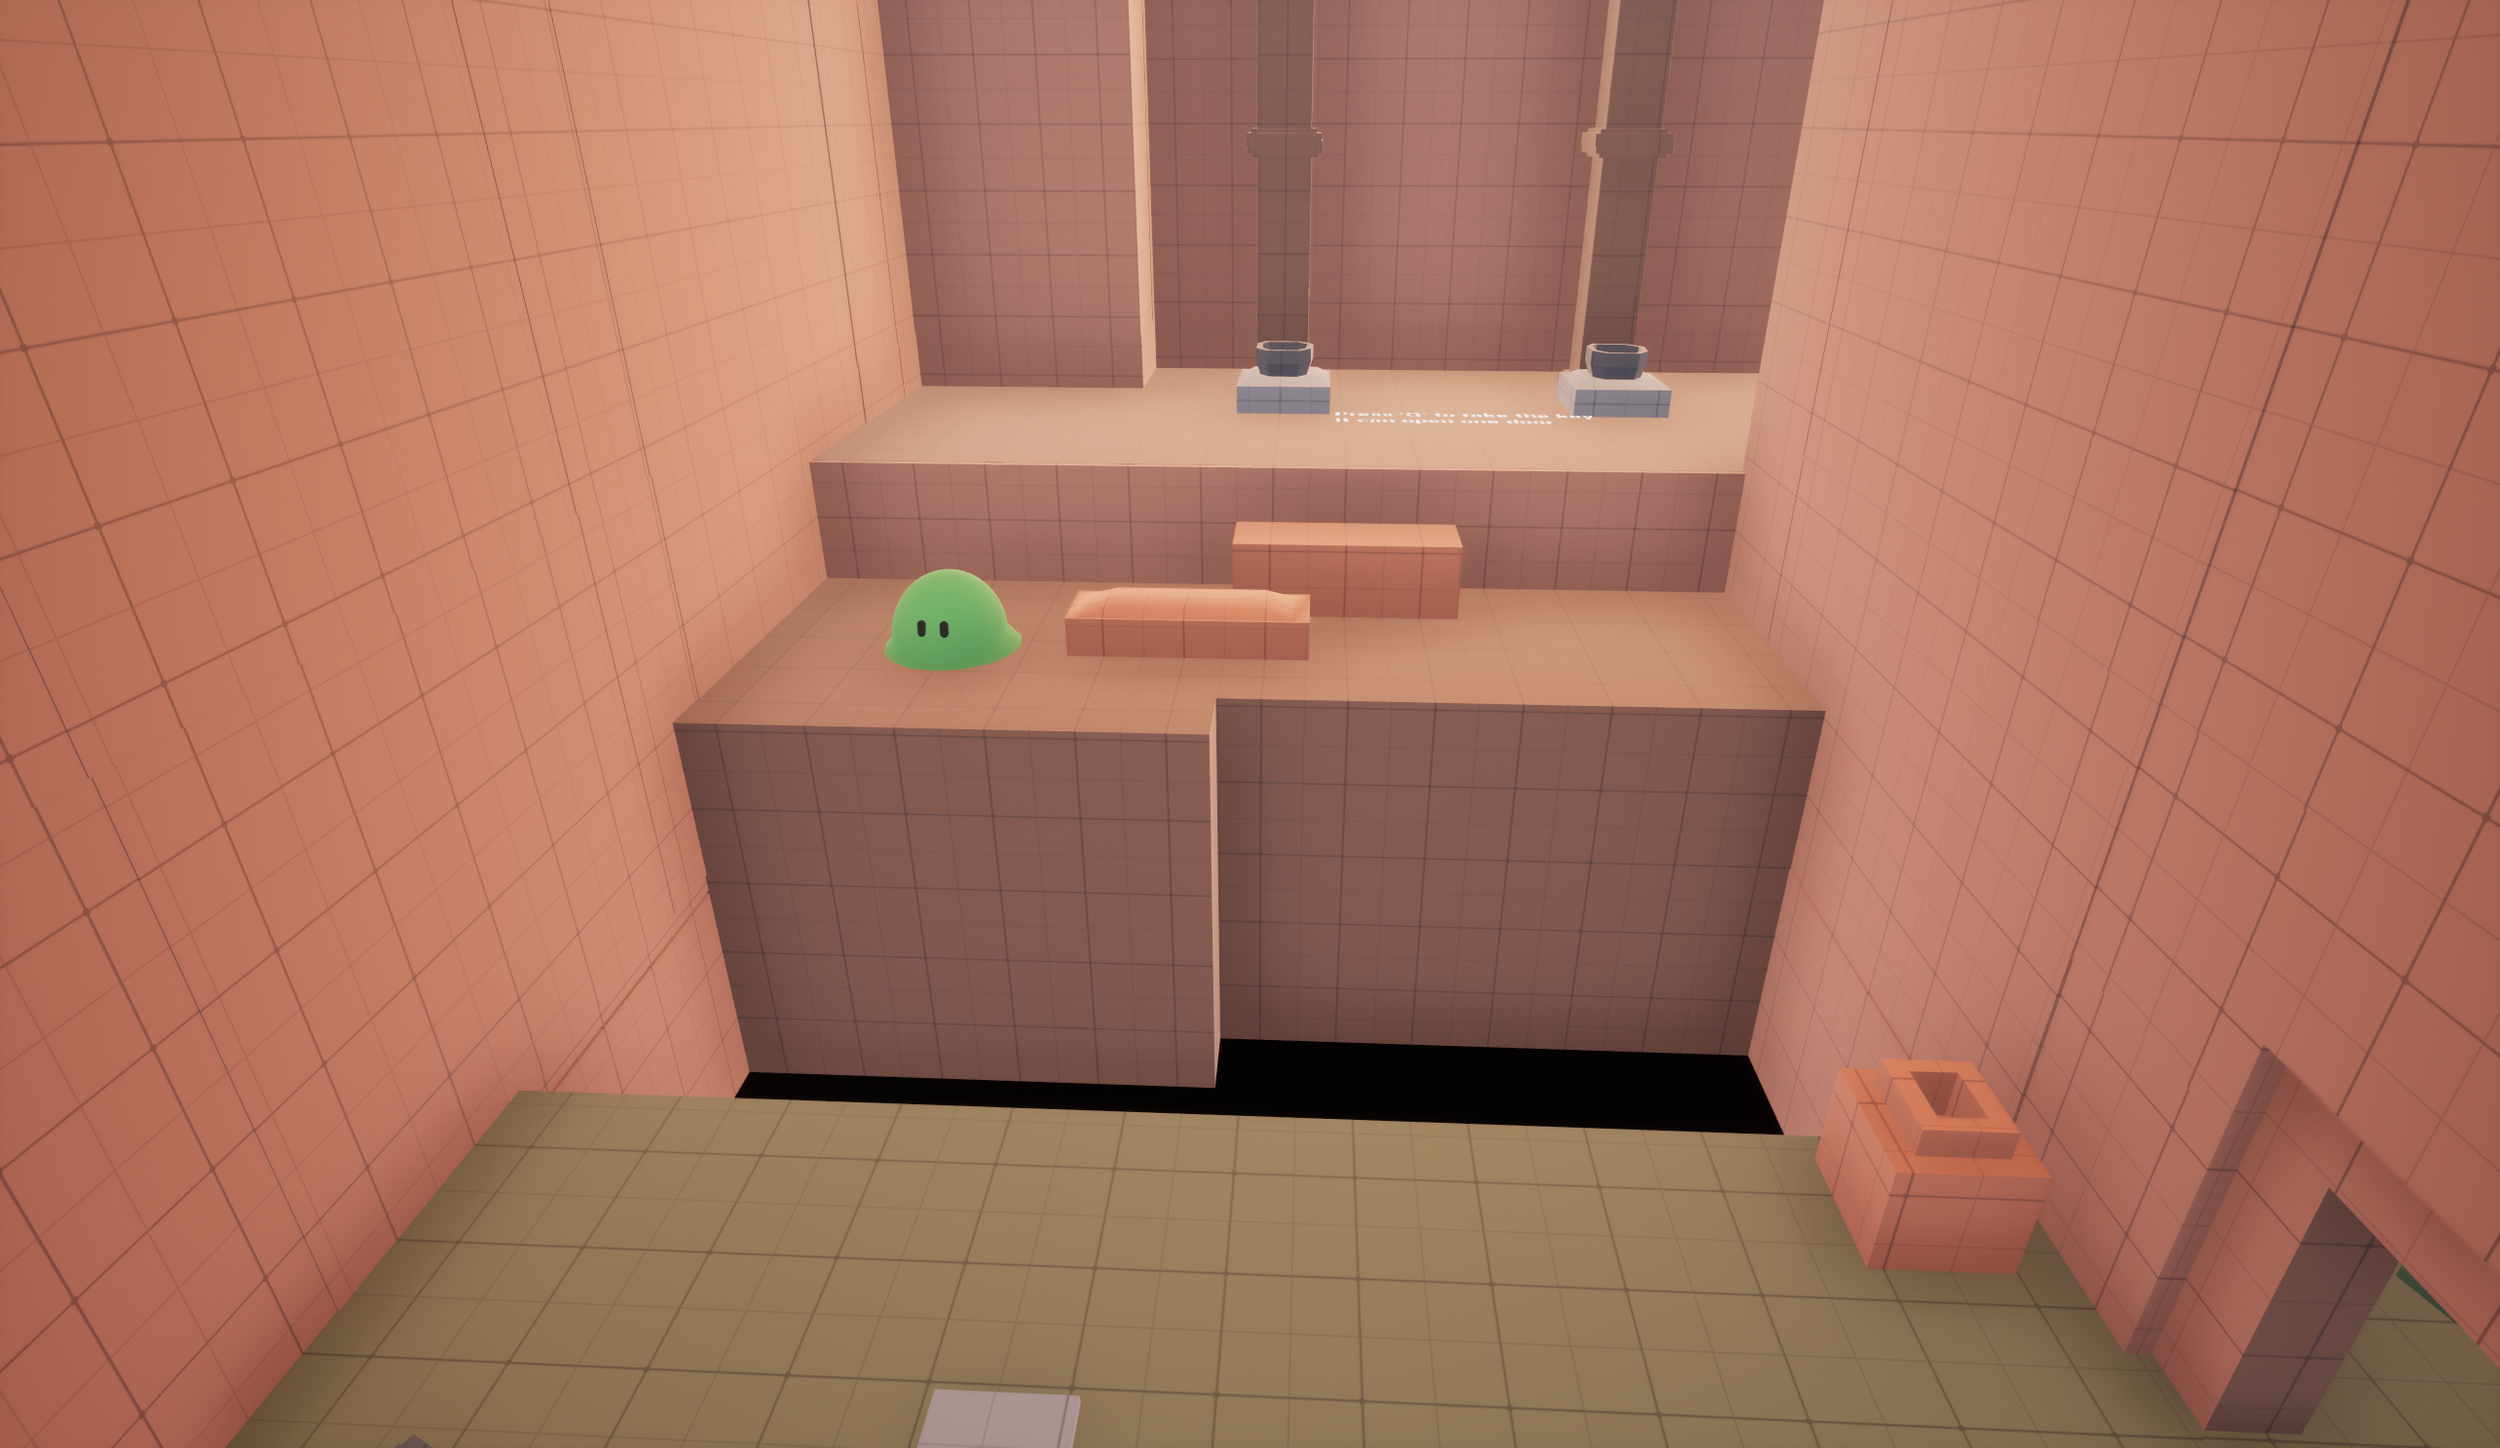
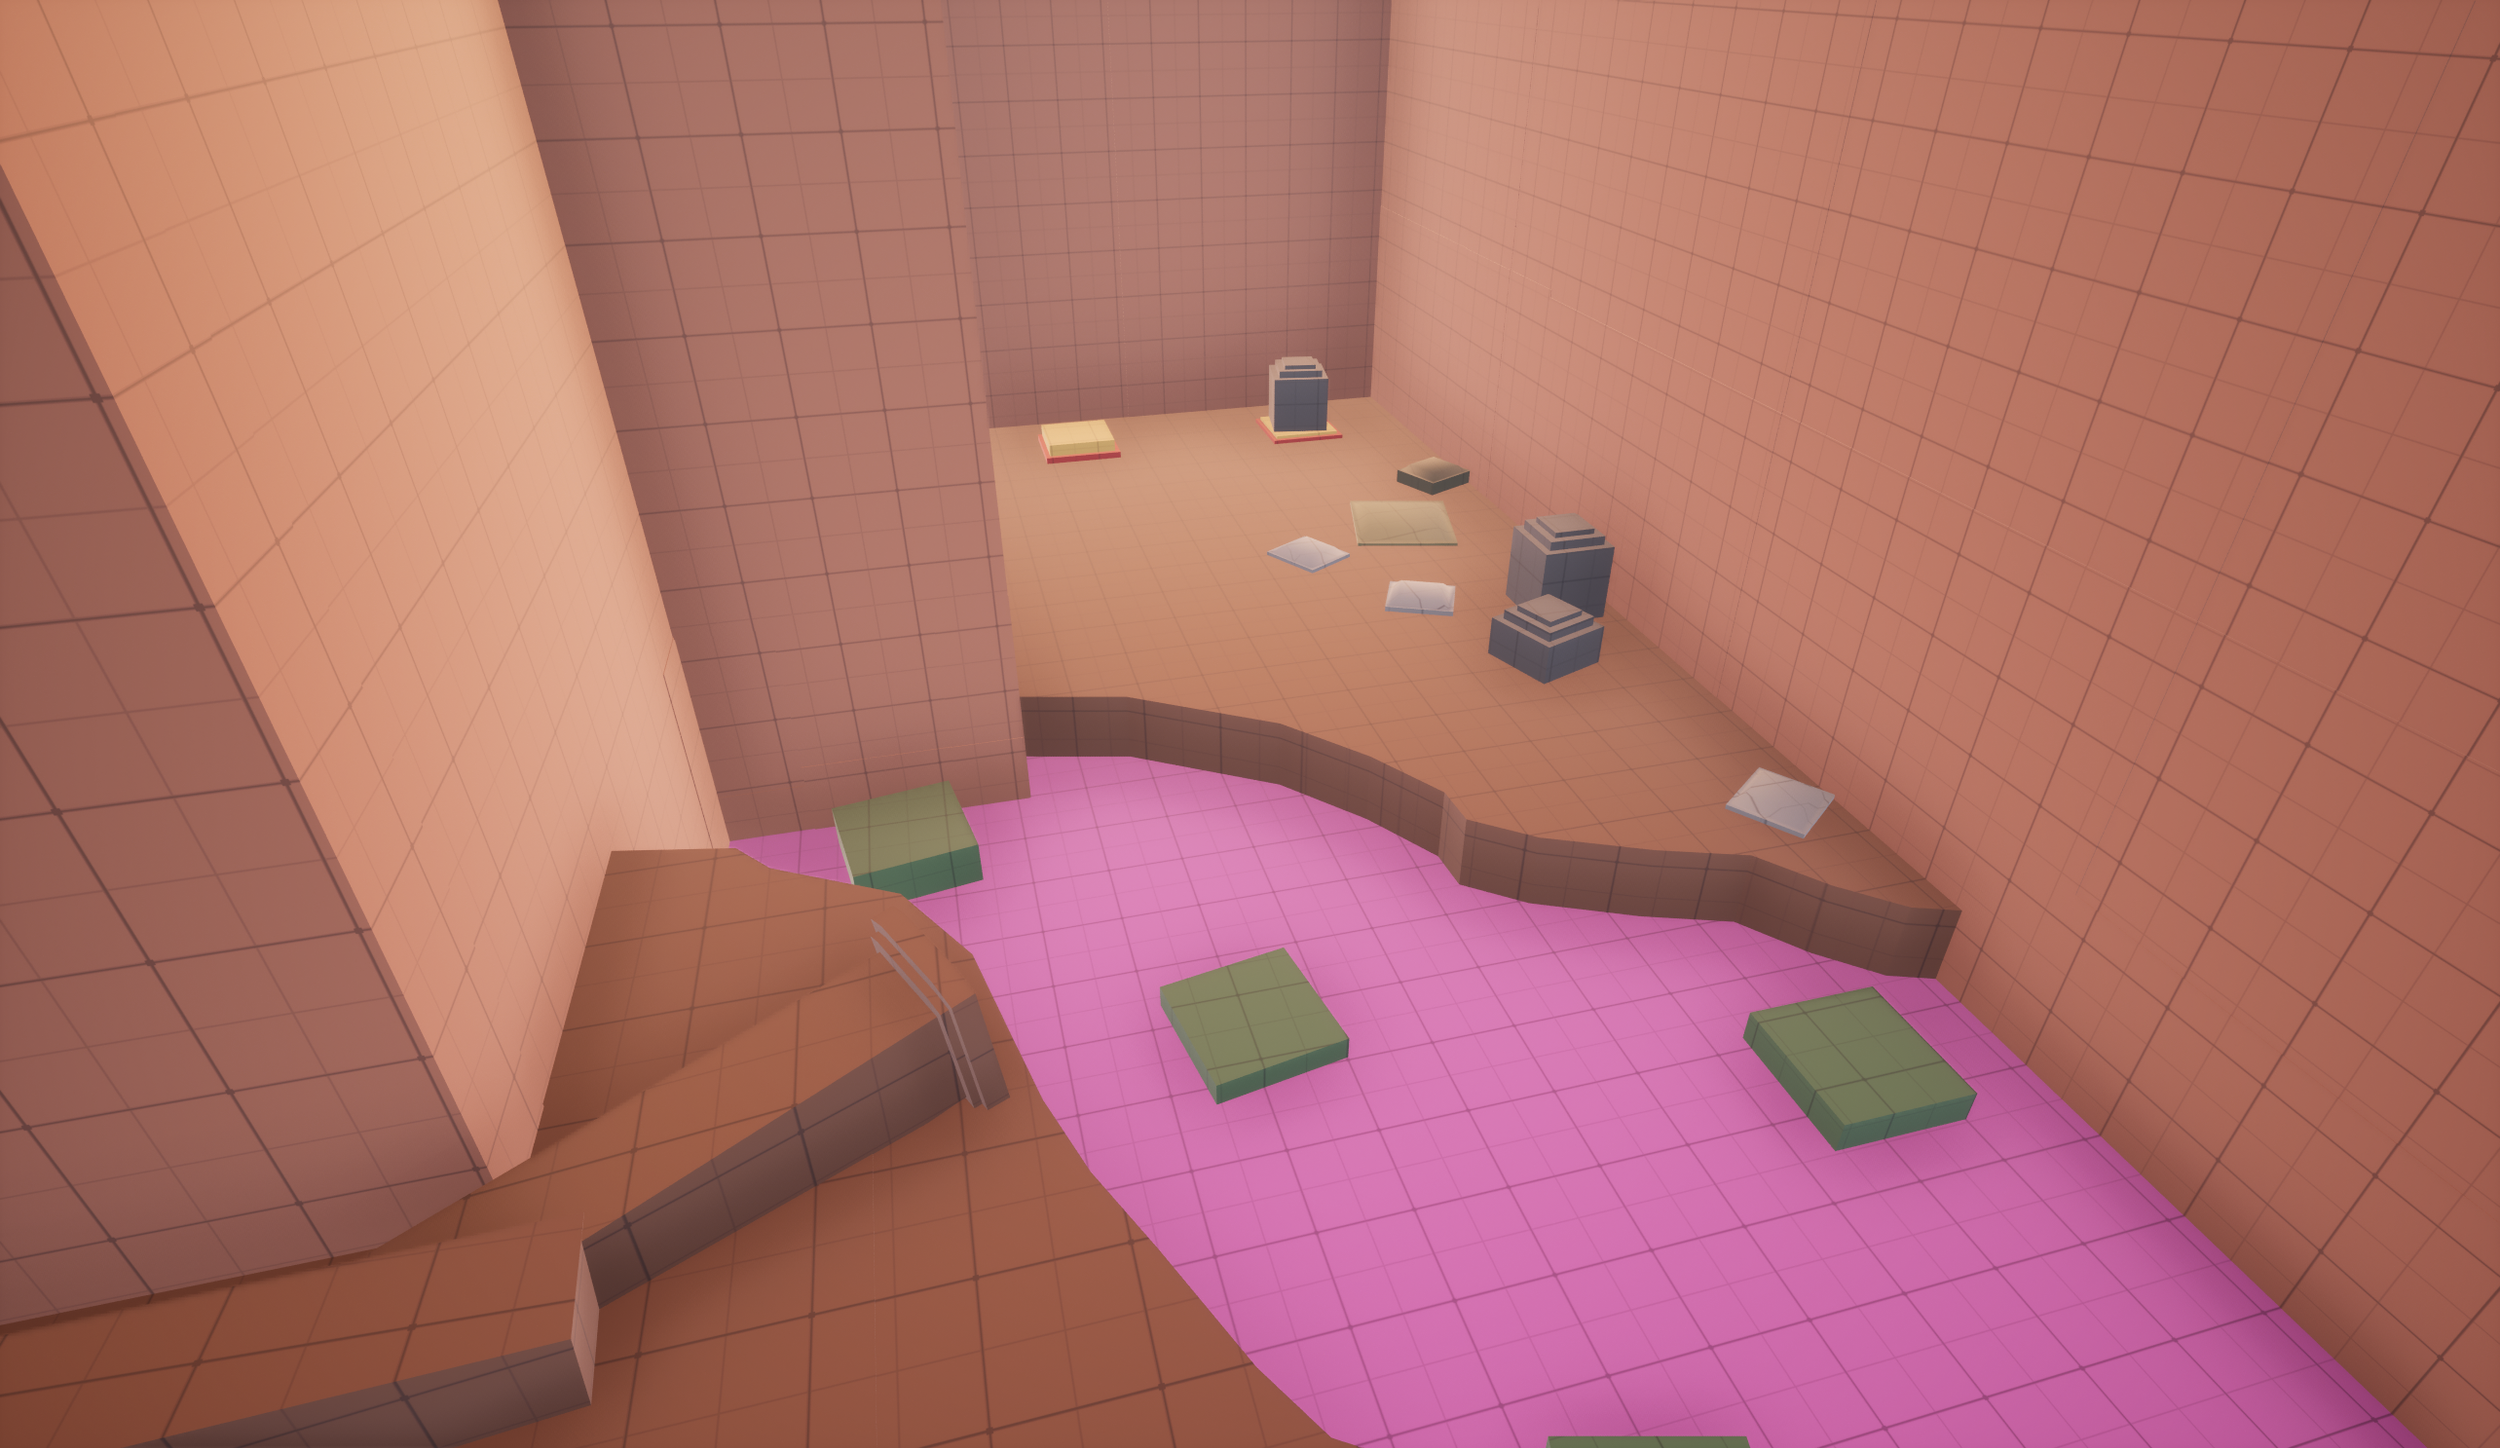
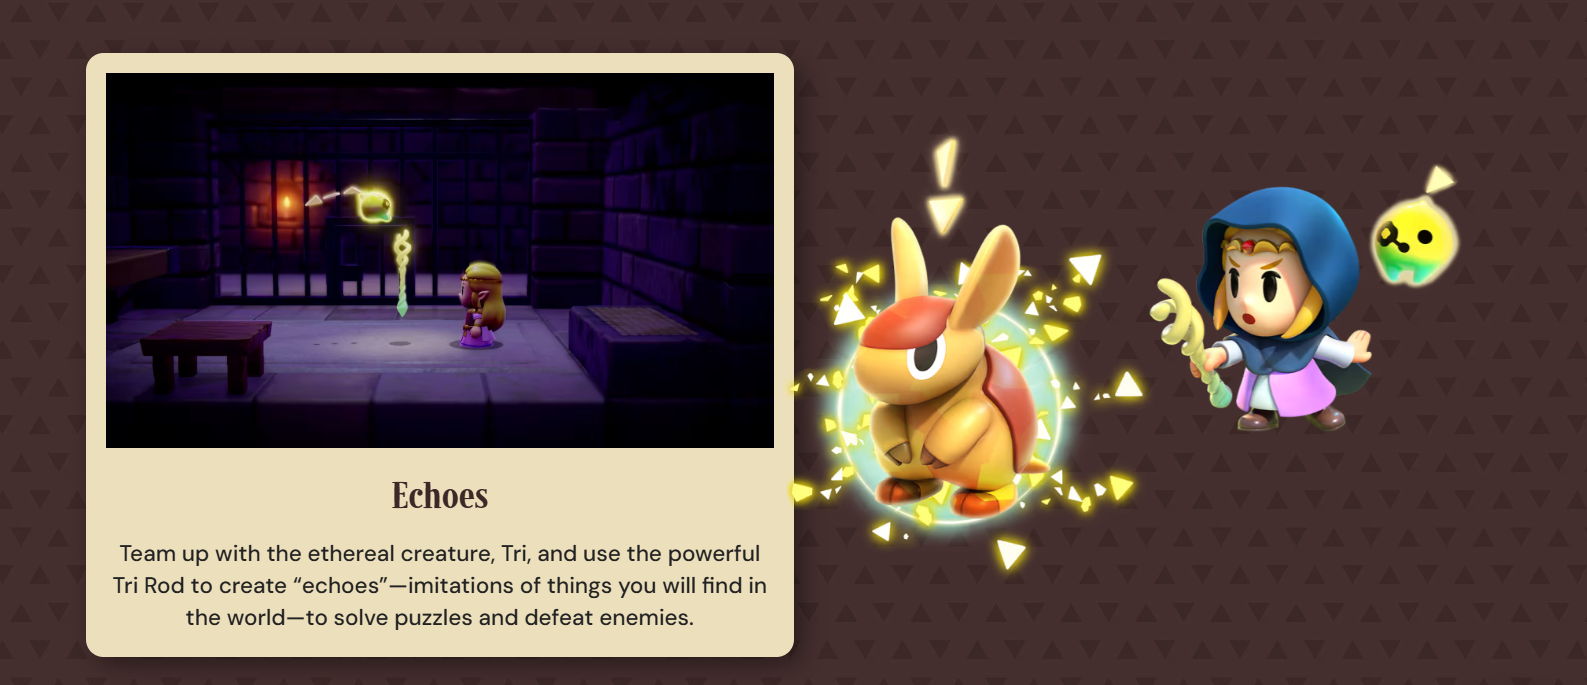
Summoning Echoes
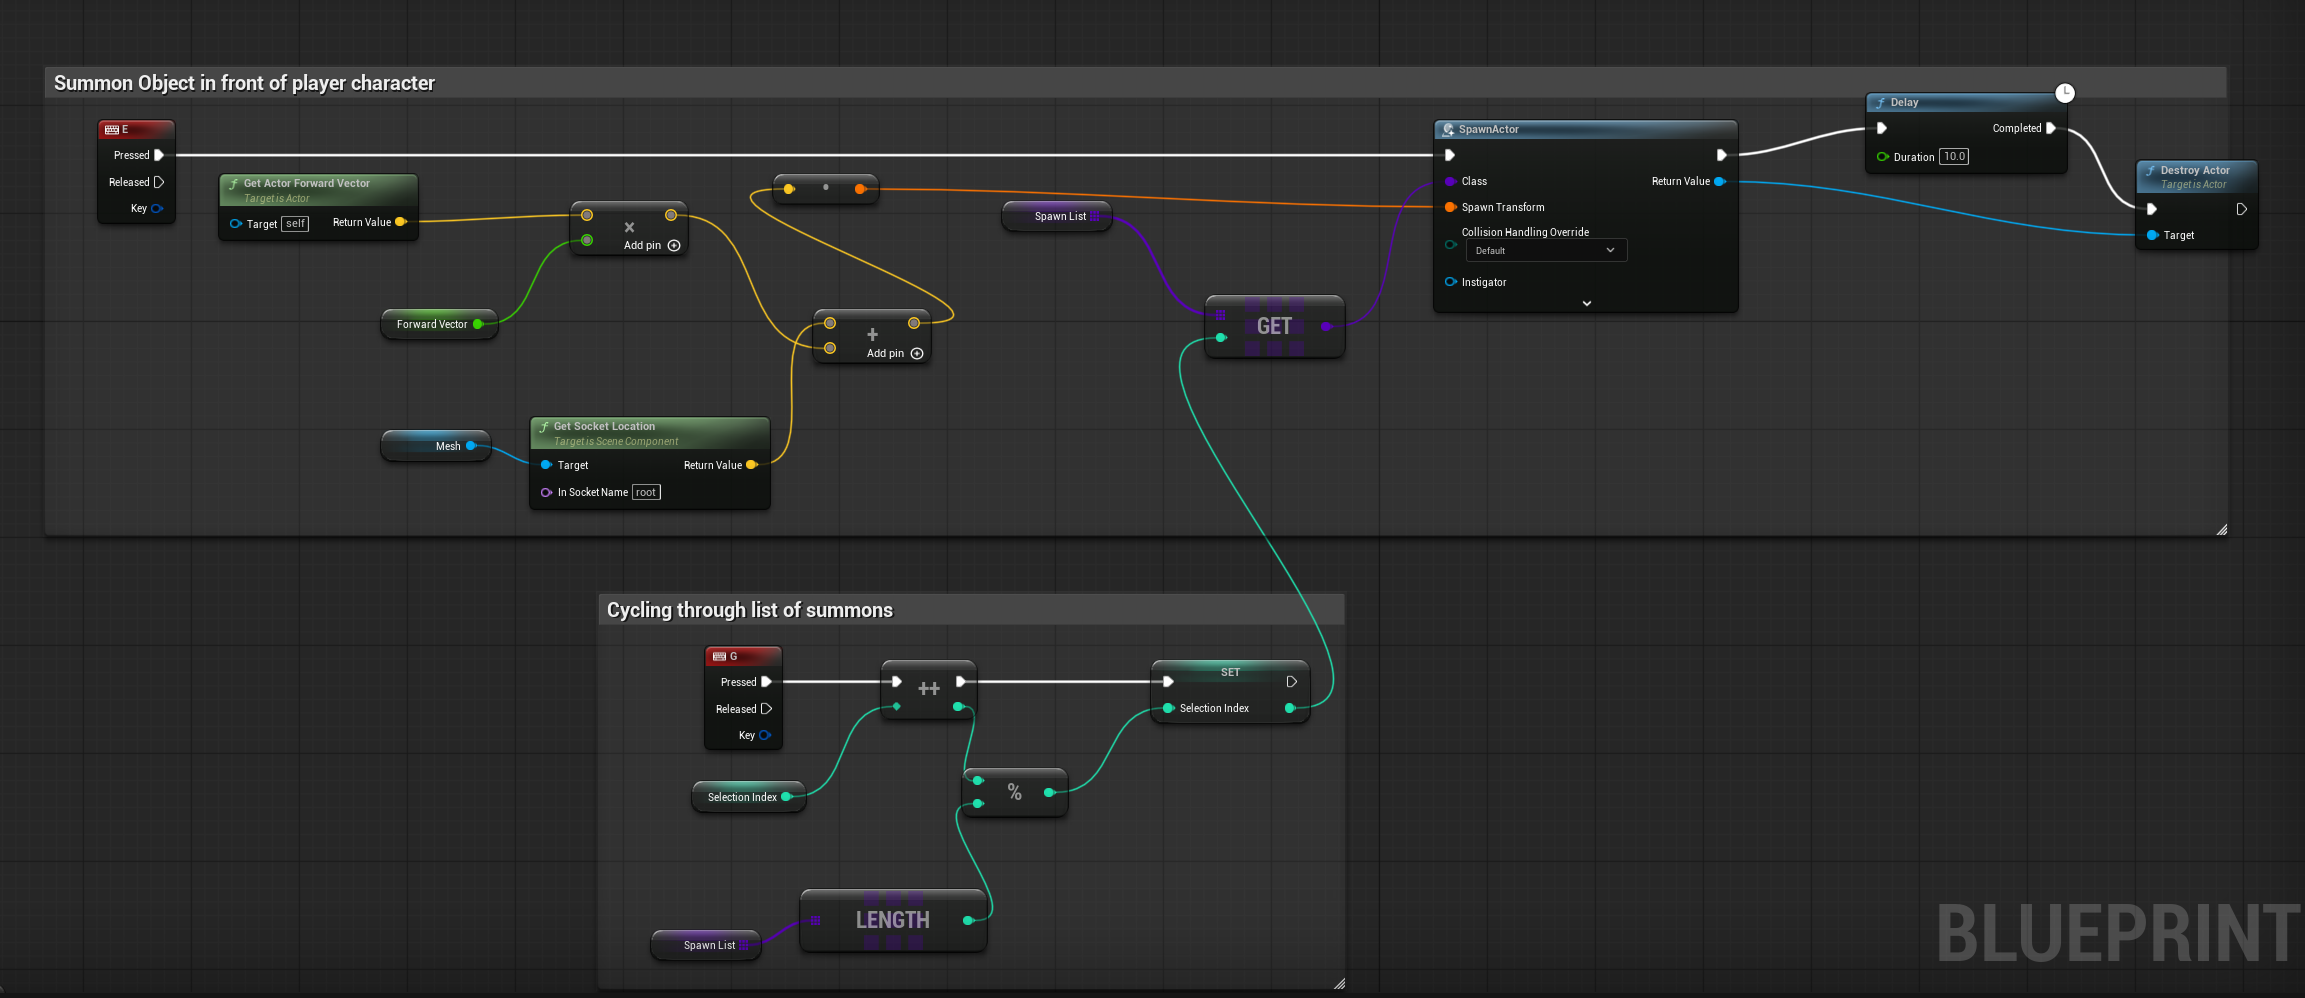
The Summon List
A Spawn List array holds every echo-able actor class, from explosive barrels to AI companions, so the game always knows what's available to call in.
Cycling Selection
Pressing the cycle key increments a Selection Index, then wraps it with a Modulo against the list length — so scrolling through options loops cleanly instead of going out of bounds.
Placement Logic
The summon key calculates a spawn point using the actor's Forward Vector plus a socket offset from the character mesh, then feeds the selected class into Spawn Actor from Class at that transform.
Auto-Cleanup
A delay after spawning (10 seconds in this build) triggers Destroy Actor on the summon, keeping temporary echoes from piling up and tanking performance.
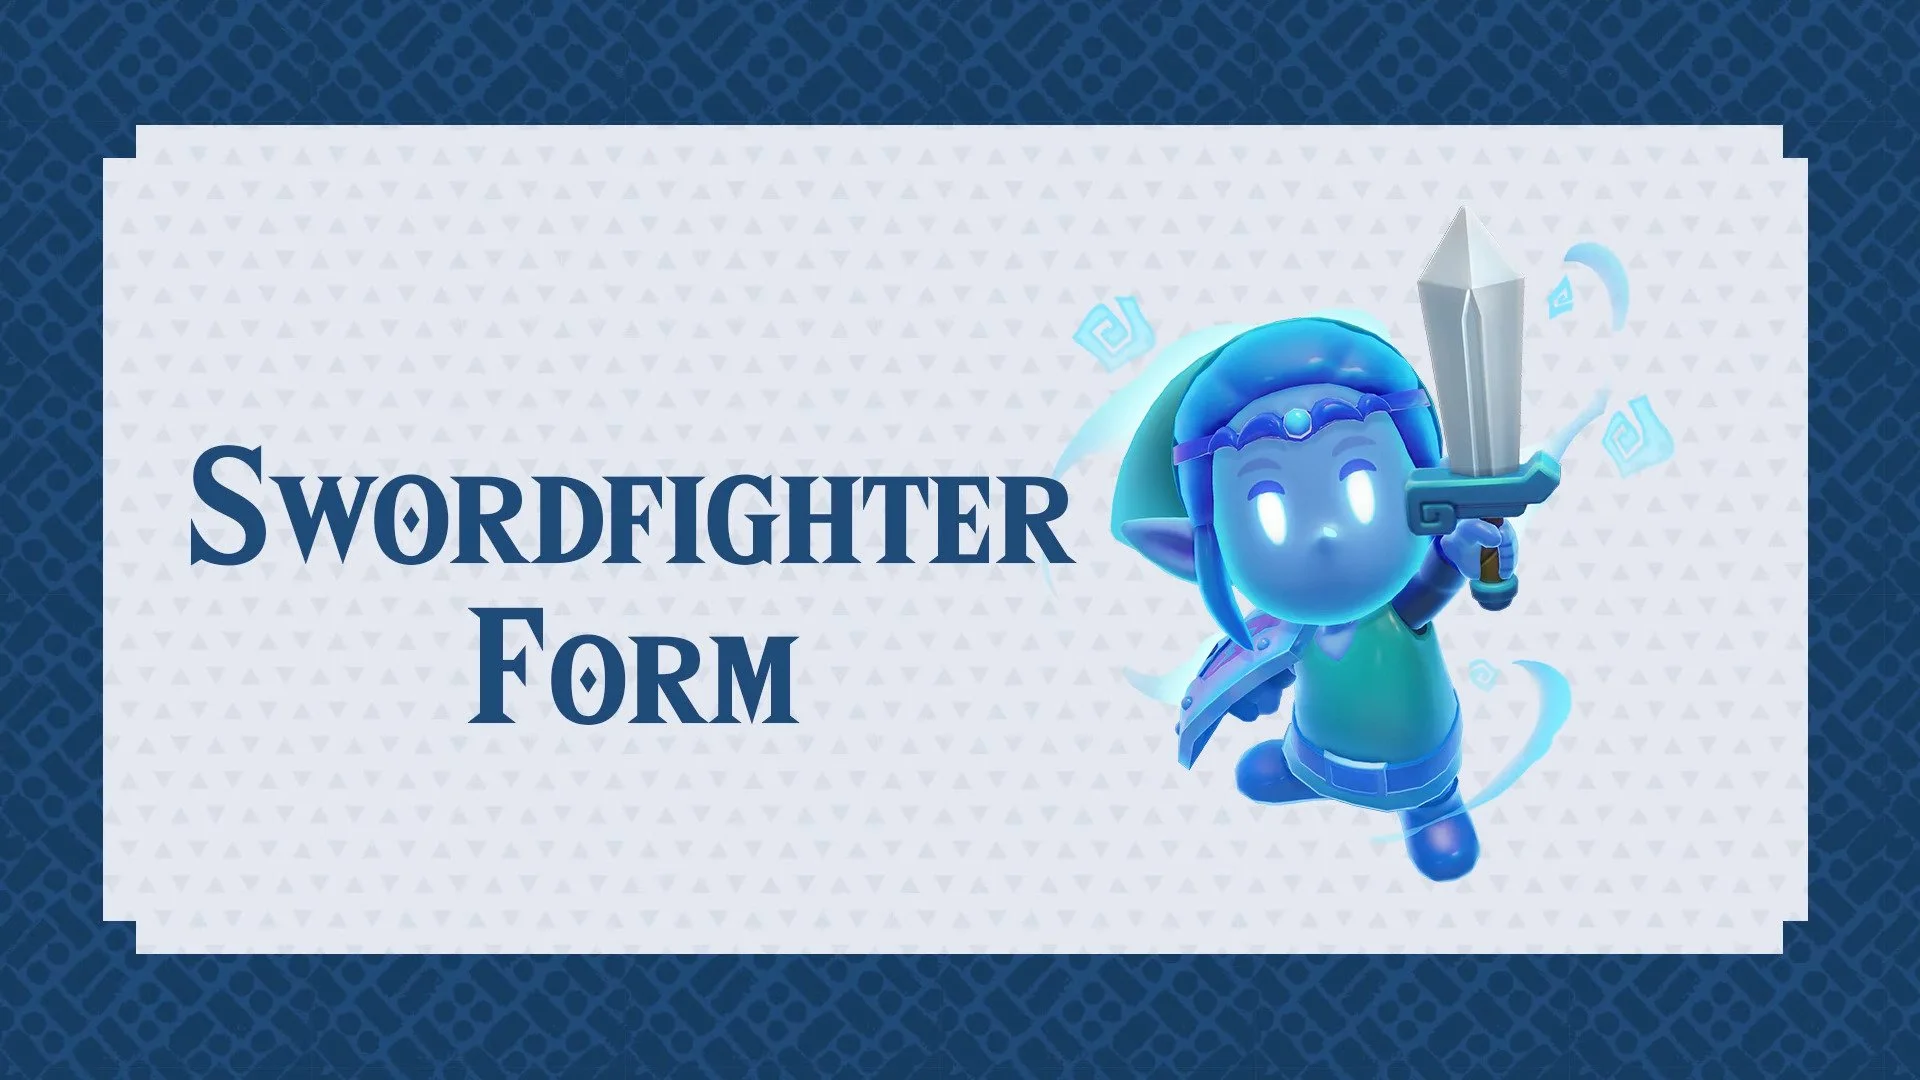
Sword Fighter Zelda Form
State Booleans
Two flags drive the whole system: formChange blocks the input while a transformation is mid-animation, and isTransformed tracks which form the player currently holds.
Transformation Function
A single function locks the state, plays the transformation montage and effects, flips isTransformed to true, then unlocks the state — keeping the logic out of the main event graph.
Input Trigger Flow
The transform key branches on formChange first, then on isTransformed, only calling the transformation function when the player is idle in their base form.
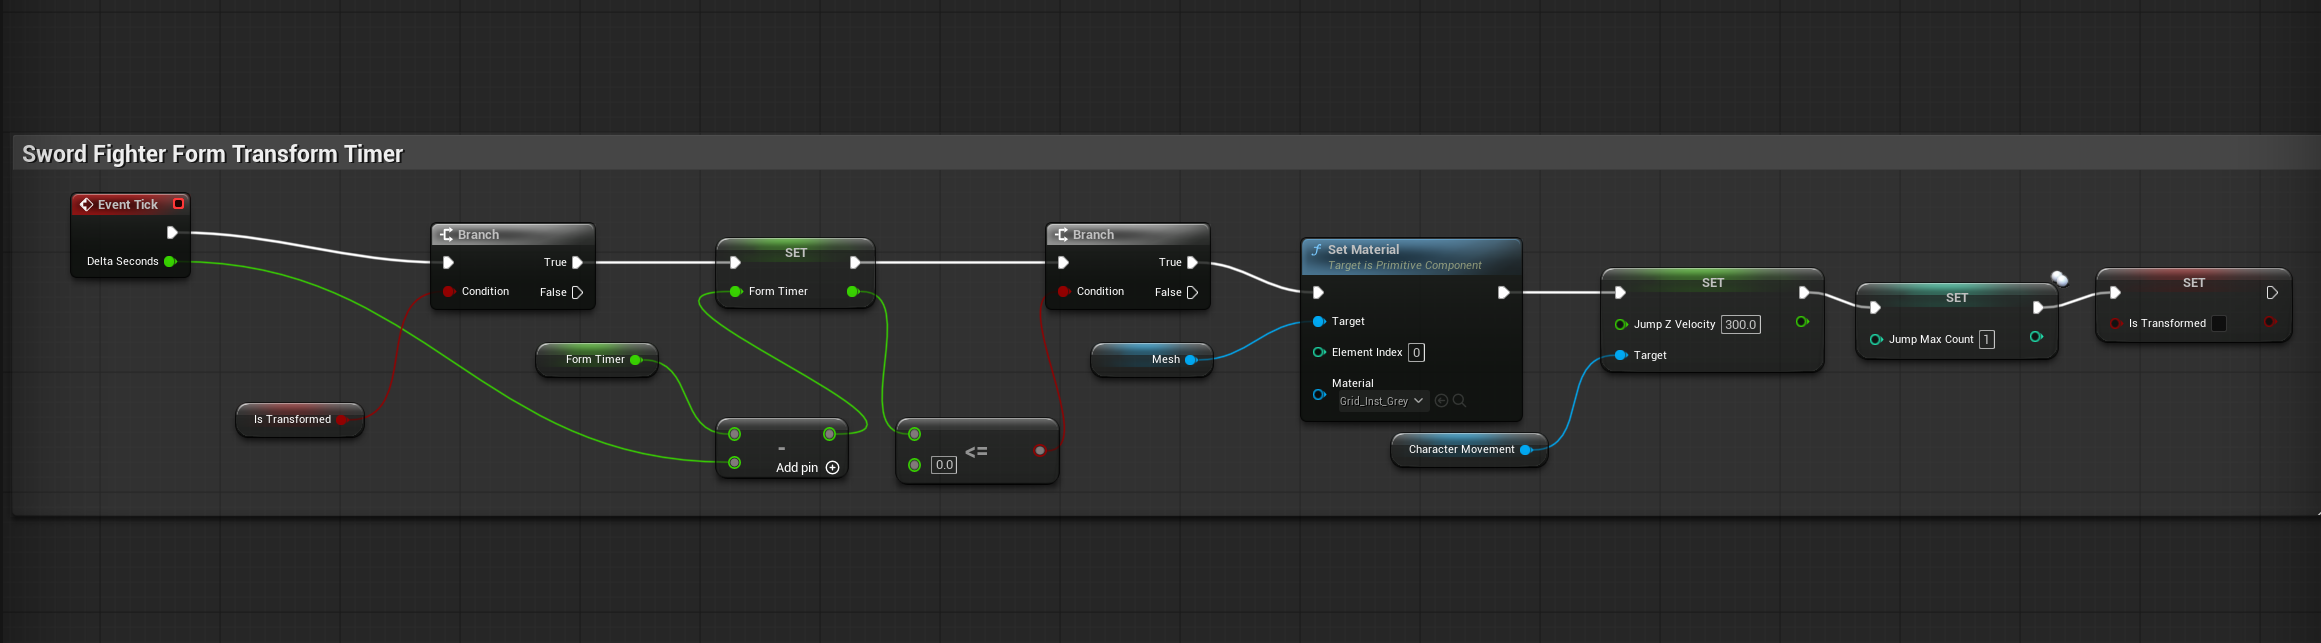
Energy Meter & Auto-Revert
A formTimer counts down from maxFormTimer while transformed and forces a revert at zero, so players choose between riding the meter out or switching back early to bank the rest.